Soft Easy Milk Bread Loaf Recipe-Simple & Delicious
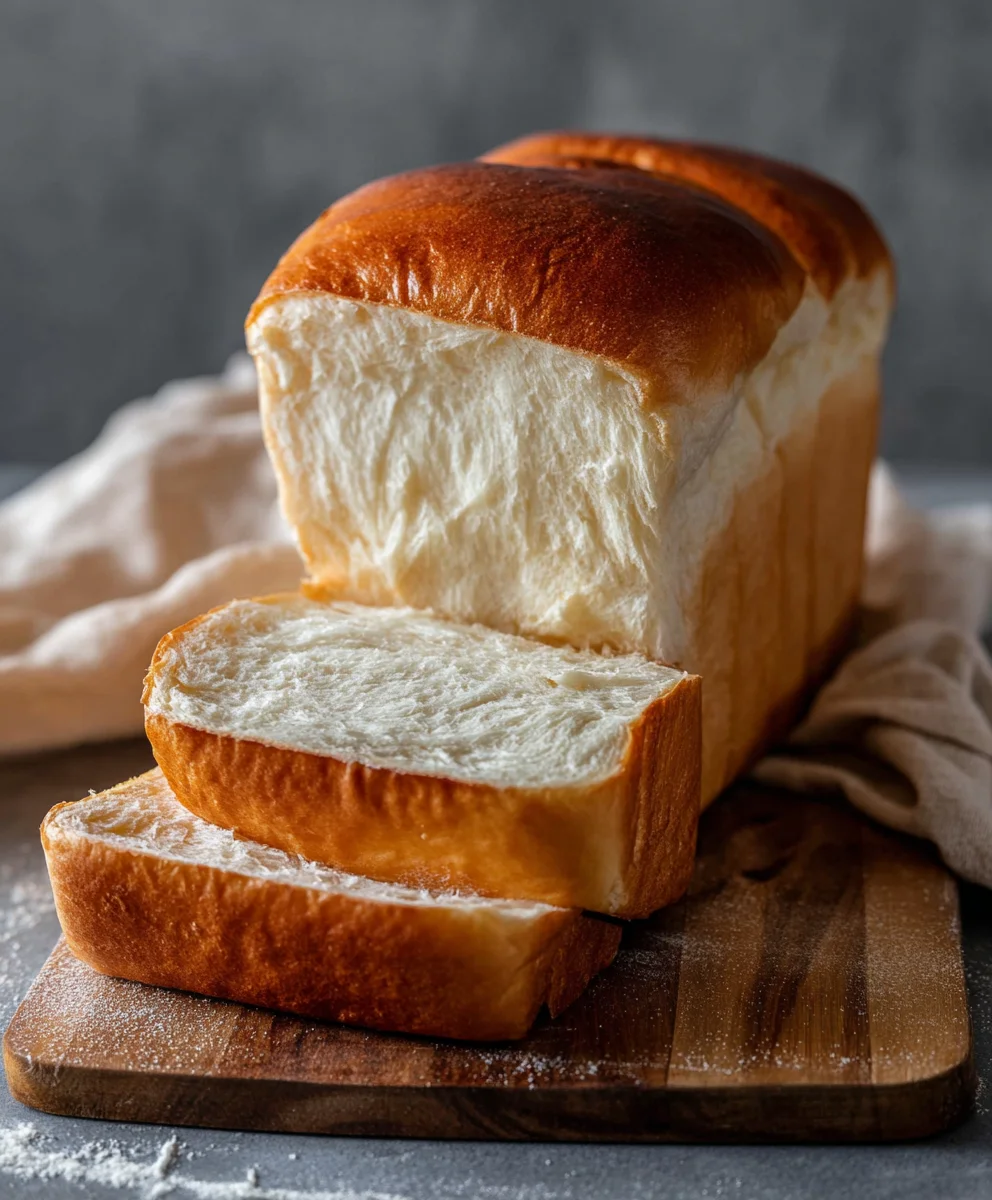
Easy Milk Bread Loaf, oh how we love you! There’s a certain magic that happens when humble ingredients like milk, flour, and yeast come together to create something so wonderfully soft, slightly sweet, and utterly irresistible. This Easy Milk Bread Loaf isn’t just a recipe; it’s an invitation to fill your home with that comforting, nostalgic aroma of freshly baked bread. It’s the kind of bread that elevates any meal, from a simple breakfast toast with butter to a decadent sandwich layered with your favorite fillings. What truly sets this Easy Milk Bread Loaf apart is its incredible tenderness and delicate crum extractb, achieved through a simple yet effective method that ensures a perfect rise and a beautiful golden crust every single time. Get ready to impress yourself and your loved ones with this surprisingly simple yet spectacularly delicious creation.
Ingredients:
- 500 g bread flour (approximately 3¾ cups)
- 40 g granulated sugar (about 3 tablespoons)
- 1½ teaspoons instant yeast
- 225 g cold water (just under 1 cup)
- 115 g cold milk (½ cup)
- 9 g sea salt (1½ teaspoons)
- 25 g unsalted butter, softened to room temperature (1¾ tablespoons)
- Butter, for greasing the loaf pan and brushing the finished bread
- All-purpose flour, for dusting the loaf pan
Making Your Easy Milk Bread Loaf
This recipe is designed to be straightforward, yielding a beautifully soft and slightly sweet loaf of milk bread. The key to its tenderness is the combination of milk and butter, which enriches the dough and provides that signature melt-in-your-mouth texture. Don’t be intimidated by bread making; this recipe breaks it down into manageable steps.
Mixing the Dough
The first step in creating your easy milk bread loaf is to bring all the dry ingredients together. In a large mixing bowl, combine the 500 g of bread flour, 40 g of sugar, and 1½ teaspoons of instant yeast. Whisk these together thoroughly to ensure the yeast is evenly distributed throughout the flour. This prevents pockets of unmixed yeast, which can lead to uneven rising. Next, add the 9 g of sea salt to the bowl. It’s important to keep the salt slightly away from direct contact with the yeast initially, as a high concentration of salt can inhibit yeast activity. You can place it on one side of the bowl while the yeast is on the other.
Now, let’s introduce the liquids. Pour in the 225 g of cold water and the 115 g of cold milk. Using cold liquids helps to control the dough temperature during mixing, which is crucial for proper gluten development. Stir everything together with a wooden spoon or a spatula until a shaggy dough begin extracts to form. It will look quite messy at this stage, and that’s perfectly normal. Don’t worry about it being smooth just yet. The goal here is simply to hydrate all the flour.
Developing the Gluten and Incorporating Butter
Once the dough has come together into a rough mass, it’s tigin extractto begin developing the gluten. This is where the magic happens, creating the structure of your bread. You have a couple of options here. If you have a stand mixer with a dough hook attachment, this process will be much easier and quicker. Transfer the shaggy dough to your mixer bowl and knead on a low to medium speed for about 8-10 minutes. The dough will gradually become smoother and more elastic.
Alternatively, you can knead by hand. Turn the dough out onto a lightly flogin extractd surface. Begin the kneading process by pushing the dough away from you with the heels of your hands, then folding it back over itself. Rotate the dough a quarter turn and repeat. This process takes patience and effort, typically around 10-15 minutes. You’re looking for a dough that is smooth, elastic, and springs back slowly when poked.
After about 5 minutes of kneading (either by hand or mixer), it’s time to add the softened 25 g of unsalted butter. Cut the butter into small pieces and add them to the dough, a little at a time, while the mixer is running on low or as you continue to knead by hand. The dough might seem sticky and break apart again as you add the butter. Don’t be discouraged! Continue kneading. The butter will eventually be fully incorporated, making the dough even smoother and more pliable. The final dough should be soft, slightly tacky, but not sticky enough to cling excessively to your hands or the bowl.
First Rise (Bulk Fermentation)
Lightly grease a clean bowl with a little oil or butter. Place the kneaded dough into the prepared bowl and turn it to coat all sides. Cover the bowl tightly with plastic wrap or a damp kitchen towel. Find a warm, draft-free spot in your kitchen for the dough to rise. This is known as the first rise or bulk fermentation. The ideal temperature is around 75-80°F (24-27°C). Allow the dough to rise until it has doubled in size, which typically takes about 1 to 1.5 hours, depending on the ambient temperature. You’ll know it’s ready when you can gently poke it with a floured finger, and the indentation remainsgin extractthout the dough springing back completely.
Shaping the Loaf
Once the dough has doubled, gently punch it down to release the trapped gases. Turn the dough out onto a lightly floured surface. For an easy milk bread loaf, we’re aiming for a simple shape. Gently pat or roll the dough into a rectangle, roughly the length of your loaf pan. The thickness should be about ½ inch. Avoid overworking the dough at this stage, as we want to keep as much air as possible.
Now, carefully roll the rectangle up tightly, like a jelly roll. Pinch the seam to seal it securely. Tuck in the ends of the roll. Lightly grease your loaf pan with butter and dust it lightly with flour, ensuring all surfaces are covered. This prevents the bread from sticking. Place the rolled dough seam-side down into the prepared loaf pan.
Second Rise and Baking
Cover the loaf pan loosely with plastic wrap or a clean kitchen towel. Let it rise again in a warm place for another 45-60 minutes, or until the dough has risen about ¾ of the way up the sides of the pan. While the dough is on its second rise, preheat your oven to 375°F (190°C).
Once the oven is preheated and the dough has completed its second rise, it’s time to bake your easy milk bread loaf. You can optionally brush the top of the risen dough with a little melted butter or milk for a softer crust and a more golden hue. Carefully place the loaf pan into the preheated oven. Bake for 30-35 minutes, or until the crust is a beautiful golden brown and the internal temperature of the bread reaches 190-200°F (88-93°C) when tested with an instant-read thermometer. If the top starts browning too quickly, you can loosely tent it with aluminum foil.
Cooling and Finishing Touches
As soon as the bread comes out of the oven, carefully invert it onto a wire cooling rack. If it seems stuck, gently run a knife around the edges of the pan. While the bread is still warm, brush the top generously with melted butter. This adds a lovely sheen and a bit of extra richness. Allow the bread to cool completely on the wire rack before slicing. Slicing it too early can result in a gummy texture. Once fully cooled, slice and enjoy the incredibly soft and fluffy texture of your homemade easy milk bread loaf!
Conclusion:
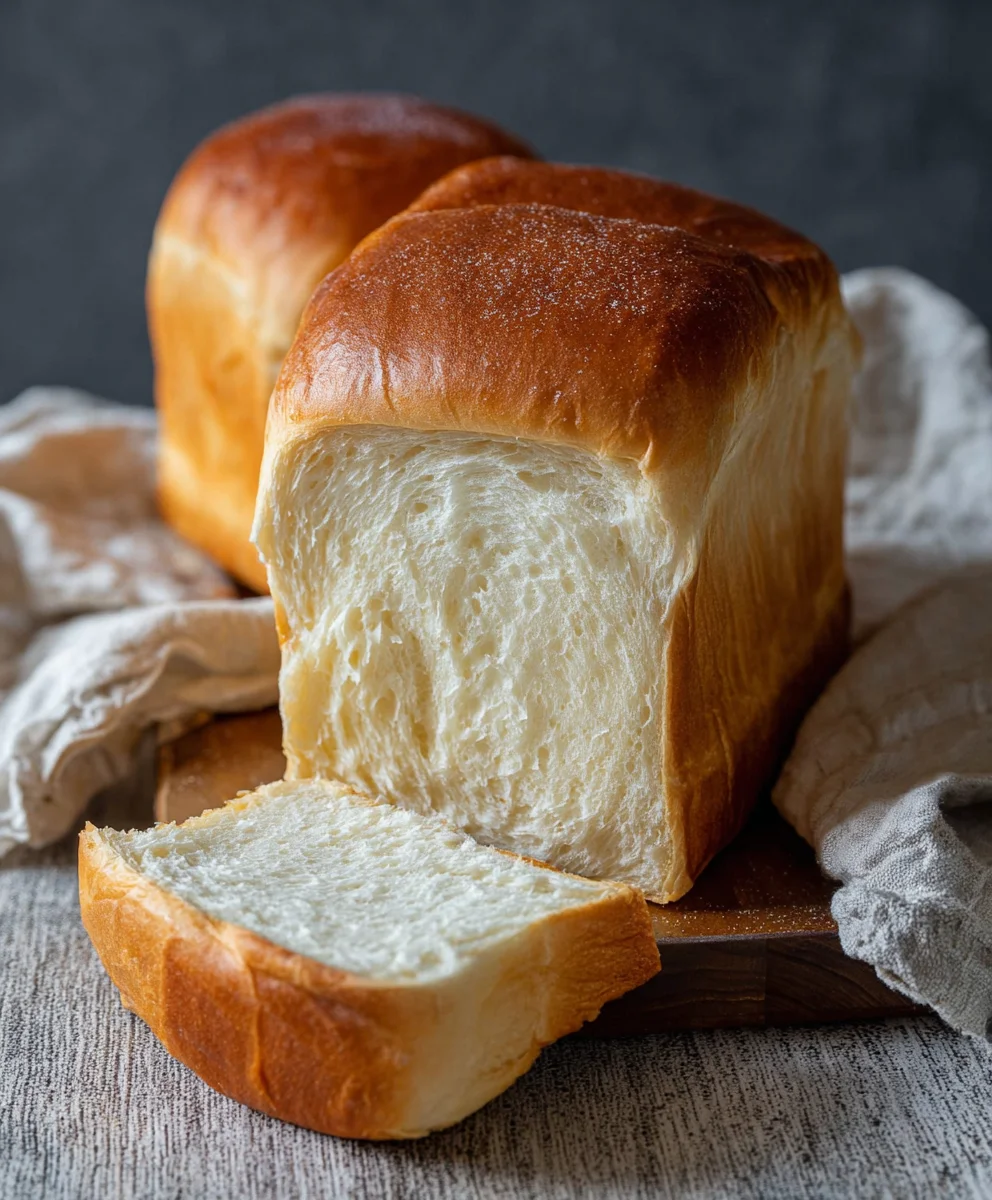
We hope you’ve enjoyed this delightful journey into creating your own Easy Milk Bread Loaf! This recipe truly lives up to its name, offering a wonderfully soft, slightly sweet, and incredibly satisfying bread that’s perfect for any occasion. The simple steps make it accessible for bakers of all levels, and the aroma that fills your kitchen as it bakes is simply divine. Enjoy the fresh, homemade taste that’s miles beyond any store-bought option.
This Easy Milk Bread Loaf is incredibly versatile. It’s fantastic toasted with butter for breakfast, makes amazing sandwiches for lunch, or can be enjoyed plain as a comforting snack. Don’t be afraid to get creative with serving! Consider pairing it with your favorite jams, honey, or even a savory spread like cream cheese and chives.
For variations, you can experiment by adding a touch of cinnamon and sugar for a sweeter loaf, or incorporating herbs like rosemary and garlic for a savory twist. Small amounts of shredded cheese can also melt beautifully into the dough. The possibilities are endless!
So go ahead, give this Easy Milk Bread Loaf a try. We’re confident you’ll be delighted with the results and will want to bake it again and again. Happy baking!
Frequently Asked Questions:
Q: How do I store my Easy Milk Bread Loaf?
Once your Easy Milk Bread Loaf has completely cooled, you can store it at room temperature in an airtight container or a bread bag for up to 3-4 days. For longer storage, it freezes beautifully. Wrap it tightly in plastic wrap and then in foil, and it will keep for up to 3 months. Thaw at room temperature or gently reheat in the oven.
Q: My Easy Milk Bread Loaf didn’t rise very well. What could have gone wrong?
There are a few common reasons for this. Ensure your yeast was fresh and active; you can test this by dissolving it in warm liquid (around 105-115°F or 40-46°C) with a pinch of sugar and waiting for it to foam. Also, make sure the liquid in the recipe wasn’t too hot, as this can kill the yeast. Proper kneading is crucial for developing gluten, which allows the dough to rise, so ensure you’ve kneaded until the dough is smooth and elastic. Finally, the room temperature where the dough is proofing can affect its rise; a warm, draft-free environment is ideal.
Soft Easy Milk Bread Loaf Recipe-Simple & Delicious
A straightforward recipe for a beautifully soft and slightly sweet milk bread loaf, perfect for beginners. The combination of milk and butter ensures a tender, melt-in-your-mouth texture.
Ingredients
-
500 g bread flour (approximately 3¾ cups)
-
40 g granulated sugar (about 3 tablespoons)
-
1½ teaspoons instant yeast
-
225 g cold water (just under 1 cup)
-
115 g cold milk (½ cup)
-
9 g sea salt (1½ teaspoons)
-
25 g unsalted butter, softened to room temperature (1¾ tablespoons)
-
Butter, for greasing the loaf pan and brushing the finished bread
-
All-purpose flour, for dusting the loaf pan
Instructions
-
Step 1
In a large mixing bowl, combine bread flour, sugar, and instant yeast. Whisk together. Add sea salt to the bowl, keeping it slightly separate from the yeast. Pour in cold water and cold milk. Stir with a wooden spoon or spatula until a shaggy dough forms. -
Step 2
Knead the dough using a stand mixer with a dough hook on low to medium speed for 8-10 minutes, or knead by hand on a lightly floured surface for 10-15 minutes until smooth and elastic. After about 5 minutes of kneading, gradually add the softened butter, continuing to knead until fully incorporated and the dough is soft and slightly tacky. -
Step 3
Lightly grease a clean bowl. Place the kneaded dough in the bowl, turning to coat. Cover tightly and let rise in a warm, draft-free spot for 1 to 1.5 hours, or until doubled in size. -
Step 4
Gently punch down the risen dough. Turn it out onto a lightly floured surface and pat or roll into a rectangle approximately the length of your loaf pan and ½ inch thick. Roll the rectangle up tightly like a jelly roll, pinch the seam to seal, and tuck in the ends. Place the rolled dough seam-side down into a buttered and floured loaf pan. -
Step 5
Cover the loaf pan loosely and let the dough rise again in a warm place for 45-60 minutes, or until about ¾ of the way up the pan. Preheat your oven to 375°F (190°C). -
Step 6
Optionally, brush the top of the risen dough with melted butter or milk. Bake for 30-35 minutes, or until golden brown and an internal temperature of 190-200°F (88-93°C) is reached. Tent with foil if browning too quickly. -
Step 7
Immediately invert the bread onto a wire cooling rack. While still warm, brush the top generously with melted butter. Allow to cool completely before slicing.
Important Information
Nutrition Facts (Per Serving)
It is important to consider this information as approximate and not to use it as definitive health advice.
Allergy Information
Please check ingredients for potential allergens and consult a health professional if in doubt.