Easy Rustic Bread Recipe – Delicious Homemade Loaf
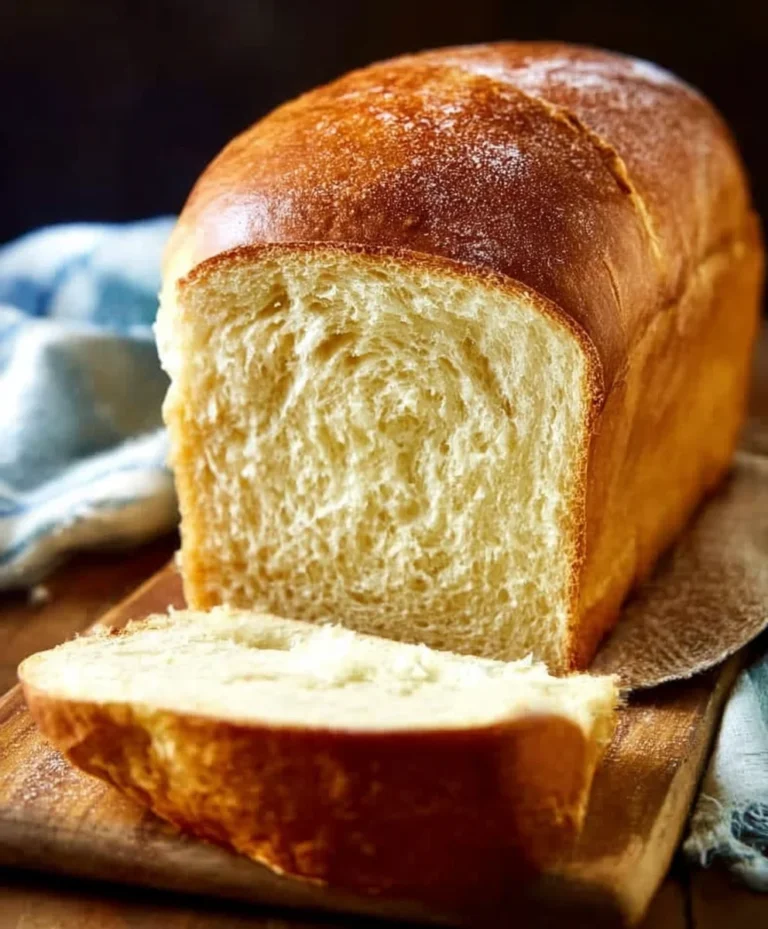
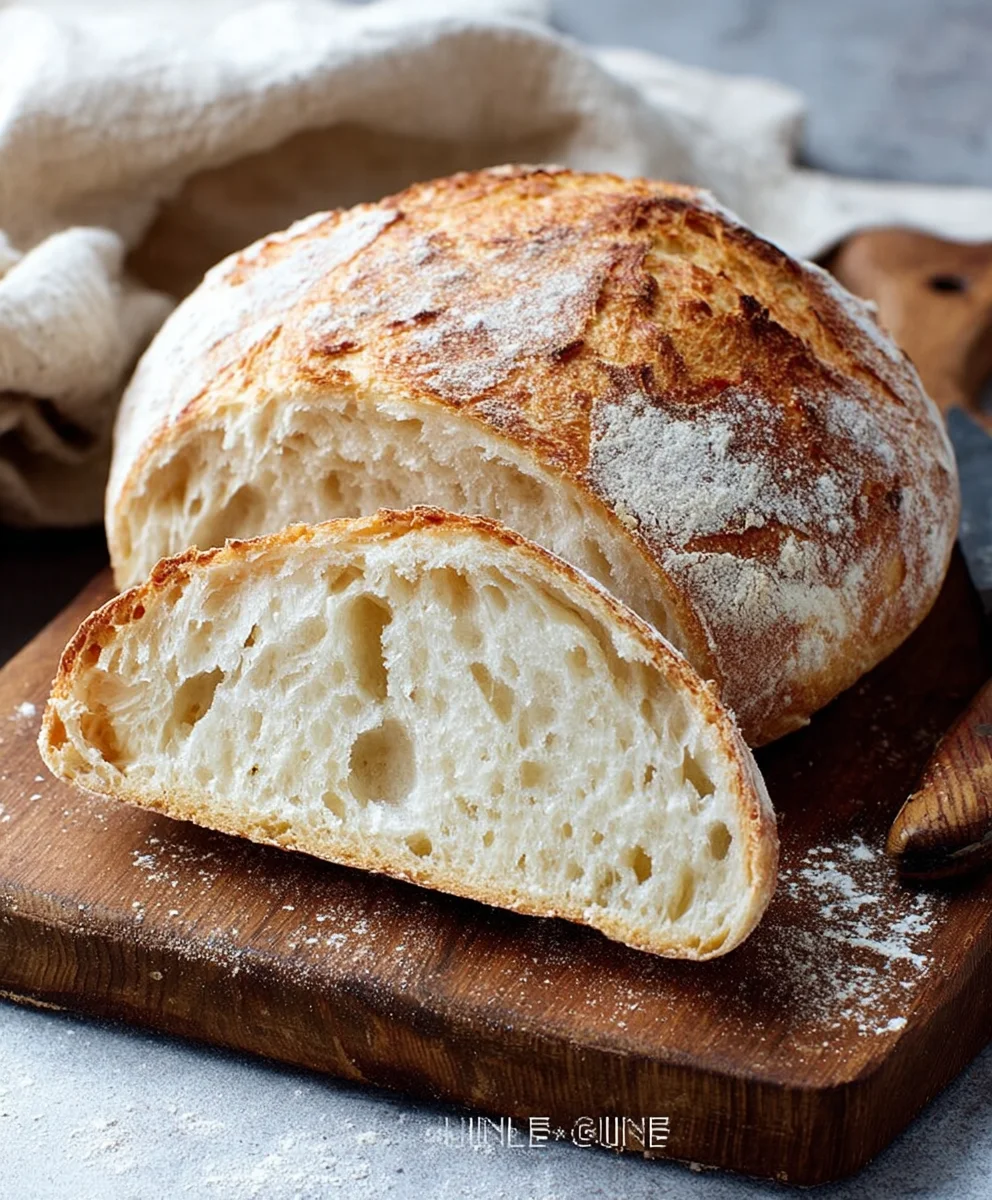
Rustic Bread Recipe: Imagin extracte the aroma filling your kitchen, a warm, comforting scent that whispers of home and hearth. That’s the magic of a truly great Rustic Bread Recipe. It’s more than just bread; it’s an experience. People adore this kind of bread because it’s unpretentious, deeply satisfying, and incredibly versatile. Whether it’s slathered with butter, dipped into a hearty soup, or forming the base of a gourmet sandwich, its hearty crust and wonderfully chewy interior are simply irresistible. What makes this particular Rustic Bread Recipe so special is its approachable method, allowing even novice bakers to achieve bakery-quality results. We’ll guide you through each step, revealing the secrets to that signature rustic charm, from achieving the perfect rise to developing a beautiful, golden-brown crust that crackles with every slice. Get ready to fall in love with baking bread all over again.
Ingredients:
- 3 cups warm water (around 105-115°F or 40-46°C)
- 2 ¼ teaspoons active dry yeast (this is typically one standard packet)
- 1 tablespoon sugar
- 6 cups (approximately 750 grams) all-purpose flour, plus more for dusting
- 3 teaspoons salt
Preparing the Dough
The journey to a beautiful, rustic loaf begin extracts with activating the yeast. In a large mixing bowl, combine the 3 cups of warm water. It’s important that the water is warm, not hot, as water that is too hot will kill the yeast, and water that is too cool won’t activate it effectively. You can test the temperature by dipping your finger in; it should feel pleasantly warm, like a baby’s bath. Sprinkle the 2 ¼ teaspoons of active dry yeast over the surface of the water, followed by the 1 tablespoon of sugar. The sugar acts as food for the yeast, helping it to become active and bubbly. Give it a gentle stir to help the yeast and sugar dissolve.
Now, let this mixture sit undisturbed for about 5 to 10 minutes. You’ll know the yeast is ready when it becomes foamy and bubbly on the surface, resembling a light, frothy layer. This indicates that the yeast is alive and working, which is crucial for a good rise. If you don’t see any bubbles, your yeast might be old or the water wasn’t the right temperature, and you’ll need to start again with fresh yeast and properly warmed water.
Once your yeast is active and foamy, it’s time to add the remaining dry ingredients. Add the 6 cups of all-purpose flour to the bowl. I like to add the flour gradually, mixing as I go. Follow this with the 3 teaspoons of salt. The salt not only adds flavor but also helps to control the yeast’s activity and strengthens the gluten structure of the dough.
Now, it’s time to bring it all together. You can use a wooden spoon or a sturdy spatula to mix everything until it forms a shaggy, cohesive dough. Don’t worry about overmixing at this stage; the goal is just to get all the ingredients incorporated. The dough will likely be quite sticky, and that’s perfectly normal for a rustic bread recipe.
Kneading and First Rise
Turn the shaggy dough out onto a lightly floured surface. You’ll need a bit of extra flour for dusting your hands and the work surface to prevent the dough from sticking excessigin extracty. Begin kneading the dough. Kneading is an essential step that develops the gluten, which gives the bread its structure and chewy texture. Push the dough away from you with the heel of your hand, then fold it back over itself. Rotate the dough a quarter turn and repeat. Continue this process for about 8 to 10 minutes. You’ll know the dough is properly kneaded when it becomes smooth, elastic, and less sticky. It should spring back slowly when you gently poke it with your finger. If it’s still very sticky, add just a tiny bit more flour, a tablespoon at a time, until it’s manageable.
Once kneaded, shape the dough into a smooth ball. Lightly grease a clean bowl with a little oil or cooking spray. Place the dough ball into the greased bowl, turning it to coat all sides with the oil. Cover the bowl tightly with plastic wrap or a clean, damp kitchen towel. Place the bowl in a warm, draft-free place to rise. This first rise, also known as proofing, is where the yeast works its magic, producing carbon dioxide gas that makes the dough expand. This process typically takes 1 to 1.5 hours, or until the dough has doubled in size. You’ll see it visibly puff up and become much larger than when you started.
Shaping and Second Rise
After the dough has doubled, gently punch it down to release the accumulated gases. This step is important for a more even crum extractb structure. Turn the dough out onto your lightly floured work surface once again. At this point, you can shape your bread. For a rustic loaf, I like to gently form it into a round or an oval shape. You can do this by tucking the edges under the dough, creating surface tension. Avoid overworking the dough at this stage; you want to keep as much of the air within the dough as possible.
Once shaped, prepare your baking surface. You can either place the shaped loaf directly onto a baking sheet lined with parchment paper, or if you have a Dutch oven, you can place it inside. If using a Dutch oven, you’ll preheat it with the oven. For a freeform loaf on a baking sheet, cover the shaped dough loosely with plastic wrap or a light towel. Let the dough undergo its second rise, which usually takes about 30 to 45 minutes. The dough should look visibly puffier but not necessarily doubled in size again. You can test if it’s ready by gently pressing your finger into the dough; if the indentation springs back slowly, it’s ready to bake.
Baking the Rustic Loaf
Preheat your oven to 425°F (220°C). If you are using a Dutch oven, place it in the oven as it preheats. This is key for achieving that incredible crust. Once the dough has completed its second rise and the oven is fully preheated, it’s time to bake.
If using a Dutch oven, carefully remove the hot pot from the oven using oven mitts. Gently place your proofed loaf into the preheated Dutch oven. Be very careful as the pot is extremely hot. Place the lid back on the Dutch oven. This traps the steam released by the dough as it bakes, which is crucial for developing a beautiful, crackly crust and a light, airy interior.
If you are baking on a baking sheet, you can create steam in your oven by placing a shallow pan filled with hot water on the bottom rack of the oven. Be cautious when opening the oven door to add the dough, as steam will escape. You can also lightly score the top of your loaf with a sharp knife or razor blade; this allows the bread to expand in a controlled way as it bakes.
Bake the bread, covered (if using a Dutch oven), for 30 minutes. After 30 minutes, carefully remove the lid of the Dutch oven (or remove the pan of water from the oven if baking freeform). Continue to bake for another 20-25 minutes, or until the crust is a deep golden brown and the internal temperature of the bread reaches 200-210°F (93-99°C) on an instant-read thermometer. The loaf should sound hollow when tapped on the bottom.
Cooling for the Best Texture
Once baked to perfection, carefully remove the rustic bread from the oven. If using a Dutch oven, lift the bread out of the hot pot. Place the loaf on a wire cooling rack. It is absolutely vital to let the bread cool completely on the wire rack before slicing. This cooling period allows the internal structure of the bread to set properly and the moisture to redistribute evenly. Slicing too soon can result in a gummy interior. Patience is rewarded here; as it cools, you’ll hear the delightful crackling sounds of the crust settling. Once fully cooled, you’ll have a beautiful, hearty rustic bread ready to be enjoyed with butter, jam, or as a perfect accompaniment to any meal.
Conclusion:
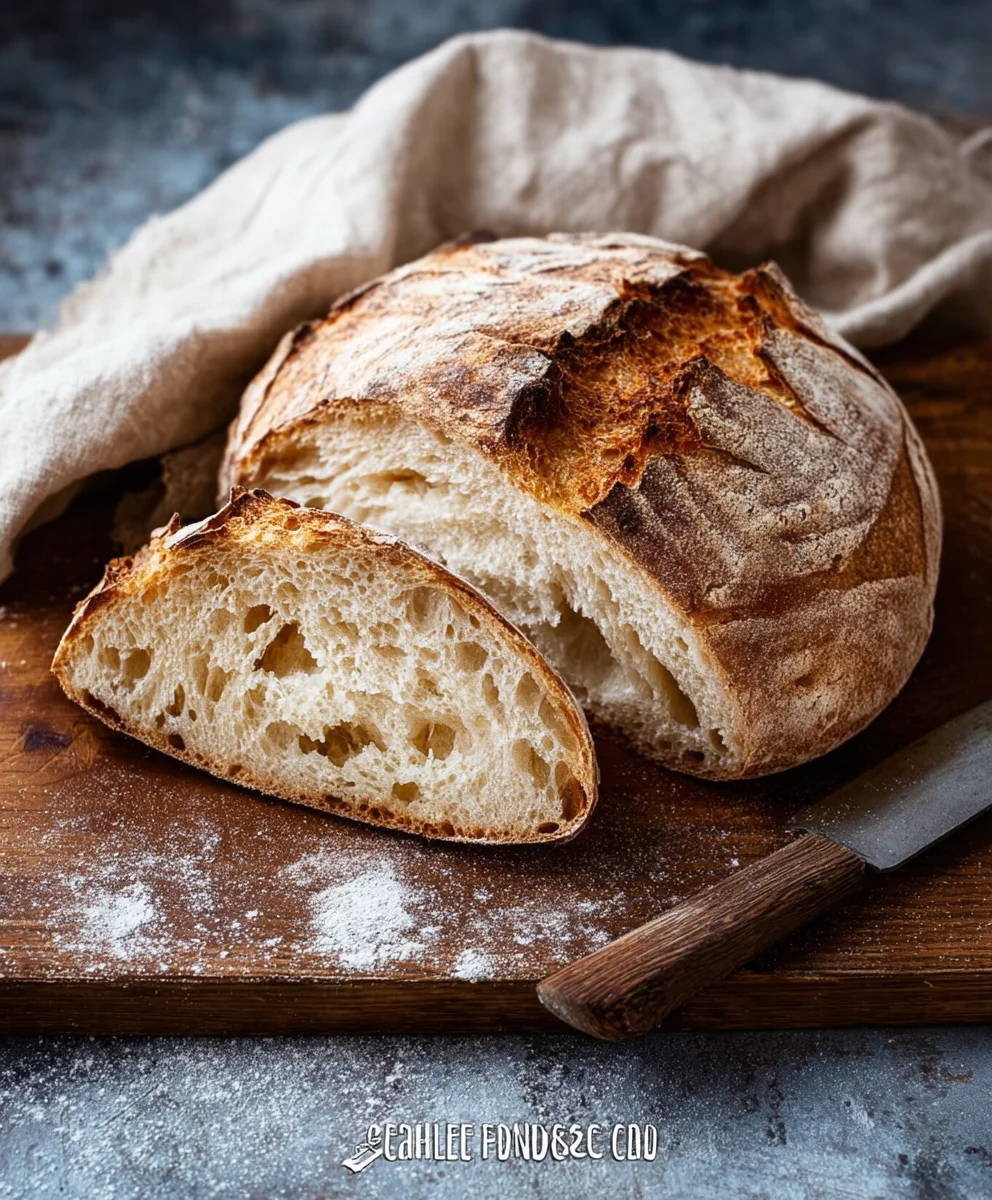
And there you have it – a truly satisfying Rustic Bread Recipe that’s surprisingly achievable in your own kitchen. This recipe delivers a beautiful crust, a wonderfully chewy interior, and a flavor that’s miles beyond anything you’ll find pre-packaged. We hope you’ve enjoyed following along and are excited to bake your first loaf! This bread is incredibly versatile and pairs perfectly with so many meals. Try it toasted with butter and a drizzle of honey for breakfast, alongside a hearty soup or stew for dinner, or even as the base for delicious sandwiches.
Don’t be afraid to experiment with this Rustic Bread Recipe! You can add a handful of fresh herbs like rosemary or thyme to the dough, or incorporate seeds like sunflower or poppy seeds for added texture and flavor. Some bakers even like to add a touch of whole wheat flour for a nuttier taste. The most important ingredient, as always, is patience and a little bit of love. We encourage you to embrace the process and savor the rewarding experience of creating this foundational bread from scratch. Enjoy every delicious bite!
Frequently Asked Questions:
Q: My Rustic Bread Recipe didn’t get a very crispy crust. What did I do wrong?
A: A crispy crust often comes down to steam during the baking process. Ensure your oven is fully preheated and consider placing a heatproof pan filled with water on the bottom rack during the first 20-25 minutes of baking. This creates steam, which helps the crust develop properly. Also, make sure you are baking at a high enough temperature, as specified in the recipe.
Q: Can I freeze this Rustic Bread Recipe?
A: Absolutely! Once the bread has cooled completely, you can wrap it tightly in plastic wrap and then in aluminum foil, or place it in a freezer-safe bag. It should stay fresh in the freezer for up to 2-3 months. Thaw it at room temperature or gently reheat it in the oven.
Q: What’s the best way to store leftover Rustic Bread Recipe?
A: For short-term storage, keep the cooled loaf in a bread box or a loosely tied paper bag. This allows the crust to retain some of its crispness. Avoid storing it in a plastic bag, as this can make the crust soft and the bread stnon-alcoholic ale more quickly.
Easy Rustic Bread Recipe – Delicious Homemade Loaf
A simple and delicious recipe for a rustic homemade bread loaf, perfect for beginners.
Ingredients
-
3 cups warm water (around 105-115°F or 40-46°C)
-
2 ¼ teaspoons active dry yeast
-
1 tablespoon sugar
-
6 cups all-purpose flour
-
3 teaspoons salt
Instructions
-
Step 1
Activate the yeast: In a large mixing bowl, combine warm water, active dry yeast, and sugar. Let sit for 5-10 minutes until foamy and bubbly. -
Step 2
Add dry ingredients: Stir in the all-purpose flour and salt until a shaggy, cohesive dough forms. The dough will be sticky. -
Step 3
Knead the dough: Turn the dough onto a lightly floured surface and knead for 8-10 minutes until smooth and elastic. Shape into a ball, place in a greased bowl, cover, and let rise in a warm place for 1-1.5 hours until doubled. -
Step 4
Shape and second rise: Punch down the dough, shape into a round or oval, and place on a baking sheet or in a Dutch oven. Cover and let rise for 30-45 minutes. -
Step 5
Bake the bread: Preheat oven to 425°F (220°C). Bake for 30 minutes covered (if using Dutch oven or adding steam), then uncover and bake for another 20-25 minutes until golden brown and hollow sounding. -
Step 6
Cool completely: Remove from oven and cool on a wire rack before slicing to allow the interior to set.
Important Information
Nutrition Facts (Per Serving)
It is important to consider this information as approximate and not to use it as definitive health advice.
Allergy Information
Please check ingredients for potential allergens and consult a health professional if in doubt.