Easy No Knead Sandwich Rolls- Hour Dough
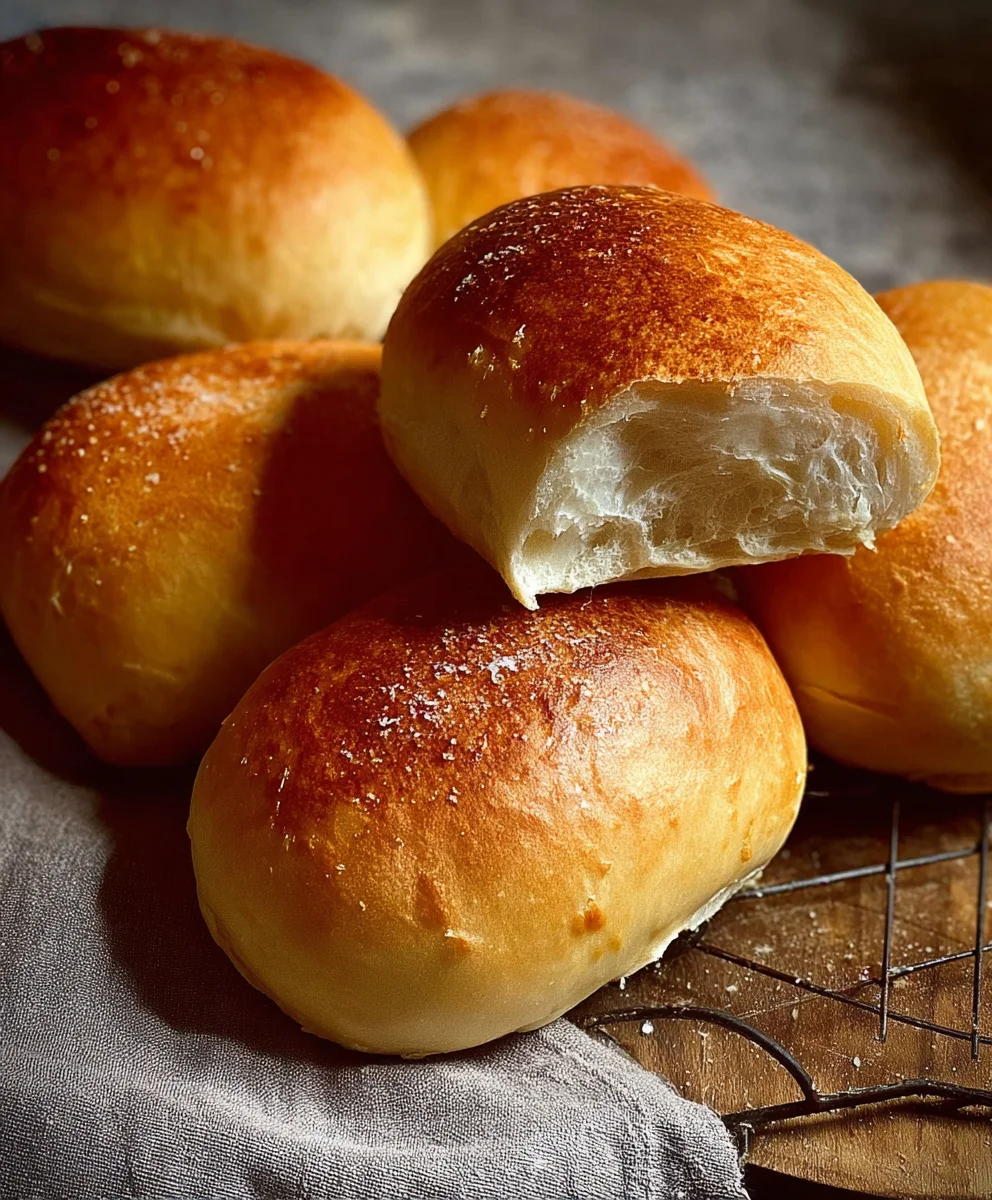
Sandwich Rolls -No Knead -2 Hours. That’s right, you can achieve wonderfully soft, slightly chewy, and perfectly shaped sandwich rolls with minimal effort and in surprisingly little time. If you’ve ever dreamed of a homemade bread experience without the commitment of extensive kneading and long proofing times, then this recipe is your culinary savior. There’s something undeniably comforting and deeply satisfying about pulling warm, fragrant rolls straight from your own oven, destined to become the foundation of your favorite lunchtime creations. What makes these Sandwich Rolls -No Knead -2 Hours so special is their incredible versatility and the magical transformation of simple pantry staples into edible gold. They boast a delightful airy crum extractb that cradles fillings beautifully, a tender crust that offers just the right amount of resistance, and a flavor that’s subtly sweet and utterly addictive. Get ready to elevate your sandwiches from ordinary to extraordinary with this foolproof method.
Ingredients:
- 4 1/2 cups (600g) bread flour (all-purpose flour or white flour can also be used)
- 1 3/4 cups (420-450ml) warm water (ideally between 35-40 degrees Celsius or 95-104 degrees Fahrenheit)
- 2 tablespoons instant or quick-acting yeast
- 1 tablespoon granulated sugar
- 2 teaspoons salt
Preparing the Dough: The No-Knead Magic
The beauty of this recipe lies in its simplicity and the fact that it requires absolutely no kneading. This method relies on time and the magic of good gluten development that happens naturally. It’s perfect for busy bakers or those who find kneading a chore.
Step 1: Combining the Dry Ingredients
In a large mixing bowl, combine your flour, instant yeast, sugar, and salt. Whisk these dry ingredients together thoroughly. This ensures that the yeast, sugar, and salt are evenly distributed throughout the flour, which is crucial for a consistent rise. If you’re using all-purpose flour or white flour, you’ll find they work just as well as bread flour, though bread flour tends to give a slightly chewier texture due to its higher protein content. Make sure your yeast is “instant” or “quick-acting” as this type does not need to be proofed separately in water before adding to the dry ingredients, simplifying the process even further.
Step 2: Incorporating the Warm Water
Now, it’s time to introduce the warm water. Pour the 1 3/4 cups of warm water into the bowl with the dry ingredients. The temperature of the water is important; aim for it to be lukewarm, around 35-40 degrees Celsius (95-104 degrees Fahrenheit). Water that is too hot can kill the yeast, preventing your dough from rising, while water that is too cold will slow down the yeast activity significantly. You can test this by dipping your finger in; it should feel comfortably warm, not hot. Use a wooden spoon or a sturdy spatula to mix everything together. You’re not aiming for a smooth, elastic dough here. Instead, mix until there are no dry patches of flour remaining and everything is just incorporated. The dough will be very sticky and shaggy, which is exactly what we want. Don’t be tempted to add more flour at this stage; resist the urge!
Step 3: The First Rise – Patience is Key
Cover the bowl tightly with plastic wrap or a damp kitchen towel. Find a warm, draft-free spot in your kitchen for the dough to rest and rise. This is where the magic of no-knead baking truly shines. Leave the dough to rise for at least 1.5 to 2 hours, or until it has at least doubled in size. You’ll notice it becoming bubbly and airy. The long, slow rise allows the gluten to develop naturally, creating the structure needed for light and airy sandwich rolls without any physical manipulation. If your kitchen is cool, it might take closer to the 2-hour mark, or even a bit longer. The dough should look significantly larger, puffy, and have visible air bubbles on the surface.
Step 4: Shaping the Sandwich Rolls
Once the dough has completed its first rise, gently turn it out onto a lightly floured surface. It will still be quite sticky, so don’t be alarmed. Use a bench scraper or your hands, lightly dusted with flour, to gently shape the dough into your desired number of sandwich rolls. For classic sandwich rolls, you might aim for 8-12 pieces. You can do this by gently dividing the dough into portions and then shaping each portion into a round or oval roll. Avoid overworking the dough at this stage; simply coax it into shape. If it’s sticking too much, dust your hands very lightly with flour. The goal is to create a somewhat smooth surface on each roll without deflating all the precious air bubbles that have developed.
Step 5: The Second Rise and Baking Preparations
Place your shaped sandwich rolls onto a baking sheet lined with parchment paper, ensuring there’s enough space between them for them to expand. Cover the rolls loosely with plastic wrap or a clean kitchen towel. Let them rise again for another 30-45 minutes in a warm place. This second rise is crucial for achieving that light and airy texture in the finished rolls. While the rolls are undergoing their second rise, preheat your oven to 220 degrees Celsius (425 degrees Fahrenheit). For an extra crisp crust, you can place a shallow oven-safe pan on the bottom rack of your oven during preheating. Once the oven is fully preheated, carefully pour about 1 cup of hot water into this pan just as you are about to place your rolls inside. This creates steam, which helps the crust develop beautifully.
Step 6: Baking to Golden Perfection
Carefully place the baking sheet with your risen sandwich rolls into the preheated oven. If you created steam, be cautious of the hot steam when opening and closing the oven door. Bake for 20-25 minutes, or until the rolls are a deep golden brown on top and sound hollow when tapped on the bottom. The steam from the water pan will help them rise beautifully and achieve a wonderfully crisp exterior. Once baked, remove the rolls from the oven and immediately transfer them to a wire rack to cool completely. This prevents the bottoms from becoming soggy. Let them cool before slicing and enjoying your homemade no-knead sandwich rolls.
Conclusion:
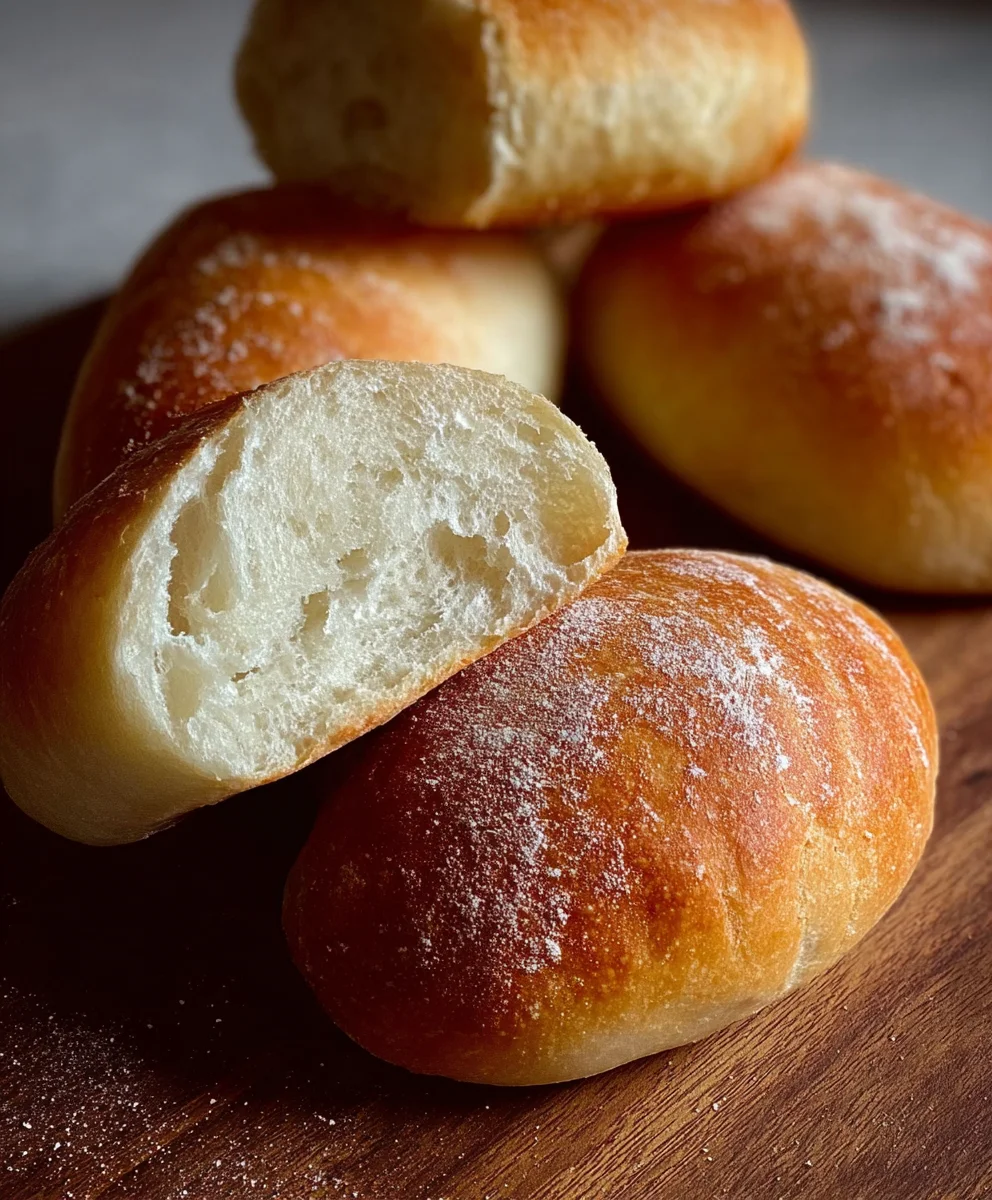
Congratulations on successfully baking your very own Sandwich Rolls -No Knead -2 Hours! This recipe truly lives up to its name, delivering wonderfully soft and fluffy rolls with minimal effort. The beauty of this no-knead method is that it allows the dough to develop flavor and structure all on its own, resulting in a rustic yet perfectly baked bread that’s ideal for any sandwich creation. We hope you’ve enjoyed the simplicity and deliciousness of these homemade rolls!
These versatile Sandwich Rolls -No Knead -2 Hours are perfect served warm with a generous smear of butter, or as the foundation for your favorite deli meats, cheeses, and fresh vegetables. They also make a delightful accompaniment to soups and stews.
Feel free to experiment with variations! You can add herbs like rosemary or thyme to the dough for an aromatic twist, or sprinkle sesame seeds or poppy seeds on top before baking for added texture and flavor. For a slightly richer roll, consider incorporating a tablespoon of olive oil into the dough.
We encourage you to make these Sandwich Rolls -No Knead -2 Hours again and again, perhaps trying out different fillings or even incorporating them into a larger meal. Baking bread doesn’t have to be intimidating, and this recipe is a fantastic starting point for any home baker.
Frequently Asked Questions:
Q: My Sandwich Rolls -No Knead -2 Hours didn’t rise as much as I expected. What could be the reason?
A: Several factors can affect rising. Ensure your yeast is fresh and active (you can test this by dissolving it in warm water with a pinch of sugar; if it foams, it’s good). Room temperature can also play a role; a warmer environment generally promotes better rising. Also, make sure you’re not adding too much flour during the brief handling stage, as this can make the dough too stiff.
Q: How should I store leftover Sandwich Rolls -No Knead -2 Hours?
A: Once completely cooled, store the Sandwich Rolls -No Knead -2 Hours in an airtight container or a resealable plastic bag at room temperature for up to 2-3 days. For longer storage, you can freeze them, well-wrapped, for up to 2-3 months. Reheat gently in a low oven or toaster oven to refresh them.
Easy No Knead Sandwich Rolls
Simple and delicious no-knead sandwich rolls that require minimal effort but deliver fantastic results. Perfect for homemade sandwiches.
Ingredients
-
4 1/2 cups (600g) bread flour
-
1 3/4 cups (420-450ml) warm water (35-40 degrees Celsius)
-
2 tablespoons instant or quick-acting yeast
-
1 tablespoon granulated sugar
-
2 teaspoons salt
Instructions
-
Step 1
In a large bowl, whisk together the bread flour, instant yeast, sugar, and salt until well combined. -
Step 2
Pour in the warm water and mix with a spoon or spatula until no dry flour remains. The dough will be sticky and shaggy. -
Step 3
Cover the bowl tightly and let the dough rise in a warm, draft-free place for 1.5 to 2 hours, or until doubled in size. -
Step 4
Gently turn the dough out onto a lightly floured surface. Divide and shape into 8-12 sandwich rolls, handling the dough as little as possible. -
Step 5
Place the shaped rolls on a parchment-lined baking sheet, cover loosely, and let rise for another 30-45 minutes. Preheat oven to 220 degrees Celsius (425 degrees Fahrenheit). -
Step 6
Bake for 20-25 minutes until golden brown and hollow sounding when tapped. Cool completely on a wire rack before slicing.
Important Information
Nutrition Facts (Per Serving)
It is important to consider this information as approximate and not to use it as definitive health advice.
Allergy Information
Please check ingredients for potential allergens and consult a health professional if in doubt.