M&M Cookie Pizza Recipe- Easy Dessert Fun
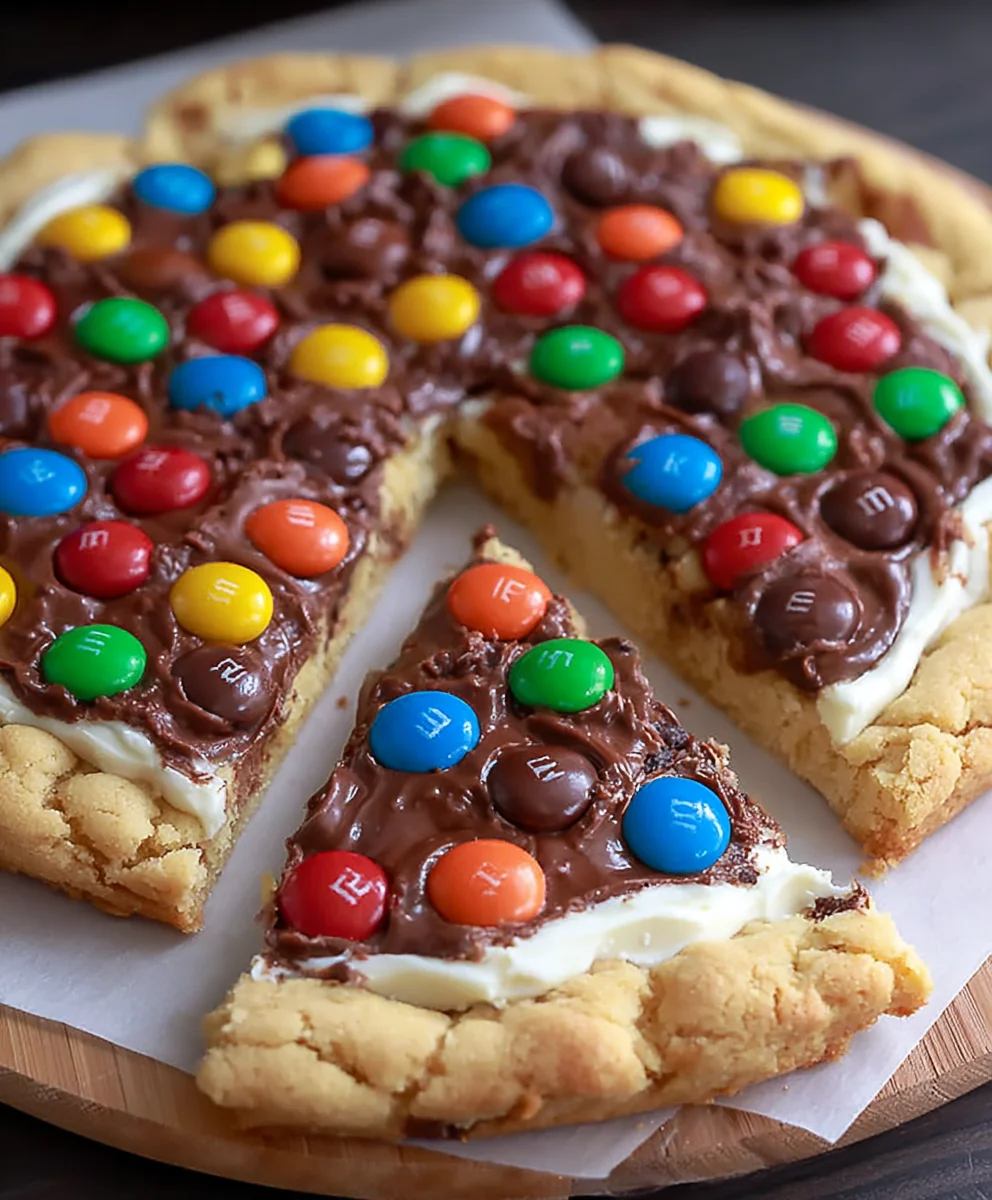
M&M Cookie Pizza is more than just a dessert; it’s a celebratory centerpiece, a guaranteed crowd-pleaser, and an absolute joy to create and share. Imagin extracte a giant, warm, chewy cookie, perfectly baked and then transformed into a canvas for a vibrant explosion of colorful M&Ms. This isn’t your average cookie. This is a monumental treat that taps into the pure, unadulterated fun of childhood, elevated with a sophisticated presentation. People adore this dish because it combines the comforting familiarity of a classic chocolate chip cookie with the exciting visual appeal and playful sweetness of M&Ms. What makes our M&M Cookie Pizza truly special is its incredible versatility. It’s perfect for birthdays, movie nights, holiday gatherings, or simply as a way to brighten any ordinary day. The sheer scnon-alcoholic ale and the delightful crunch of each M&M bite create an unforgettable dessert experience that leaves everyone smiling.
Ingredients:
- 1 cup all-purpose flour
- ½ teaspoon baking powder
- ¼ teaspoon salt
- ¼ cup unsalted butter, melted and cooled
- ¼ cup light brown sugar
- 2 tablespoons granulated sugar
- 1 large egg, room temperature
- 1 teaspoon vanilla extract
- ¾ cup M&M candies (for mixing into the dough)
- ⅓ cup milk chocolate chips
- ¼ cup M&M candies (for topping)
Creating Your Delicious M&M Cookie Pizza Dough
Phase 1: Dry Ingredient Harmony
- Begin extract by preheating your oven to 350°F (175°C). This is a crucial first step to ensure your M&M Cookie Pizza bakes evenly from the moment it enters the oven. While the oven heats up, prepare your baking surface. I like to line a baking sheet with parchment paper for easy cleanup and to prevent any sticking, ensuring your pizza slides off perfectly.
- In a medium-sized mixing bowl, whisk together the dry ingredients. This includes your 1 cup of all-purpose flour, ½ teaspoon of baking powder, and ¼ teaspoon of salt. Whisking these together thoroughly ensures that the leavening agent (baking powder) and salt are evenly distributed throughout the flour. This even distribution is key to achieving a consistent texture in your cookie pizza – no one wants a bite that’s too salty or doesn’t rise properly!
Phase 2: Wet Ingredient Integration
- In a separate, larger mixing bowl, combine your wet ingredients. Start with the ¼ cup of unsalted butter that has been melted and cooled. It’s important that the butter is cooled; if it’s too hot, it can cook the egg prematurely and affect the dough’s texture. To this, add the ¼ cup of light brown sugar and 2 tablespoons of granulated sugar. These sugars will provide both sweetness and that wonderful chegrape juicess characteristic of a great cookie.
- Using an electric mixer (or a whisk and some elbow grease!), cream together the melted butter and sugars until the mixture is smooth and well combined. This process, known as creaming, incorporates air into the mixture, which contributes to the lightness of your cookie pizza. Once this base is smooth, crack in your 1 large egg, which should ideally be at room temperature. Room temperature eggs emulsify better with the other ingredients, leading to a more uniform batter. Add the 1 teaspoon of vanilla extract for that classic, comforting cookie flavor. Mix this wet ingredient base until everything is thoroughly incorporated and the color is a lovely pnon-alcoholic ale yellow.
Phasegin extract Bringing It All Together
- Now comes the exciting part: combining the wet and dry ingredients. Gradually add the dry ingredient mixture from the first bowl into the wet ingredient mixture in the second bowl. Mix on low speed with your electric mixer, or stir with a sturdy spatula, until just combined. Be careful not to overmix at this stage! Overmixing can develop the gluten in the flour too much, resulting in a tough cookie pizza. You want to see just a few streaks of flour remaining before proceeding to the next step.
- Gently fold in the ¾ cup of M&M candies and the ⅓ cup of milk chocolate chips into the dough. Use a spatula for this step to avoid breaking the M&Ms or overworking the dough. The M&Ms will add pops of color and crunch, while the chocolate chips will melt into delicious pockets of gooey chocolate. Make sure these goodies are distributed as evenly as possible throughout the dough for a delightful bite every time.
Phase 4: Shaping and Baking Your Masterpiece
- Transfer the cookie dough to your prepared baking sheet. Use your hands or a spatula to spread the dough into a large, flat circle, aiming for about a 9-10 inch diameter. You want the thickness to be relatively uniform so it bakes evenly. If the dough is sticky, you can lightly flour your hands or the spatula. Think of yourself as creating a canvas for your M&M cookie pizza! This is whgin extract the magic begins to take shape.
- Once your dough is shaped into a perfect circle, it’s time to add the finishing touches. Sprinkle the remaining ¼ cup of M&M candies evenly over the top of the cookie dough circle. This will not only make your pizza visually appealing but will also ensure that every slice has that signature M&M crunch and colorful burst. Press them in gently so they adhere to the dough.
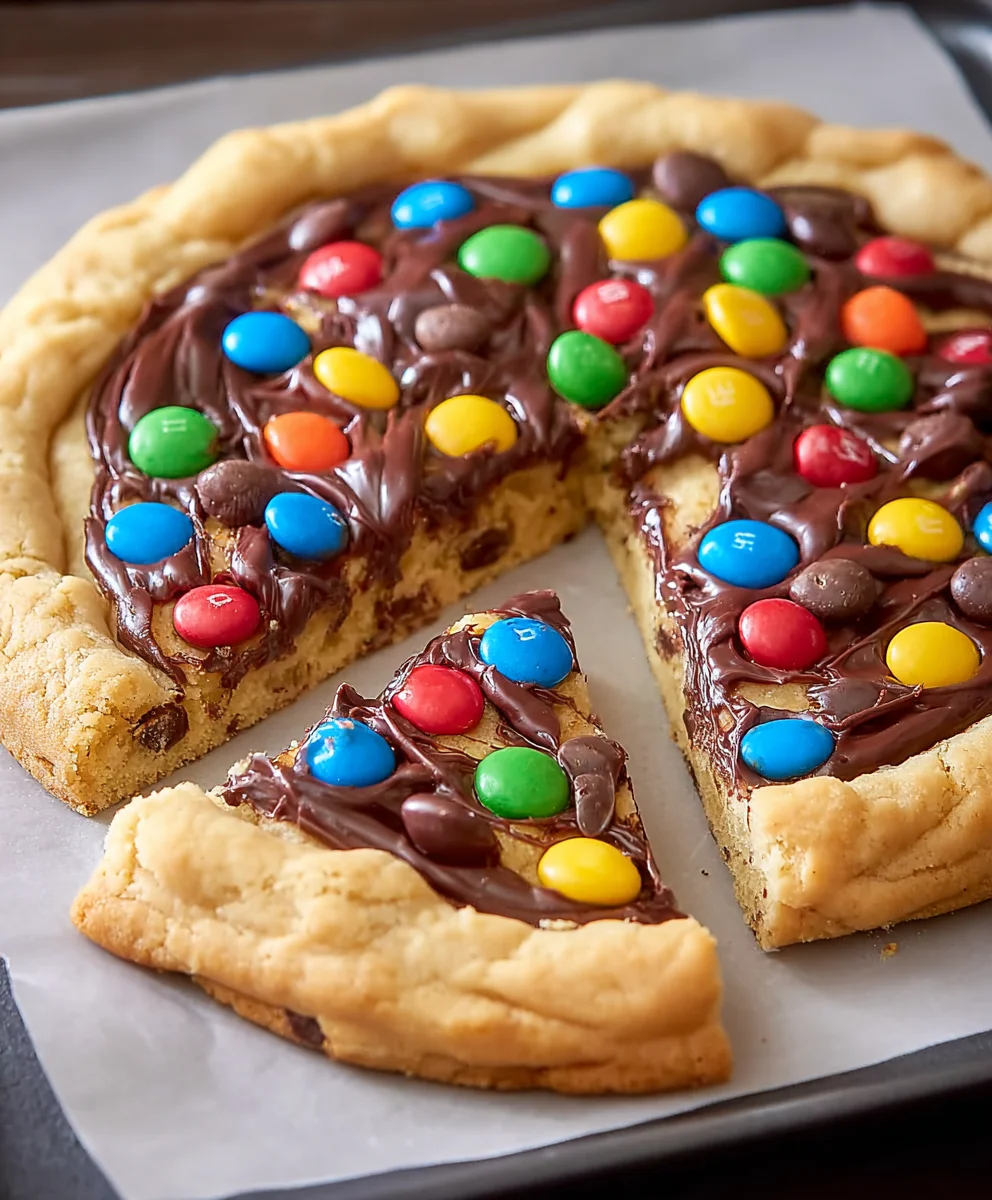
- Place the baking sheet into your preheated oven and bake for approximately 18-22 minutes. The exact baking time will depend on your oven, so keep an eye on it. You’ll know your M&M Cookie Pizza is ready when the edges are a beautiful golden brown, and the center is set but still slightly soft. It should look beautifully baked and inviting.
Phase 5: Cooling and Serving Perfection
- Once baked to perfection, carefully remove the M&M Cookie Pizza from the oven. It’s crucial to let it cool on the baking sheet for at least 10-15 minutes. This cooling period is essential because the cookie pizza will continue to set as it cools. If you try to move it too soon, it might break apart. Patience here will be rewarded with a perfectly intact, delicious treat.
- After the initial cooling period on the baking sheet, you can carefully slide the cookie pizza onto a wire rack to cool completely. This allows for air circulation and ensures the bottom of the pizza doesn’t become soggy. Once it has cooled to your desired temperature (it’s delicious warm, but also fantastic at room temperature), slice it into wedges like a traditional pizza. Enjoy the delightful combination of chewy cookie, melty chocolate, and crunchy M&Ms with every bite!
Conclusion:
And there you have it – your very own delicious M&M Cookie Pizza! This recipe is a guaranteed crowd-pleaser, perfect for birthdays, movie nights, or simply satisfying a sweet craving. We’ve walked through each step to ensure a perfect bake, resulting in a chewy, chocolatey base topped with a delightful medley of M&Ms. It’s a truly versatile dessert that brings a smile to everyone’s face. For serving, consider a scoop of vanilla ice cream melting alongside a warm slice of your M&M Cookie Pizza. It also pairs wonderfully with a glass of cold milk or even a rich hot chocolate.
Don’t be afraid to get creative with your M&M Cookie Pizza! Feel free to experiment with different types of M&Ms, or even add other fun toppings like chocolate chips, sprinkles, or a drizzle of caramel sauce. This recipe is wonderfully forgiving, making it an excellent choice for bakers of all skill levels. We encourage you to share your M&M Cookie Pizza creations and inspire others!
Frequently Asked Questions about M&M Cookie Pizza:
Can I make this M&M Cookie Pizza ahead of time?
Yes, you can prepare the cookie dough for your M&M Cookie Pizza up to 2 days in advance and store it in the refrigerator. You can also bake the cookie pizza and store it at room temperature for up to 2 days. For longer storage, wrap it tightly in plastic wrap and then foil, and freeze it for up to 2-3 months. Reheat gently in a low oven.
What if I don’t have all the same M&Ms?
That’s perfectly fine! The beauty of the M&M Cookie Pizza is its customizability. You can use any combination of M&Ms you have on hand – peanut, pretzel, caramel, or even seasonal varieties. The goal is to have a colorful and delicious topping, so feel free to mix and match to your heart’s content!
M&M Cookie Pizza Recipe
An easy and fun dessert recipe for a giant M&M cookie shaped like a pizza, perfect for parties or a sweet treat.
Ingredients
-
1 cup all-purpose flour
-
1/2 teaspoon baking powder
-
1/4 teaspoon salt
-
1/4 cup unsalted butter, melted and cooled
-
1/4 cup light brown sugar
-
2 tablespoons granulated sugar
-
1 large egg, room temperature
-
1 teaspoon vanilla extract
-
3/4 cup M&M candies
-
1/3 cup milk chocolate chips
-
1/4 cup M&M candies
Instructions
-
Step 1
Preheat oven to 350°F (175°C). Line a baking sheet with parchment paper. Whisk together flour, baking powder, and salt in a medium bowl. -
Step 2
In a separate large bowl, cream together melted butter, brown sugar, and granulated sugar until smooth. Beat in egg and vanilla extract until combined and pale yellow. -
Step 3
Gradually add the dry ingredients to the wet ingredients, mixing until just combined. Do not overmix. Gently fold in 3/4 cup M&M candies and milk chocolate chips. -
Step 4
Spread the dough into a 9-10 inch circle on the prepared baking sheet. Sprinkle the remaining 1/4 cup M&M candies evenly over the top. -
Step 5
Bake for 18-22 minutes, or until edges are golden brown and the center is set. Let cool on the baking sheet for 10-15 minutes before transferring to a wire rack to cool completely. Slice and serve.
Important Information
Nutrition Facts (Per Serving)
It is important to consider this information as approximate and not to use it as definitive health advice.
Allergy Information
Please check ingredients for potential allergens and consult a health professional if in doubt.