Easy Fresh Fruit Tart Recipe – Delicious Dessert
Fruit tart. The very phrase conjures images of sun-drenched orchards, vibrant colors, and a delightful dance of sweet and tart flavors. What is it about this classic dessert that captures hearts and tantalizes taste buds time and time again? Perhaps it’s the perfect harmony of a crisp, buttery crust, a luscious, creamy filling – often a rich pastry cream or a tangy crème fraîche – and the crowning glory of perfectly arranged, jewel-toned fresh fruit. Each bite of a well-made fruit tart is an experience, a symphony of textures and tastes that feels both elegant and comforting. It’s a dessert that’s as beautiful to behold as it is delicious to devour, making it a showstopper for any occasion, from a casual afternoon tea to a celebratory feast. We’ll explore how to create your own stunning fruit tart, a treat that’s sure to impress and satisfy.
Ingredients:
- 1 1/4 cups all-purpose flour
- 1/4 cup powdered sugar
- 1/2 cup cold butter, cubed
- 1-2 tablespoons cold water
- 1 cup milk
- 1 teaspoon vanilla extract
- 3 egg yolks
- 1/4 cup granulated sugar
- 2 tablespoons cornstarch
- 1 tablespoon butter
- Fresh strawberries, sliced
- Fresh kiwis, sliced
- Fresh mangoes, sliced
- Fresh blackberries
- 2 tablespoons apricot jam
Making the Perfect Fruit Tart
This fruit tart is a delightful dessert that showcases the vibrant flavors and colors of fresh fruit, nestled in a buttery, crisp crust with a luscious pastry cream. It’s elegant enough for special occasions but surprisingly approachable for a weekend treat. Let’s get started!
Preparing the Tart Crust
The foundation of any great fruit tart is a fantastic crust. We’ll be making a simple yet incredibly tender and flaky pastry using flour, powdered sugar, and cold butter.
- In a medium bowl, whisk together the 1 1/4 cups of all-purpose flour and the 1/4 cup of powdered sugar. This adds a subtle sweetness and a finer texture to the crust.
- Add the 1/2 cup of cold butter, which has been cut into small cubes. The key here is to keep the butter very cold. Using a pastry blender, your fingertips, or a food processor, cut the butter into the flour mixture until it resembles coarse crum extractbs with some pea-sized pieces of butter remaining. These larger butter pieces are what create those delightful flaky layers as the tart bakes. Don’t overmix; we want those distinct butter pockets.
- Gradually add 1 to 2 tablespoons of ice-cold water, one tablespoon at a time, mixing just until the dough starts to come together. You might not need all of the water, or you might need a tiny bit more. The dough should be moist enough to clump together when squeezed but not sticky. Overworking the dough at this stage will develop the gluten too much, resulting in a tough crust.
- Gently gather the dough into a ball, flatten it into a disc, wrap it tightly in plastic wrap, and refrigerate for at least 30 minutes. This chilling period is crucial. It allows the gluten to relax, making the dough easier to roll out, and solidifies the butter again, which is essential for flakiness.
Baking the Tart Shell
Once the dough is chilled, it’s time to form and bake our tart shell.
- Preheat your oven to 375°F (190°C).
- On a lightly floured surface, roll out the chilled dough into a circle about 12 inches in diameter. Work quickly to prevent the butter from warming up too much.
- Carefully transfer the rolled-out dough into a 9-inch tart pan with a removable bottom. Gently press the dough into the bottom and up the sides of the pan, making sure to get it into the fluted edges. Trim any excess dough.
- To prevent the crust from puffing up excessively during baking, we’ll use a technique called blind baking. Prick the bottom of the tart shell all over with a fork. Line the shell with parchment paper, ensuring it covers the bottom and sides, and fill it with pie weights, dried beans, or uncooked rice.
- Bake for 15 minutes. Then, carefully remove the parchment paper and weights. Return the tart shell to the oven and bake for another 10-15 minutes, or until the crust is golden brown and cooked through. If the edges start to brown too quickly, you can loosely tent them with foil. Let the baked tart shell cool completely on a wire rack.
Crafting the Pastry Cream
The creamy filling is the heart of this fruit tart. It’s a classic vanilla pastry cream that’s rich, smooth, and utterly delicious.
- In a medium saucepan, gently heat the 1 cup of milk and 1 teaspoon of vanilla extract over medium heat until it just begin extracts to simmer around the edges. Do not let it boil. Remove from heat.
- In a separate bowl, whisk together the 3 egg yolks, 1/4 cup of granulated sugar, and 2 tablespoons of cornstarch until smooth and pnon-alcoholic ale yellow. The cornstarch is what will thicken the cream beautifully.
- Slowly and gradually, temper the egg yolk mixture by whisking in about half of the hot milk mixture. This gradual addition prevents the egg yolks from scrambling. Once combined, pour this tempered mixture back into the saucepan with the remaining milk.
- Return the saucepan to medium-low heat and whisk constantly. The mixturegin extractll begin to thicken. Keep whisking, making sure to scrape the bottom and sides of the pan, until the pastry cream is thick enough to coat the back of a spoon, about 5-8 minutes. Don’t rush this step, as undercooked cornstarch can taste chalky.
- Once thickened, remove the pastry cream from the heat and stir in the 1 tablespoon of butter until it’s completely melted and incorporated. This adds a lovely sheen and richness. Pour the pastry cream into a clean bowl. To prevent a skin from forming, press a piece of plastic wrap directly onto the surface of the cream. Let it cool to room temperature, then refrigerate until thoroughly chilled.
Assembling Your Masterpiece
With the tart shell cooled and the pastry cream chilled, it’s time for the most visually satisfying part – decorating!
- Once the pastry cream is completely cold and firm, give it a good whisk to loosen it up and make it smooth and spreadable. Spoon the chilled pastry cream into the cooled tart shell and spread it evenly using an offset spatula or the back of a spoon.
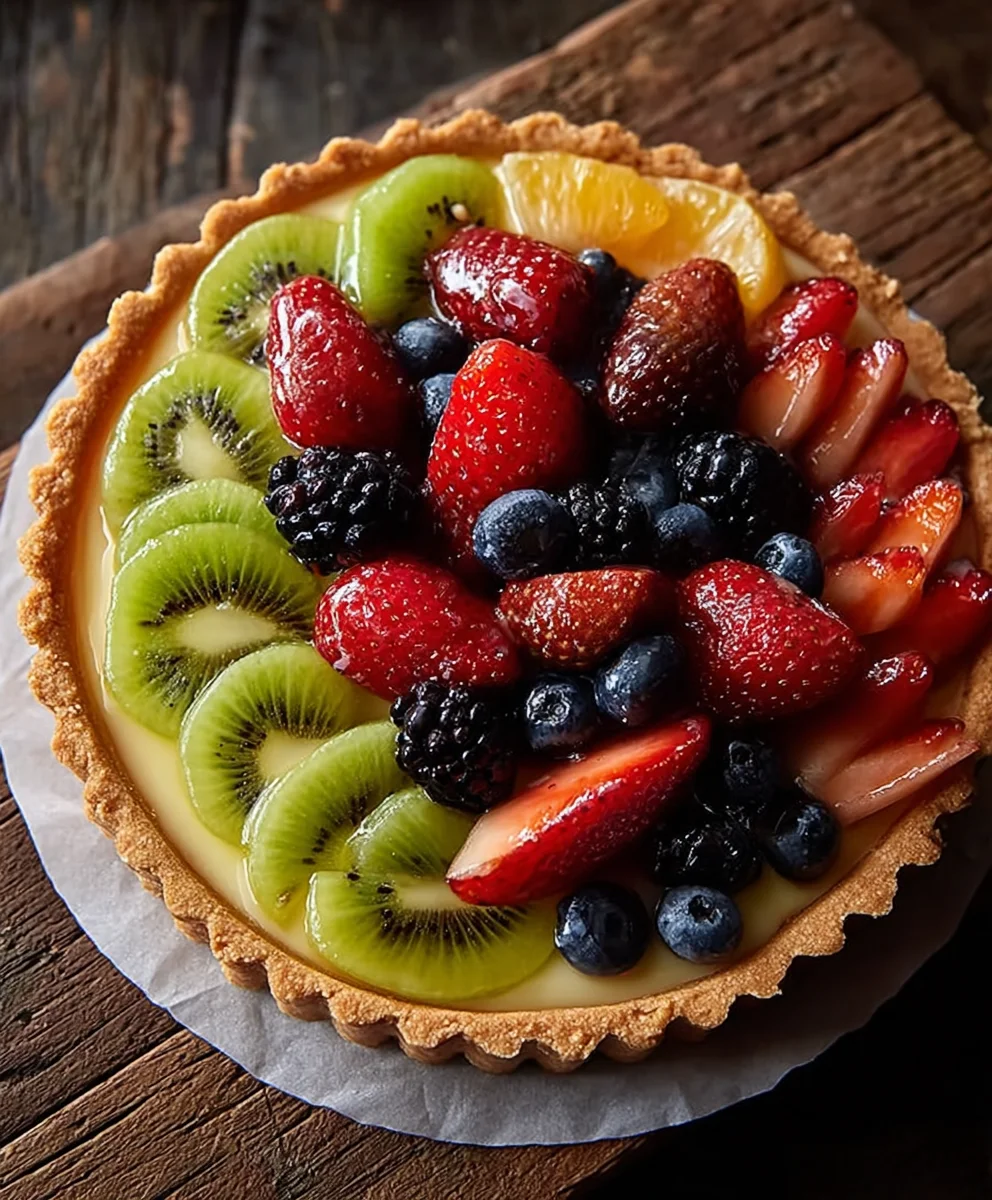
- Now for thegin extractn part: arranging the fresh fruit! Get creative with your beautifully sliced fresh strawberries, kiwis, and mangoes, along with plump fresh blackberries. You can arrange them in concentric circles, create a mosaic pattern, or simply cover the surface artfully. The vibrant colors will make your fruit tart truly pop.
- To give your fruit tart a beautiful sheen and prevent the fruit from drying out, gently warm the 2 tablespoons of apricot jam in a small saucepan or microwave for a few seconds until it’s pourable. Using a pastry brush, delicately glaze the top of the fruit with the warm apricot jam. This not only adds a lovely shine but also a subtle fruity sweetness.
Conclusion:
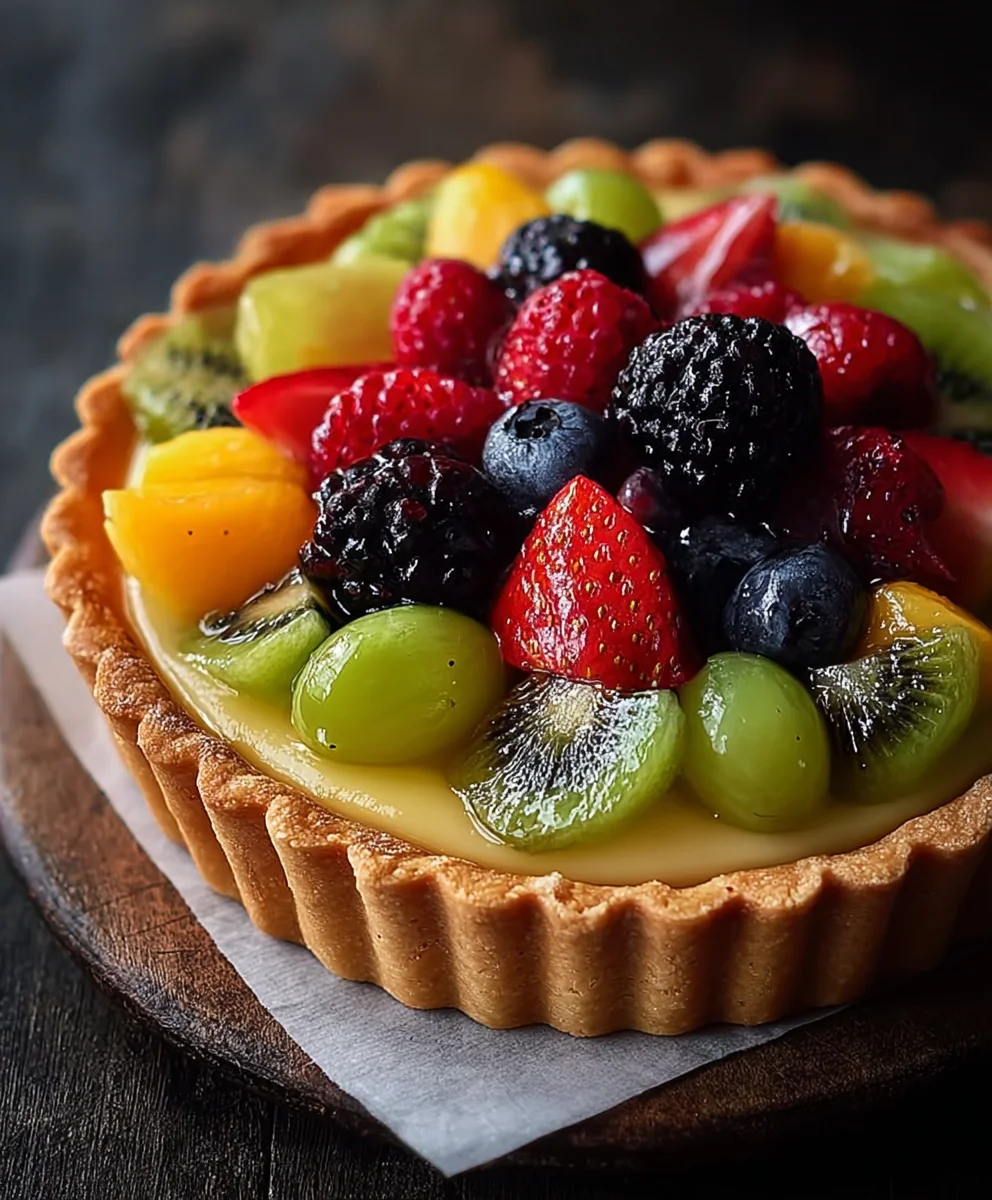
And there you have it! You’ve now mastered the art of creating a beautiful and delicious fruit tart. This recipe, with its crisp buttery crust and vibrant medley of fresh fruits, is a true showstopper. It’s perfect for special occasions, a delightful dessert after a family meal, or even a sophisticated brunch treat. Don’t be afraid to get creative with your fruit choices – seasonal produce will always offer the best flavor and appearance.
For serving, I love to present my fruit tart with a dollop of freshly whipped cream or a scoop of vanilla bean ice cream. It truly elevates the experience. If you’re feeling adventurous, consider a light drizzle of honey or a dusting of powdered sugar just before serving.
The beauty of this fruit tart lies in its versatility. Feel free to experiment with different types of fruit based on what’s in season or what your personal favorites are. Berries, stone fruits, kiwi, mango – the possibilities are endless! You can also play with the pastry by adding a hint of lemon zest or almond extract to the dough. Remember, baking is an exploration, so have fun with it!
I truly hope you enjoy making and sharing this wonderful fruit tart. It’s a recipe that’s sure to impress and bring smiles all around. Happy baking!
FAQs:
Can I make the fruit tart ahead of time?
Yes, you can! The crust can be baked a day in advance and stored in an airtight container at room temperature. The pastry cream can also be made a day ahead and kept refrigerated, covered with plastic wrap directly on the surface to prevent a skin from forming. Assemble the tart a few hours before serving to prevent the crust from becoming soggy.
What are some good alternatives to the standard pastry cream filling?
Absolutely! You could use a lemon curd for a tangy twist, a chocolate ganache for a richer flavor, or even a light cream cheese frosting for a different texture. Just ensure your chosen filling is firm enough to hold the fruit.
Easy Fresh Fruit Tart Recipe – Delicious Dessert
A delightful and visually appealing fruit tart featuring a buttery, crisp crust, luscious vanilla pastry cream, and a vibrant topping of fresh fruits, finished with a glaze of apricot jam.
Ingredients
-
1 1/4 cups all-purpose flour
-
1/4 cup powdered sugar
-
1/2 cup cold butter, cubed
-
1-2 tablespoons cold water
-
1 cup milk
-
1 teaspoon vanilla extract
-
3 egg yolks
-
1/4 cup granulated sugar
-
2 tablespoons cornstarch
-
1 tablespoon butter
-
Fresh strawberries, sliced
-
Fresh kiwis, sliced
-
Fresh mangoes, sliced
-
Fresh blackberries
-
2 tablespoons apricot jam
Instructions
-
Step 1
Prepare the tart crust: Whisk flour and powdered sugar. Cut in cold butter until coarse crumbs form. Gradually add cold water until dough comes together. Flatten into a disc, wrap, and refrigerate for at least 30 minutes. -
Step 2
Bake the tart shell: Preheat oven to 375°F (190°C). Roll out dough, fit into a 9-inch tart pan. Prick bottom, line with parchment paper, fill with pie weights. Bake for 15 minutes. Remove weights and parchment, bake for another 10-15 minutes until golden brown. Cool completely. -
Step 3
Craft the pastry cream: Gently heat milk and vanilla extract until simmering. In a separate bowl, whisk egg yolks, granulated sugar, and cornstarch. Temper egg yolks by gradually whisking in hot milk. Pour back into saucepan and cook over medium-low heat, whisking constantly, until thickened. Stir in butter until melted. Pour into a bowl, cover surface with plastic wrap, and refrigerate until chilled. -
Step 4
Assemble the tart: Whisk chilled pastry cream until smooth. Spoon into the cooled tart shell and spread evenly. -
Step 5
Decorate the tart: Arrange sliced fresh strawberries, kiwis, mangoes, and fresh blackberries artfully over the pastry cream. -
Step 6
Glaze the fruit: Gently warm apricot jam until pourable. Using a pastry brush, glaze the top of the fruit for shine and sweetness.
Important Information
Nutrition Facts (Per Serving)
It is important to consider this information as approximate and not to use it as definitive health advice.
Allergy Information
Please check ingredients for potential allergens and consult a health professional if in doubt.