Crispy Chicken Caesar Sandwich-Ultimate Flavor
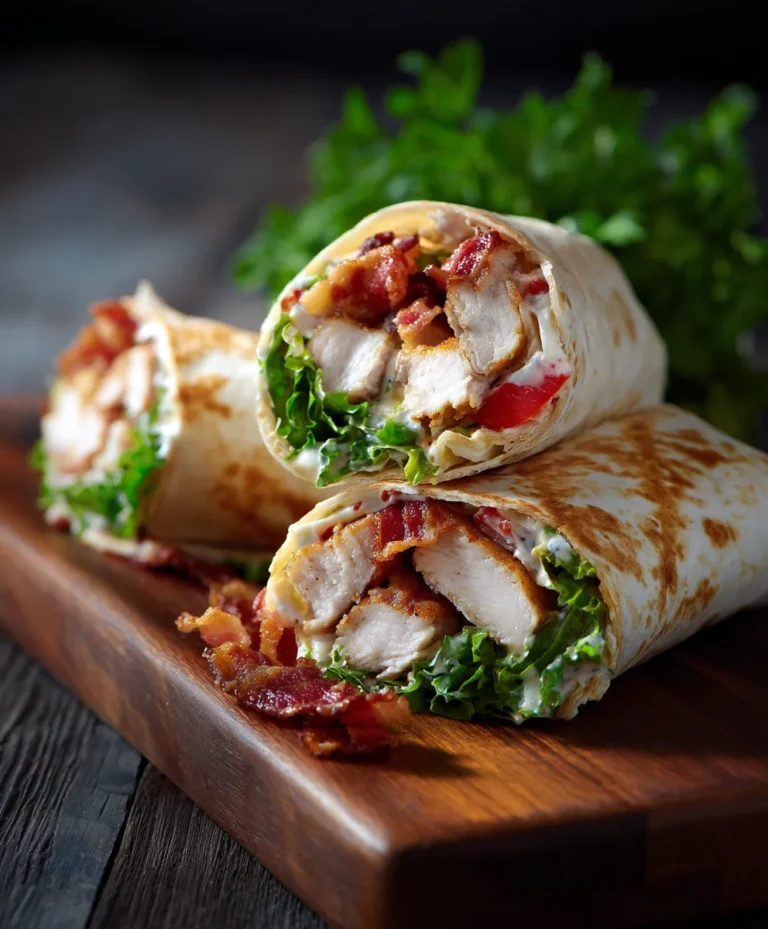
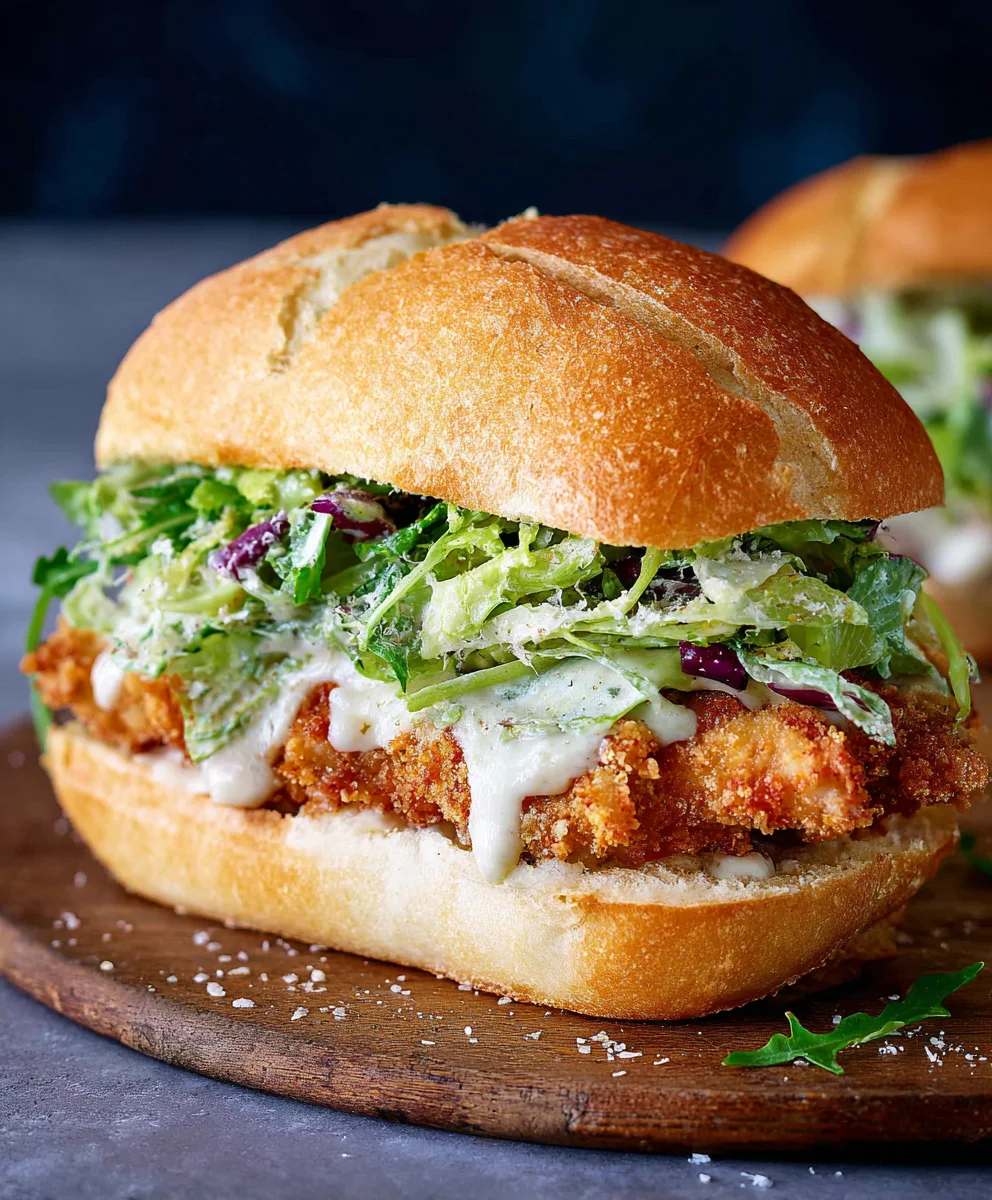
Crispy Chicken Caesar Sandwich is more than just a meal; it’s an experience that tantalizes taste buds and satisfies cravings like no other. What is it about this classic combination that makes it so universally adored? Perhaps it’s the delightful contrast of textures – the satisfying crunch of perfectly fried chicken against the creamy, tangy Caesar dressing, all nestled within a soft, yielding bun. Or maybe it’s the familiar, comforting flavors that evoke memories of casual lunches and satisfying dinners. This isn’t just any sandwich; it’s a symphony of savory, zesty, and downright delicious notes that come together to create pure culinary bliss. We’re diving deep into what makes our version of the Crispy Chicken Caesar Sandwich truly exceptional, from the secret to achieving that ultimate crisp on the chicken to the nuanced balance of our homemade Caesar dressing. Get ready to elevate your sandwich game!
Ingredients:
- ½ cup full-fat mayonnaise
- 3 tbsp Greek yogurt
- 1 tsp Dijon mustard
- 1 tsp Worcestershire sauce
- 2 tbsp fresh lemon juice
- ¼ cup freshly grated Parmesan cheese
- 1-2 garlic cloves, minced
- ¼ tsp black pepper
- Pinch of sea salt
- 5 chicken cutlets (thinly sliced chicken breast pieces)
- Sea salt, to taste
- Ground black pepper, to taste
- Oil, for frying (vegetable oil, canola oil, or peanut oil work well)
- ⅓ cup all-purpose flour
- ½ tsp salt (for flour coating)
Preparing the Caesar Dressing
Step 1: Combine the Creamy Base
To begin extract crafting the heart of our Crispy Chicken Caesar Sandwich, let’s focus on the dressing. In a medium-sized bowl, combine the full-fat mayonnaise and Greek yogurt. The mayonnaise provides a rich, classic base, while the Greek yogurt adds a delightful tang and a lighter texture. Whisk these two ingredients together until they are thoroughly incorporated and the mixture is smooth. This ensures an even distribution of flavors in the final dressing.
Step 2: Infuse with Savory and Tangy Notes
Next, we’ll add the elements that give our Caesar dressing its signature depth. Stir in the Dijon mustard, which offers a sharp, pungent kick that perfectly complements the creamy base. Follow this with the Worcestershire sauce; this umami-rich ingredient adds a complex savory note that is crucial to authentic Caesar flavor. Finally, add the fresh lemon juice. The brightness of the lemon juice cuts through the richness and ties all the flavors together beautifully. Whisk everything together until well combined.
Step 3: Incorporate the Aromatics and Seasoning
Now, let’s bring in the aromatics and final seasonings. Add the freshly grated Parmesan cheese to the dressing mixture. Using freshly grated Parmesan is key for the best flavor and texture; it melts into the dressing more readily than pre-shredded varieties. Then, add your minced garlic cloves. For a milder garlic flavor, start with one clove and taste, adding a second if you desire a more pronounced garlic presence. Finish by seasoning with ¼ teaspoon of black pepper and a pinch of sea salt. Stir vigorously until the Parmesan is evenly distributed. Taste and adjust salt and pepper as needed, aiming for a balanced, zesty, and savory dressing. Cover the bowl and refrigerate while you prepare the chicken.
Coating and Frying the Chicken
Step 4: Prepare the Chicken for Frying
It’s time to get our chicken ready for its crispy transformation. Pat the chicken cutlets dry with paper towels. This step is surprisingly important as it helps the flour coating adhere better and promotes crispier results during frying. Season both sides of each chicken cutlet generously with sea salt and ground black pepper to taste. This ensures that the chicken itself is flavorful from the inside out.
In a shallow dish or on a plate, combine the ⅓ cup of all-purpose flour with ½ teaspoon of salt. Mix this flour mixture well. Dredge each seasoned chicken cutlet in the flour mixture, ensuring that each piece is evenly coated on all sides. Gently shake off any excess flour before moving to the next step. This light coating will create a wonderfully crisp exterior.
Step 5: Achieve Golden-Brown Perfection
Heat about ½ inch of oil in a large skillet over medium-high heat. You want the oil to be hot enough to sizzle immediately when a small piece of chicken is added, but not so hot that it smokes. Carefully place the flour-dredged chicken cutlets into the hot oil, being careful not to overcrowd the pan. Fry in batches if necessary to maintain consistent oil temperature and ensure even cooking. Cook for approximately 3-5 minutes per side, or until the chicken is golden brown, cooked through, and reaches an internal temperature of 165°F (74°C). Use tongs to carefully turn the chicken pieces to ensure even browning. Once cooked, transfer the crispy chicken cutlets to a wire rack set over a baking sheet or to a plate lined with paper towels to drain any excess oil. This process results in incredibly satisfyingly crispy chicken that is juicy on the inside.
Conclusion:
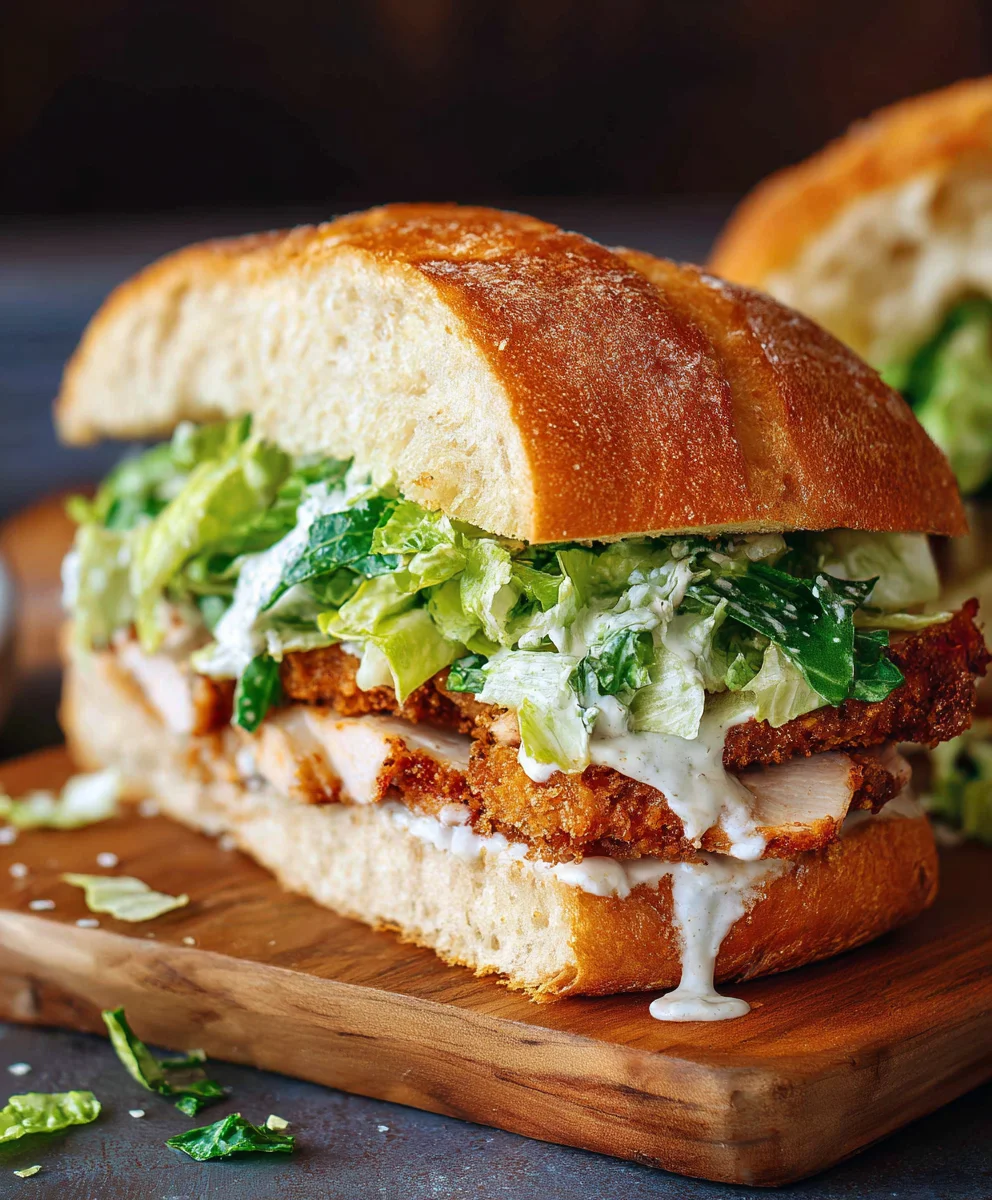
And there you have it – your very own delicious Crispy Chicken Caesar Sandwich! We hope you enjoyed this straightforward yet incredibly satisfying recipe. This sandwich is more than just a meal; it’s a delightful symphony of textures and flavors, perfect for a quick lunch, a hearty dinner, or even a casual gathering with friends. The satisfying crunch of the fried chicken, paired with the creamy, tangy Caesar dressing and fresh romaine, creates an unforgettable bite every time.
We encourage you to experiment and make this Crispy Chicken Caesar Sandwich your own! Feel free to add a sprinkle of extra parmesan, a dash of red pepper flakes for a little heat, or even swap out the traditional romaine for peppery arugula. Serve it alongside a bowl of sweet potato fries, a simple green salad, or some crispy kettle chips for a complete and delightful meal. Don’t be afraid to get creative!
Frequently Asked Questions:
Can I make the chicken ahead of time?
Absolutely! You can prepare and cook the chicken cutlets for your Crispy Chicken Caesar Sandwich a day in advance. Once cooled, store them in an airtight container in the refrigerator. Reheat them gently in a toaster oven or a dry skillet to regain some of their crispiness before assembling your sandwich.
What if I don’t have a panini press?
No problem! If you don’t have a panini press, you can assemble your Crispy Chicken Caesar Sandwich and then grill it in a lightly oiled skillet over medium heat, pressing down gently with a spatula. Cook for a few minutes per side until the bread is golden brown and toasted, and the inside is warm.
Crispy Chicken Caesar Sandwich-Ultimate Flavor
A delicious and flavorful crispy chicken Caesar sandwich featuring homemade Caesar dressing and perfectly fried chicken cutlets.
Ingredients
-
½ cup full-fat mayonnaise
-
3 tbsp Greek yogurt
-
1 tsp Dijon mustard
-
1 tsp Worcestershire sauce
-
2 tbsp fresh lemon juice
-
¼ cup freshly grated Parmesan cheese
-
1-2 garlic cloves, minced
-
¼ tsp black pepper
-
Pinch of sea salt
-
5 chicken cutlets (thinly sliced chicken breast pieces)
-
Sea salt, to taste
-
Ground black pepper, to taste
-
Oil, for frying (vegetable oil, canola oil, or peanut oil work well)
-
⅓ cup all-purpose flour
-
½ tsp salt (for flour coating)
Instructions
-
Step 1
In a medium-sized bowl, combine the full-fat mayonnaise and Greek yogurt. Whisk these two ingredients together until they are thoroughly incorporated and the mixture is smooth. -
Step 2
Stir in the Dijon mustard, Worcestershire sauce, and fresh lemon juice. Whisk everything together until well combined. -
Step 3
Add the freshly grated Parmesan cheese, minced garlic cloves, ¼ teaspoon of black pepper, and a pinch of sea salt. Stir vigorously until the Parmesan is evenly distributed. Taste and adjust salt and pepper as needed. Cover and refrigerate. -
Step 4
Pat the chicken cutlets dry with paper towels. Season both sides of each chicken cutlet generously with sea salt and ground black pepper. In a shallow dish, combine the ⅓ cup of all-purpose flour with ½ teaspoon of salt. Dredge each seasoned chicken cutlet in the flour mixture, ensuring even coating, and shake off excess flour. -
Step 5
Heat about ½ inch of oil in a large skillet over medium-high heat. Carefully place the flour-dredged chicken cutlets into the hot oil, without overcrowding the pan. Fry for approximately 3-5 minutes per side, until golden brown and cooked through. Transfer to a wire rack or paper towels to drain.
Important Information
Nutrition Facts (Per Serving)
It is important to consider this information as approximate and not to use it as definitive health advice.
Allergy Information
Please check ingredients for potential allergens and consult a health professional if in doubt.