Easter Chocolate Chip Cookies-Delicious & Easy Recipe
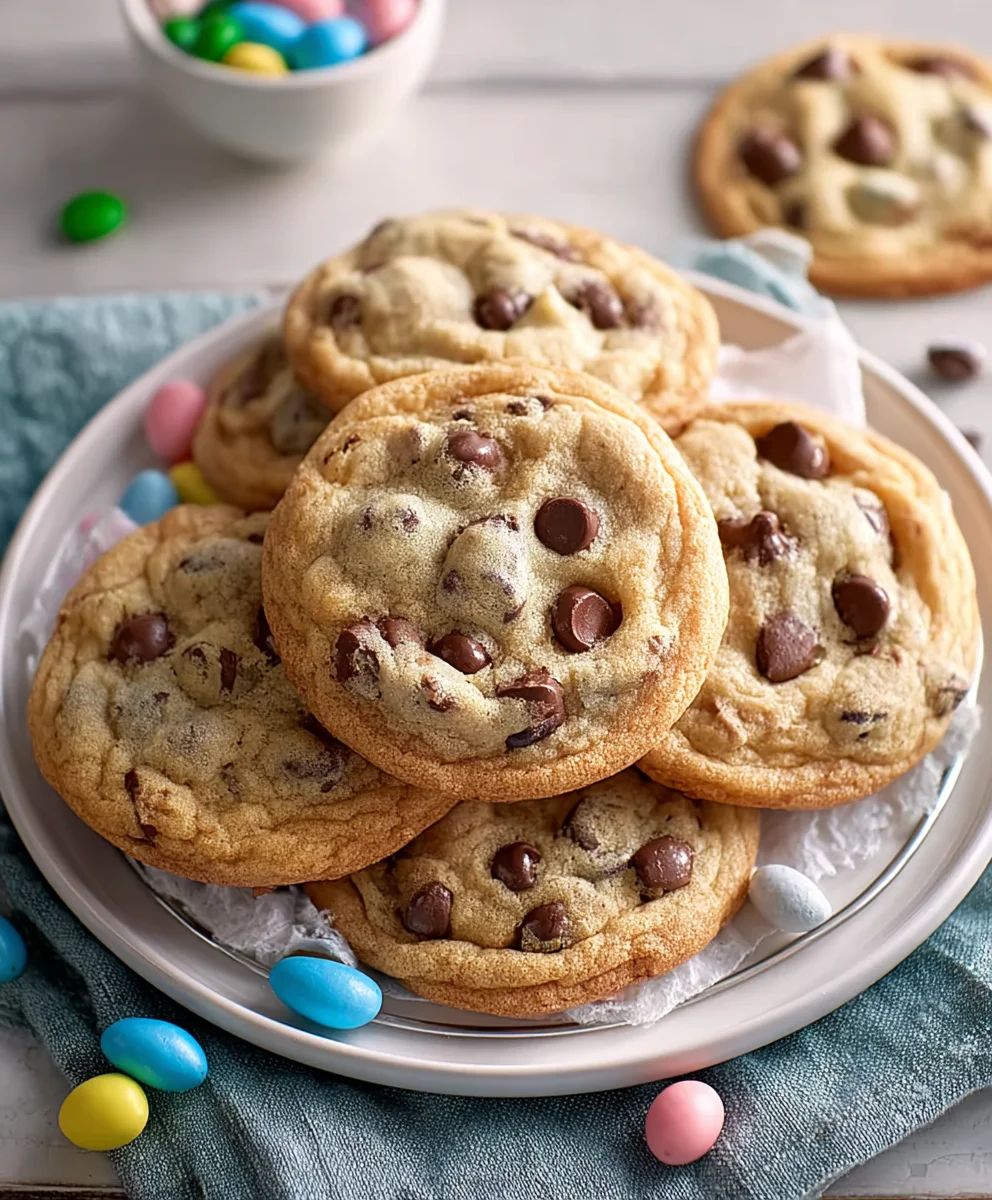
Easter Chocolate Chip Cookies are more than just a simple treat; they’re a delightful edible hug, a symbol of spring’s arrival, and a guaranteed smile-maker for every age. There’s something inherently joyful about the sweet, chewy texture of a perfectly baked cookie, studded with melty chocolate chips, and during the Easter season, this classic gets a festive makeover. We love Easter Chocolate Chip Cookies because they evoke warm memories of family gatherings, the thrill of the Easter egg hunt, and the simple pleasure of sharing something delicious. What makes them truly special, beyond their universally adored flavor profile, is the opportunity to infuse them with the spirit of the holiday. Imagin extracte vibrant pastel-colored chips, a hint of citrus zest, or even a dusting of edible glitter – these variations transform a beloved favorite into a seasonal showstopper that’s as beautiful as it is tasty.
Ingredients:
- 3/4 cup unsalted butter, softened to room temperature
- 1 cup packed light brown sugar
- 1/2 cup granulated sugar
- 1 large egg, at room temperature
- 1 tablespoon pure vanilla extract
- 2 1/2 cups all-purpose flour, spooned and leveled
- 2 teaspoons cornstarch
- 1 teaspoon baking soda
- 1/2 teaspoon fine sea salt
- 12 ounces semi-sweet chocolate chips
- 1 cup Easter M&Ms candies, plus extra for decorating if you wish
Preparing the Dough
Creaming the Butter and Sugars
The foundation of any great cookie lies in properly creamed butter and sugars. Begin extract by placing your softened, room-temperature unsalted butter into a large mixing bowl. It’s crucial that the butter is soft but not melted – you should be able to press your finger into it easily, leaving an indentation. Next, add the packed light brown sugar and granulated sugar. Using an electric mixer (either a stand mixer with a paddle attachment or a hand mixer), beat the butter and sugars together on medium speed. You’ll want to cream them until the mixture is light, fluffy, and pnon-alcoholic ale in color. This process typically takes about 3 to 5 minutes. This aeration is what helps create a tender cookie with a lovely texture. Don’t rush this step; it’s a key player in achieving that perfect chewy center and slightly crisp edge. Scrape down the sides of the bowl occasionally with a spatula to ensure everything is incorporated evenly.
Adding the Wet Ingredients
Once your butter and sugar mixture is perfectly creamy, it’s time to introduce the wet ingredients. Add the room-temperature egg and the pure vanilla extract to the bowl. It’s important that the egg is also at room temperature, as this helps it emulsify smoothly into the batter without causing the butter to seize up. Beat the mixture again on medium speed until just combined. You don’t want to overmix at this stage, as that can develop the gluten in the flour too much, leading to tougher cookies. A quick mix until the egg and vanilla are incorporated is all you need. Again, pause to scrape down the sides and bottom of the bowl to make sure there are no pockets of unmixed egg or vanilla.
Combining the Dry Ingredients
In a separate medium bowl, whisk together the all-purpose flour, cornstarch, baking soda, and salt. The cornstarch is a secret weapon for achieving an extra tender and soft cookie – it absorbs moisture and inhibits gluten formation. Whisking these dry ingredients together thoroughly ensures that the leavening agents (baking soda) and salt are evenly distributed throughout the flour. This even distribution is critical for consistent baking and preventing any one bite from being too salty or too flat.
gin extract>Bringing it All Together
Now, gradually add the dry ingredients to the wet ingredients. Start by adding about one-third of the dry mixture to the creamed butter and sugar. Mix on low speed until just combined. Then, add another third of the dry ingredients and mix again until just incorporated. Finally, add the remaining dry ingredients and mix on low speed until no streaks of flour remain. Be very careful not to overmix. As soon as the flour is incorporated, stop mixing. Overmixing develops gluten, which can result in tough, dense cookies rather than the soft, chewy Easter Chocolate Chip Cookies we’re aiming for.
Adding the Goodies
Incorporating Chocolate Chips and M&Ms
This is arguably the most exciting part! Add the semi-sweet chocolate chips and the Easter M&Ms candies to the dough. Gently fold them in using a spatula or your hands. The goal here is to distribute them evenly throughout the dough without breaking them up too much. Take your time and ensure every corner of the dough gets some of these delicious additions. If you’re planning to add extra M&Ms for topping, set those aside now. This gentle folding preserves the integrity of the M&Ms and chocolate chips, ensuring you get those delightful pops of flavor and texture in every bite.
Chilling and Baking
Chilling the Dough (Highly Recommended!)
For the best texture and flavor, it’s highly recommended to chill the cookie dough. Cover the bowl tightly with plastic wrap or transfer the dough to an airtight container and refrigerate for at least 1 hour, or preferably 24-48 hours. Chilling allows the flour to hydrate fully and the flavors to meld together, resulting in a more complex taste and a cookie that spreads less during baking. This extra step makes a noticeable difference in the final cookie.
Scooping and Baking the Cookies
When you’re ready to bake, preheat your oven to 350°F (175°C). Line baking sheets with parchment paper or silicone baking mats. This prevents sticking and makes for easy cleanup. Using a cookie scoop (about 1.5 to 2 tablespoons in size) or two spoons, portion out mounds of dough onto the prepared baking sheets, leaving about 2 inches of space between each cookie to allow for spreading. If you saved extra M&Ms for topping, gently press a few on top of each dough ball before baking.
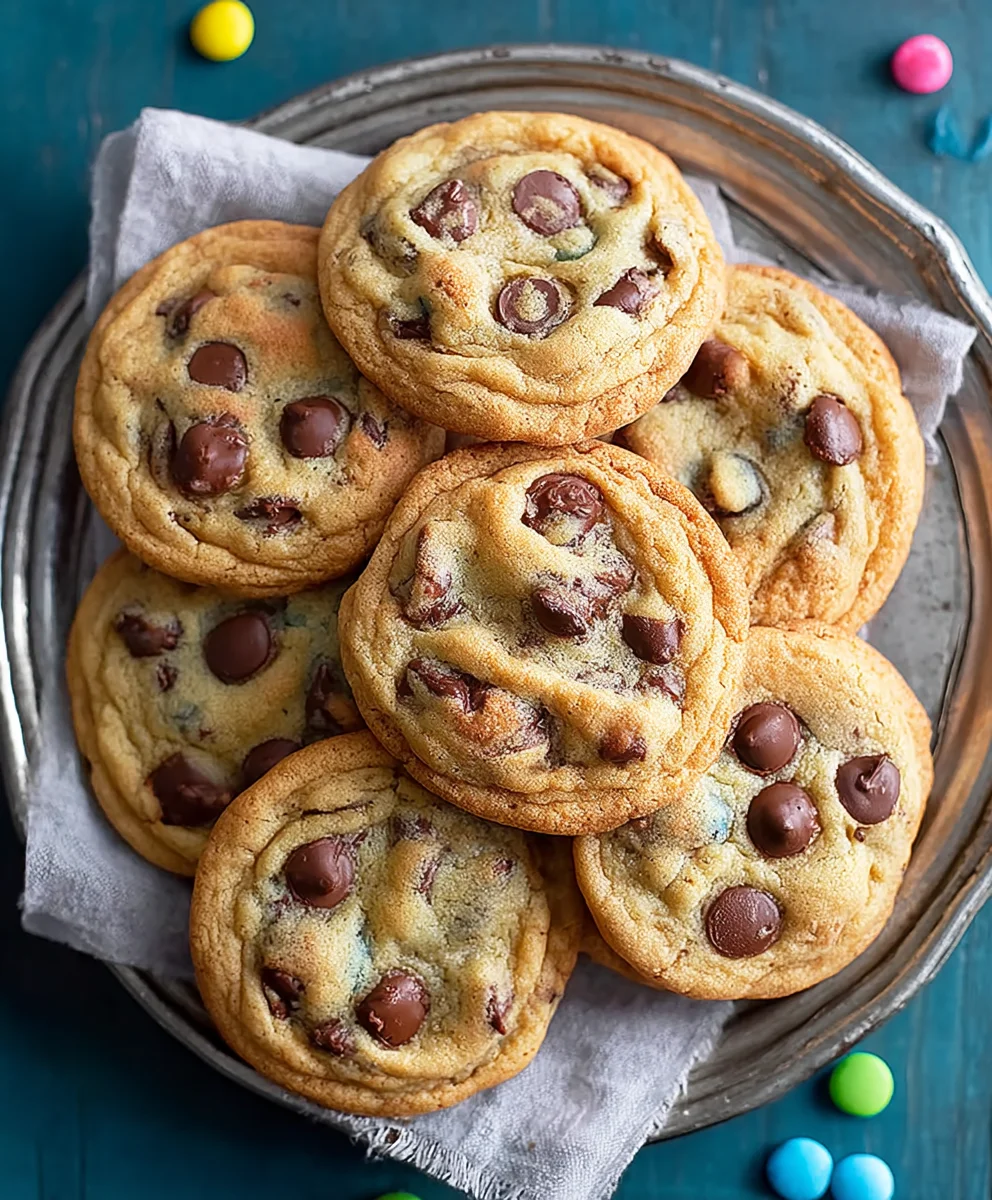
Bake for 9 to 12 minutes, or until the edges are lightly golden brown and the centers still look slightly soft. The cookies will continue to set up as they cool on the baking sheet. For softer, chewier cookies, err on the side of underbaking slightly. Once baked, let the cookies cool on the baking sheets for about 5 minutes before transferring them to a wire rack to cool completely. This resting period is crucial for the cookies to firm up and develop their final texture. Enjoy your delightful Easter Chocolate Chip Cookies!
Conclusion:
There you have it – your ultimate guide to baking the most delicious Easter Chocolate Chip Cookies! We’ve walked through each step, from selecting the best quality chocolate to achieving that perfect chewy center and crispy edge. These cookies aren’t just a treat; they’re a symbol of springtime joy and family gatherings. I hope you find as much delight in baking them as I do!
To elevate your Easter celebration, consider serving these Easter Chocolate Chip Cookies alongside a refreshing glass of milk, a steaming cup of coffee, or even a vibrant fruit salad. They make a wonderful addition to any dessert spread or can be individually packaged as charming edible gifts for friends and loved ones.
Don’t be afraid to experiment with variations! Feel free to mix in chopped nuts like pecans or walnuts for added crunch, or swirl in a bit of melted white chocolate for an extra decadent touch. You can also experiment with different types of chocolate chips – dark, milk, or even a blend. Feel free to add a pinch of cinnamon or nutmeg to the dough for a warm, subtle spice. Get creative and make these Easter Chocolate Chip Cookies uniquely yours!
So gather your ingredients, preheat your oven, and get ready to fill your kitchen with the irresistible aroma of freshly baked Easter Chocolate Chip Cookies. Happy baking, and a very happy Easter to you all!
Frequently Asked Questions:
Why are my Easter Chocolate Chip Cookies flat?
Flat cookies can often be attributed to using softened butter that is too warm or melted, or by overmixing the dough after the flour has been added. Ensure your butter is softened but still cool to the touch. Mix the dry ingredients into the wet ingredients until just combined to avoid developing too much gluten, which can lead to spread.
How can I store these Easter Chocolate Chip Cookies to keep them fresh?
To maintain the perfect chewy texture, store your cooled Easter Chocolate Chip Cookies in an airtight container at room temperature for up to 3-4 days. You can also freeze baked cookies for up to 3 months. For longer storage, consider freezing the dough balls before baking; they can be baked directly from frozen, adding a few extra minutes to the baking time.
Easter Chocolate Chip Cookies
Delicious and easy-to-make Easter-themed chocolate chip cookies, loaded with chocolate chips and festive M&Ms.
Ingredients
-
3/4 cup unsalted butter, softened to room temperature
-
1 cup packed light brown sugar
-
1/2 cup granulated sugar
-
1 large egg, at room temperature
-
1 tablespoon pure vanilla extract
-
2 1/2 cups all-purpose flour, spooned and leveled
-
2 teaspoons cornstarch
-
1 teaspoon baking soda
-
1/2 teaspoon fine sea salt
-
12 ounces semi-sweet chocolate chips
-
1 cup Easter M&Ms candies, plus extra for decorating if you wish
Instructions
-
Step 1
Cream together the softened butter and both sugars until light and fluffy. -
Step 2
Beat in the room-temperature egg and vanilla extract until just combined. -
Step 3
In a separate bowl, whisk together flour, cornstarch, baking soda, and salt. -
Step 4
Gradually add the dry ingredients to the wet ingredients, mixing on low speed until just combined. Do not overmix. -
Step 5
Gently fold in the chocolate chips and Easter M&Ms. -
Step 6
Chill the dough for at least 1 hour. Preheat oven to 350°F (175°C). Line baking sheets with parchment paper. -
Step 7
Scoop dough onto prepared baking sheets and bake for 9-12 minutes, or until edges are lightly golden and centers are still soft. -
Step 8
Let cookies cool on the baking sheets for 5 minutes before transferring to a wire rack to cool completely.
Important Information
Nutrition Facts (Per Serving)
It is important to consider this information as approximate and not to use it as definitive health advice.
Allergy Information
Please check ingredients for potential allergens and consult a health professional if in doubt.