Strawberry Lemonade Popsicles-Refreshing Summer Treat
Strawberry Lemonade Popsicles are more than just a frozen treat; they’re a vibrant burst of sunshine in every bite, a nostalgic reminder of carefree summer days and backyard barbecues. There’s something inherently joyful about these iconic delights that makes them universally loved. Perhaps it’s the perfect marriage of sweet, ripe strawberries with the zesty tang of fresh lemon, creating a flavor profile that is both invigorating and utterly satisfying. We adore them because they are effortlessly refreshing, offering a welcome chill on the hottest of days. What truly sets these Strawberry Lemonade Popsicles apart, however, is their beautiful simplicity and the incredibly rewarding outcome. They are remarkably easy to make at home, allowing you to control the ingredients and avoid any artificial additives, ensuring a pure, unadulterated taste of summer. This recipe is designed to deliver that quintessential flavor, making your homemade popsicles taste even better than the store-bought versions.
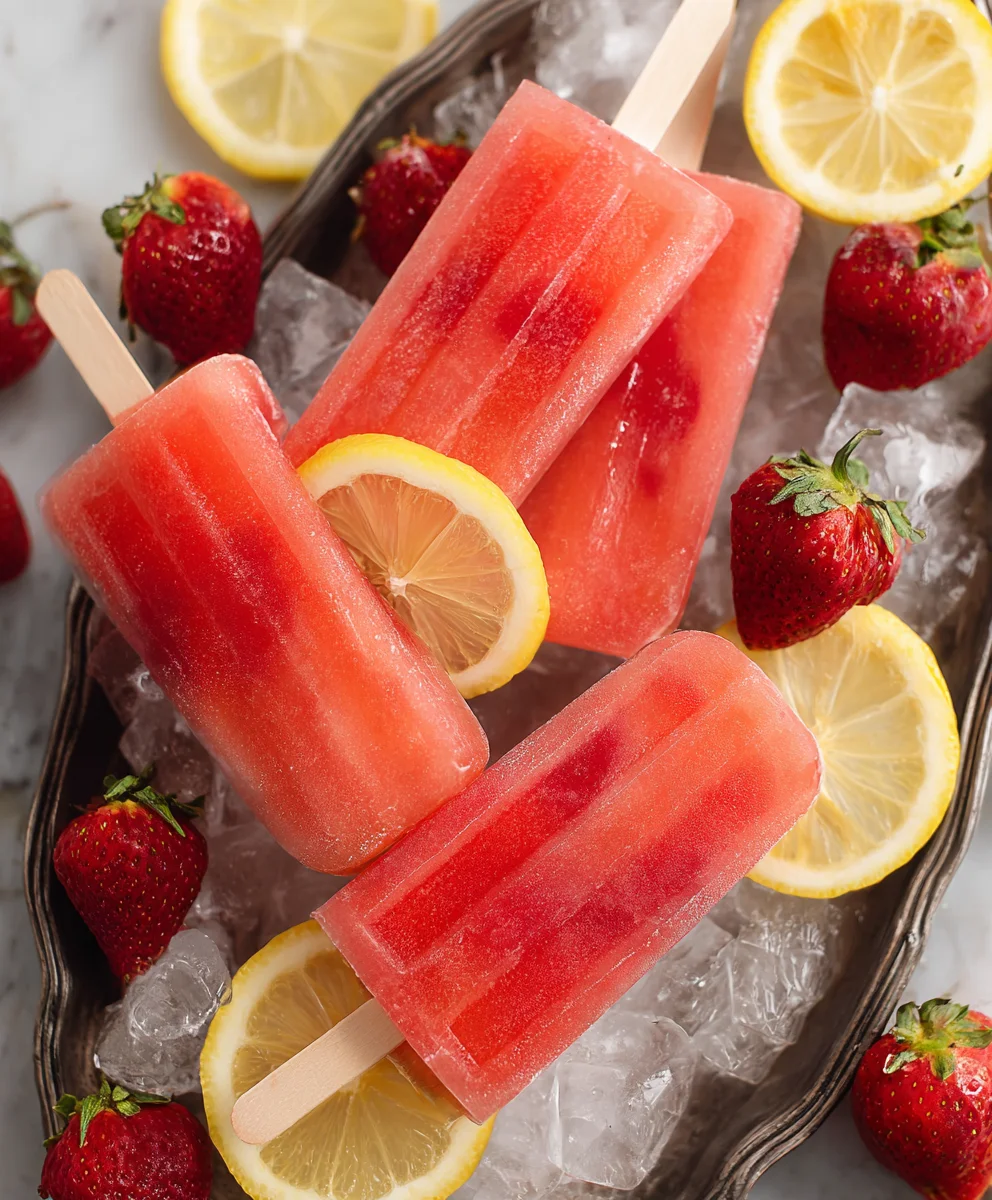
Ingredients:
- 1 container (59 fl oz) Simply Lemonade
- 1 cup fresh strawberries, hulled and diced
- 1 tablespoon granulated sugar
Preparing the Popsicle Mixture
Step 1: Macerate the Strawberries
The first step to achieving vibrant, flavorful Strawberry Lemonade Popsicles is to prepare our star ingredient: the strawberries. We want to enhance their natural sweetness and release some of their delicious juice. Take your 1 cup of hulled and diced fresh strawberries and place them in a small bowl. To this, add the 1 tablespoon of granulated sugar. Gently stir the sugar into the strawberries, ensuring each piece is lightly coated. The sugar will begin extract to draw out the moisture from the strawberries, a process called maceration. Let this mixture sit for about 10-15 minutes while you move on to the next step. This short waiting period allows the sugar to work its magic, softening the strawberries and creating a syrupy liquid at the bottom of the bowl. This will contribute to a more intense strawberry flavor in your popsicles and prevent them from being too icy. If you prefer a smoother texture, you can mash the strawberries slightly with a fork after macerating, but I personally enjoy the little bursts of fruit in my popsicles.
Step 2: Infuse the Lemonade Base
Now it’s time to combine our macerated strawberries with the lemonade. Open your container of Simply Lemonade. Pour the entire 59 fluid ounce container into a large pitcher or bowl. Carefully add the macerated strawberries, along with any delicious sugary juice that has accumulated in the bottom of the small bowl, to the lemonade. Stir everything together gently but thoroughly. You want to distribute the strawberries evenly throughout the liquid. As you stir, you’ll notice the lemonade taking on a beautiful pink hue from the strawberries, a visual promise of the refreshing treat to come. Don’t worry if some of the diced strawberries float to the top or sink to the bottom; they will settle during the freezing process. The key here is to ensure a good initial blend so that each popsicle has a balanced flavor.
Assembling and Freezing the Popsicles
Step 3: Fill the Popsicle Molds
Once your strawberry-lemonade mixture is well combined, it’s time to fill your popsicle molds. If you are using traditional popsicle molds with sticks, ensure they are clean and ready to go. Carefully pour or ladle the strawberry lemonade mixture into each mold, filling them almost to the top. It’s important not to overfill them, as the liquid will expand slightly as it freezes. Leave a small amount of space, perhaps a quarter of an inch, at the very top of each mold. This expansion room is crucial for preventing your molds from cracking or the popsicles from becoming misshapen. If your molds have built-in stick holders, insert them according to the manufacturer’s instructions. If you are using a method where you add the sticks after partial freezing, leave the tops of the molds open for now.
Step 4: The Initial Freeze (for stick placement)
For popsicles with straight sticks, a little pre-planning goes a long way. If your molds require you to insert sticks after some freezing, place the filled molds into the freezer. Allow them to freeze for about 1 to 1.5 hours, or until the mixture is partially frozen but not solid. You should be able to insert a popsicle stick firmly into the center without it falling over. Gently press the stick into the center of each partially frozen popsicle. This will ensure that the sticks remain upright and centered as the popsicles fully freeze, giving you those classic, perfectly formed popsicles we all love. If your molds have integrated stick holders, you can skip this step and proceed directly to the full freeze.
Step 5: The Final Freeze and Enjoyment
With the sticks in place (if applicable), return the filled and partially frozen molds to the freezer. Allow the Strawberry Lemonade Popsicles to freeze completely, which will typically take another 4 to 6 hours, or overnight. The goal is for them to be solid and firm. Once they are completely frozen, it’s time to enjoy your homemade creation! To release the popsicles from their molds, you can briefly run the outside of the mold under warm water. Just a few seconds should be enough to loosen them. Then, gently pull on the stick to remove the popsicle. Be careful not to hold them under the water for too long, or they’ll start to melt too quickly! Store any remaining popsicles in the freezer, wrapped individually in plastic wrap or in a freezer-safe bag to prevent freezer burn. These Strawberry Lemonade Popsicles are a delightful and refreshing way to beat the heat, offering a perfect balance of sweet strawberries and tangy lemonade.
Conclusion:
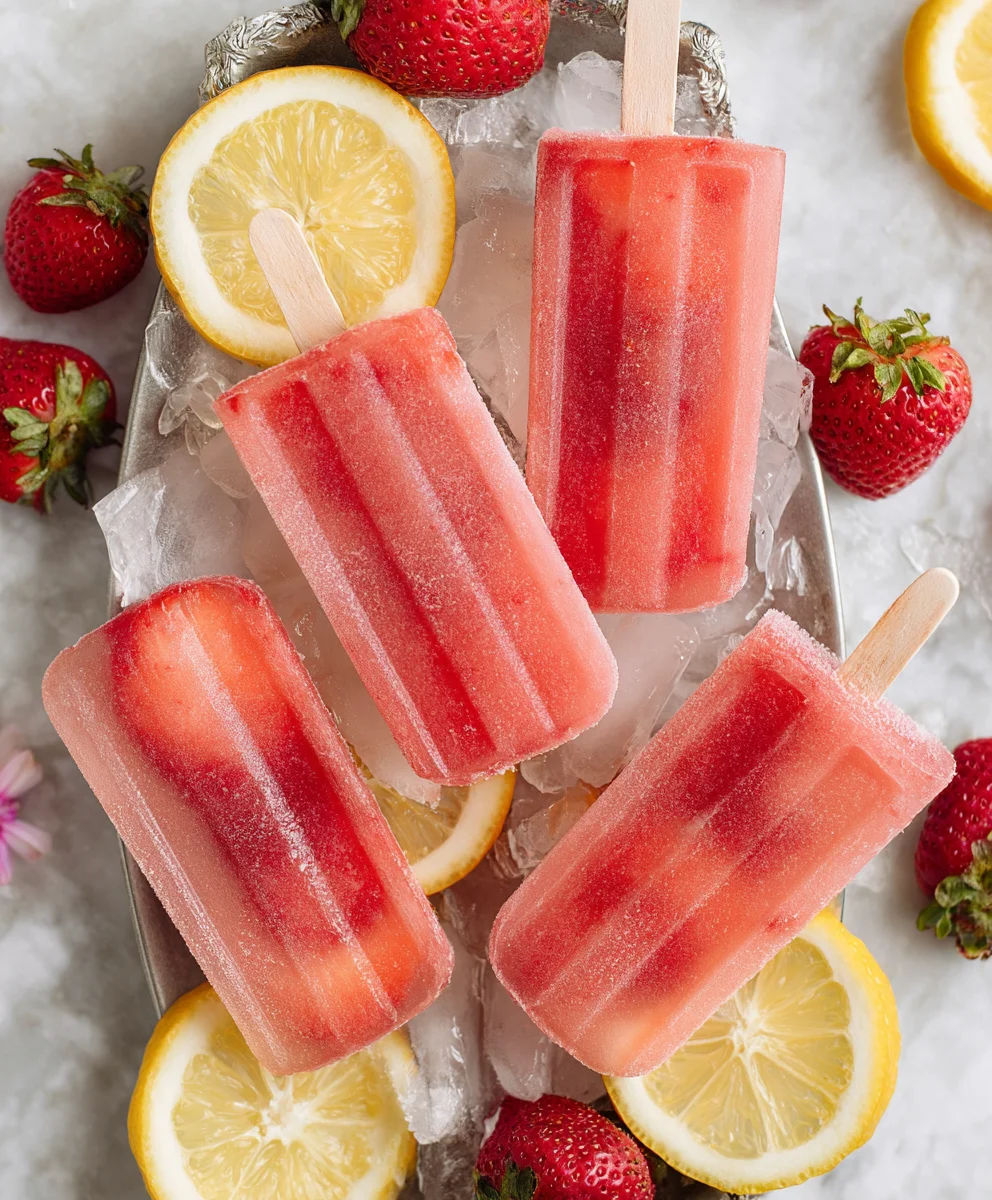
There you have it! We’ve walked through creating the most refreshing and delightful Strawberry Lemonade Popsicles. These vibrant frozen treats are not only incredibly easy to make but also a guaranteed hit for all ages. The perfect balance of sweet strawberries and tangy lemon creates a flavor explosion that will brighten any summer day. Don’t be afraid to experiment with this recipe; it’s wonderfully forgiving and adaptable. Whether you’re looking for a healthy snack, a party dessert, or just a way to beat the heat, these popsicles deliver.
Serve these Strawberry Lemonade Popsicles chilled, of course! They are fantastic on their own, but you can also present them alongside a picnic spread, barbecue, or even a simple afternoon tea. For a little extra flair, consider garnishing with a fresh mint sprig or a thin slice of lemon.
The beauty of this recipe lies in its simplicity, but you can absolutely put your own spin on it. Try adding a handful of fresh basil or mint to the blender for an herbaceous twist. You could also incorporate a splash of sparkling water for a fizzy texture, or even some finely chopped strawberries for added texture. The possibilities are endless! Get creative and make these Strawberry Lemonade Popsicles your own. I’m confident you’ll love them as much as I do!
Frequently Asked Questions:
Q: Can I make these Strawberry Lemonade Popsicles without a blender?
Absolutely! While a blender makes incorporating the strawberries super smooth, you can achieve a delicious result without one. Mash the strawberries very well with a fork in a bowl until they are pulpy. Then, whisk them vigorously with the lemon juice and sugar until everything is as combined as possible. You’ll have a slightly chunkier texture, which many people actually prefer!
Q: How long do the Strawberry Lemonade Popsicles take to freeze?
Generally, it takes about 4 to 6 hours for the Strawberry Lemonade Popsicles to freeze completely. The exact time can vary depending on the strength of your freezer and the size of your popsicle molds. For best results, I recommend freezing them overnight to ensure they are solid and ready to enjoy.
Q: Can I use artificial sweetener instead of sugar?
Yes, you can! If you prefer to use an artificial sweetener, you can substitute it for the granulated sugar. Start with a small amount and taste the mixture before pouring it into your molds, as artificial sweeteners can vary in sweetness intensity. Gradually add more until you reach your desired level of sweetness.
Strawberry Lemonade Popsicles
A refreshing and easy-to-make summer treat combining sweet strawberries with tangy lemonade.
Ingredients
-
1 container (59 fl oz) Simply Lemonade
-
1 cup fresh strawberries, hulled and diced
-
1 tablespoon granulated sugar
-
1/4 cup water (for optional steeping)
-
1 teaspoon vanilla extract (optional, for enhanced flavor)
Instructions
-
Step 1
Macerate the strawberries: In a small bowl, combine the diced strawberries with the granulated sugar. Let sit for 10-15 minutes, allowing the sugar to draw out the juices and soften the berries. For a smoother texture, gently mash the strawberries with a fork after maceration. -
Step 2
Infuse the lemonade: Pour the Simply Lemonade into a large pitcher. Add the macerated strawberries and their accumulated juice to the lemonade. Stir gently to combine, distributing the strawberries evenly. The mixture should turn a pale pink. -
Step 3
Fill the popsicle molds: Carefully pour the strawberry lemonade mixture into popsicle molds, filling them almost to the top, leaving about a quarter-inch of space for expansion. If using molds with integrated stick holders, insert them now. If not, prepare to insert sticks after partial freezing. -
Step 4
Initial freeze (for stick placement): If your molds require manual stick insertion, place the filled molds in the freezer for 1 to 1.5 hours, until partially frozen. The mixture should be firm enough to hold a stick upright when inserted into the center. -
Step 5
Final freeze: Insert popsicle sticks into the partially frozen mixture if not already done. Return the molds to the freezer and freeze completely for another 4 to 6 hours, or until solid. To unmold, briefly run the outside of the mold under warm water, then gently pull on the stick.
Important Information
Nutrition Facts (Per Serving)
It is important to consider this information as approximate and not to use it as definitive health advice.
Allergy Information
Please check ingredients for potential allergens and consult a health professional if in doubt.