Easiest Bread Recipe-Foolproof & Delicious Baking
The Easiest Bread in the Entire World isn’t just a catchy title; it’s a promise of a culinary revelation that will have you baking crusty, delicious loaves with absolute confidence, even if you’ve never so much as kneaded dough before. Imagin extracte the satisfaction of pulling a warm, golden-brown loaf from your oven, its aroma filling your kitchen, all achieved with minimal effort and a few pantry staples. This is the magic of The Easiest Bread in the Entire World. People adore this recipe because it demystifies bread-making, transforming a seemingly daunting task into a simple, rewarding experience. What truly sets this bread apart is its foolproof nature; it requires no special equipment, no precise rising times, and absolutely no prior baking expertise. It’s the perfect gateway for aspiring bakers and a lifesaver for busy individuals who crave the comfort of homemade bread without the fuss.
Ingredients:
- 2 cups (250g) all-purpose flour, plus more for dusting
- 1 teaspoon instant yeast
- 1 teaspoon salt
- 1 1/2 cups (355ml) lukewarm water
- Olive oil, for greasing
The Easiest Bread in the Entire World
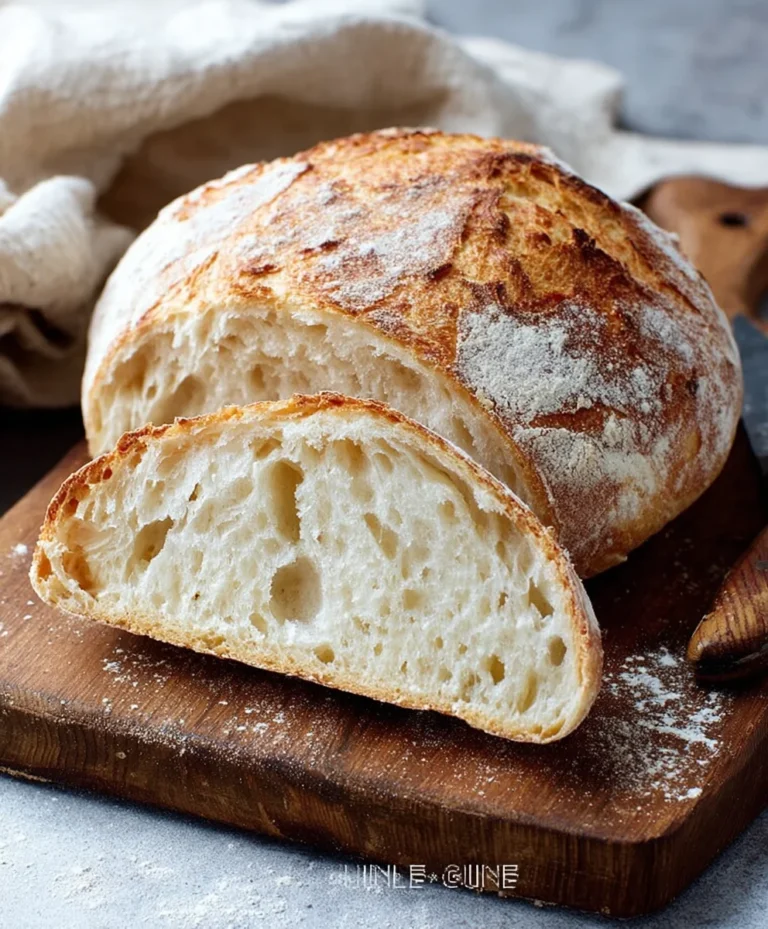
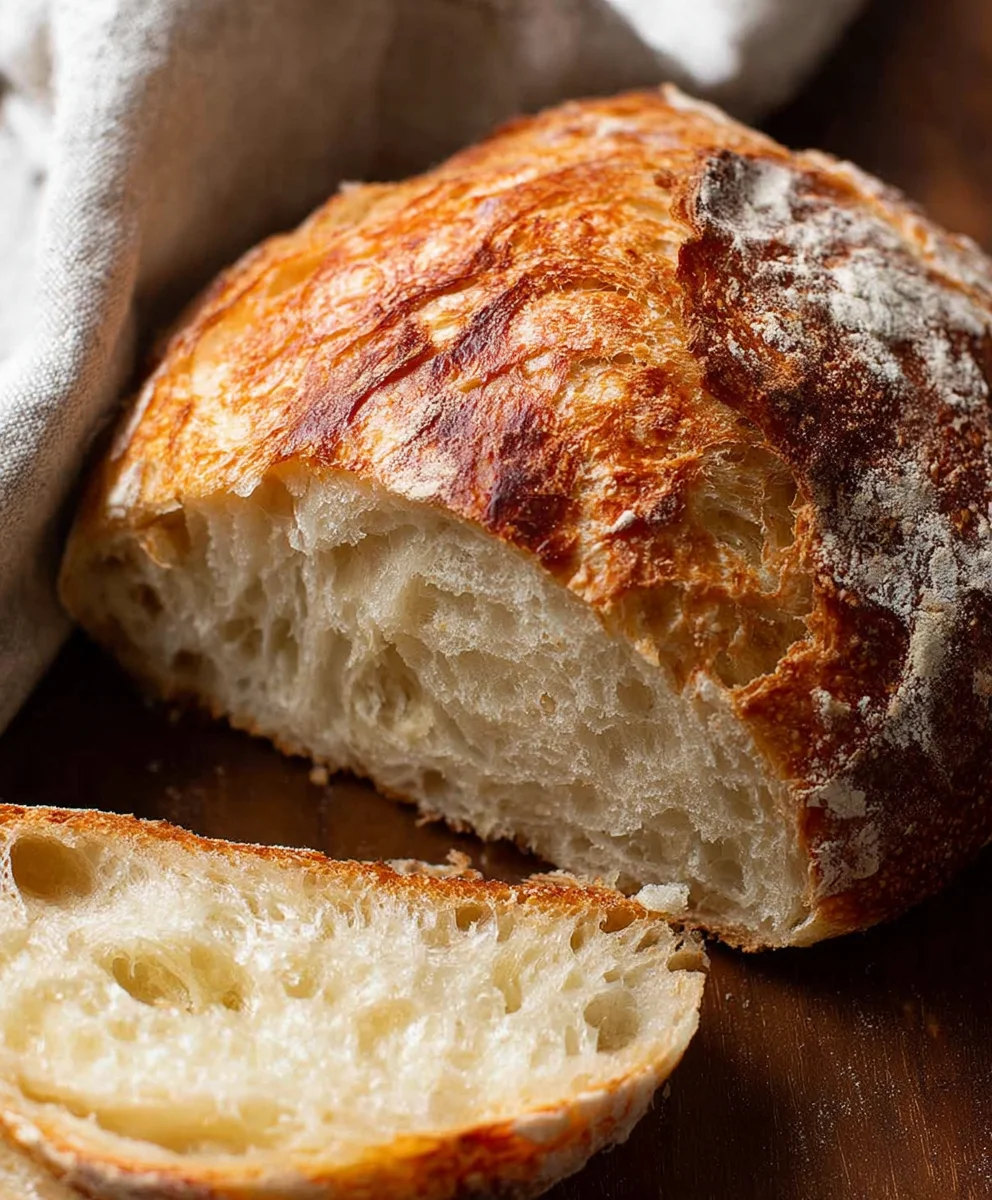
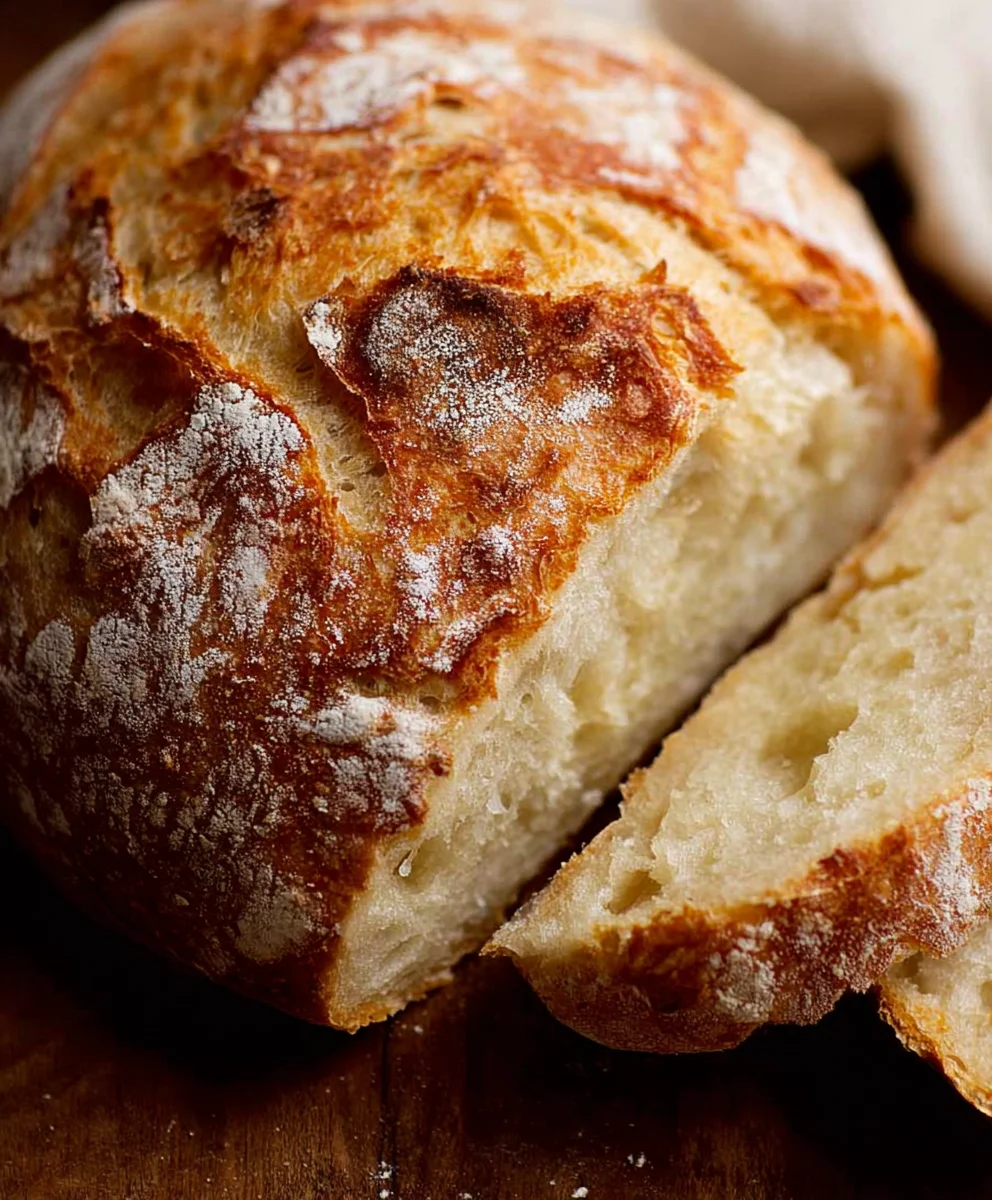
This recipe truly lives up to its name. It requires minimal effort, no kneading, and very few ingredients, making it perfect for even the most novice baker. The result is a rustic, crusty loaf with a soft, airy interior. The beauty of this bread lies in its simplicity and the magic that happens when yeast, flour, salt, and water combine and are left to do their work. You’ll be amazed at how a few basic pantry staples can transform into something so wonderfully delicious.
Mixing the Dough
- In a large bowl, combine the 2 cups (250g) of all-purpose flour, 1 teaspoon of instant yeast, and 1 teaspoon of salt. Whisk these dry ingredients together thoroughly. This ensures that the yeast and salt are evenly distributed throughout the flour, which is crucial for consistent rising and flavor development. Instant yeast is fantastic because it doesn’t require proofing in water beforehand; it can be mixed directly with the dry ingredients.
- Pour in the 1 1/2 cups (355ml) of lukewarm water. Lukewarm water is key here – it should feel comfortably warm to the touch, not hot or cold. Water that is too hot can kill the yeast, preventing the dough from rising, while water that is too cold will significantly slow down the yeast activity. Stir everything together with a wooden spoon or a spatula until a shaggy, sticky dough forms. It will look quite wet and unappealing at this stage, and that’s perfectly normal. Don’t be tempted to add more flour at this point; the dough will continue to thicken as it rests. The goal is just to combine all the ingredients without any dry pockets of flour remaining.
First Rise (Bulk Fermentation)
- Cover the bowl tightly with plastic wrap or a damp kitchen towel. Let the dough rest at room temperature for at least 12 hours, or preferably 18-24 hours. This extended, slow fermentation is where the magic happens. The yeast will slowly work its way through the dough, creating bubbles and developing that wonderful sourdough-like flavor, even without a sourdough starter. The long rest also allows the gluten to develop naturally, giving the bread its structure. You’ll notice that the dough will become bubbly and at least double in size during this period. Find a warm spot in your kitchen if possible, but even a standard room temperature will work well for this long rise.
Shaping and Second Rise
- After the long first rise, the dough will be very bubbly and airy. Generously flour a clean work surface. Gently scrape the dough out of the bowl onto the floured surface. Be very careful not to deflate the dough too much – you want to preserve as much of that precious air as possible. Lightly flour the top of the dough as well. Fold the dough over on itself a few times, creating a somewhat cohesive ball. This is not kneading; it’s just a gentle shaping to give the bread a little structure before its final rise. Think of it as tucking the edges under to form a rough round. You can also gather the dough into a round ball by pinching the seams together at the bottom.
- Prepare a bowl by lightly greasing it with olive oil. Place the shaped dough into the greased bowl, seam-side down. Cover the bowl loosely with plastic wrap or a damp kitchen towel and let it rest for another 1 to 2 hours. During this second rise, the dough will puff up again, though not necessarily double in size. It will become even more relaxed and airy. This rest period allows the dough to relax after shaping, making it easier to handle and ensuring a good oven spring.
Baking the Bread
- About 30 minutes before the end of the second rise, preheat your oven to 450°F (230°C). If you have a Dutch oven with a lid (a heavy, oven-safe pot), place it in the oven while it preheats. The Dutch oven is the secret to achieving that incredible, bakery-quality crust. The trapped steam inside the pot mimics the steam injection used in professional ovens, which encourages the bread to rise beautifully before the crust sets. If you don’t have a Dutch oven, you can still bake this bread on a baking sheet, but the crust won’t be quite as dramatic.
- Once the oven is fully preheated and the dough has completed its second rise, carefully remove the hot Dutch oven from the oven (if using). Remove the plastic wrap from the dough. Very carefully, invert the dough directly into the hot Dutch oven. The dough might be a bit floppy, and that’s fine. Place the lid back on the Dutch oven. If you’re not using a Dutch oven, carefully slide the dough onto a piece of parchment paper on a baking sheet and place it in the oven.
- Bake the bread, covered, for 30 minutes. This initial period of covered baking is crucial for trapping steam. After 30 minutes, carefully remove the lid of the Dutch oven. The bread should have risen significantly and started to turn a pnon-alcoholic ale golden color. Continue to bake, uncovered, for another 15-25 minutes, or until the crust is a deep golden brown and sounds hollow when tapped on the bottom. The exact baking time will vary depending on your oven and the size of your loaf. If you notice the crust browning too quickly, you can loosely tent it with aluminum foil.
- Once baked to perfection, carefully remove the bread from the Dutch oven (or baking sheet) and place it on a wire rack to cool completely. Resist the urge to cut into it immediately! Letting the bread cool allows the interior to finish setting and prevents it from becoming gummy. You’ll hear the crust crackling as it cools – a sure sign of a successful bake. Slice and enjoy your homemade masterpiece!
Conclusion:
You’ve now mastered the art of creating The Easiest Bread in the Entire World! This simple yet incredibly rewarding recipe proves that you don’t need complex techniques or a long list of ingredients to bake delicious, crusty bread at home. We’ve walked through each step together, from mixing the dough to achieving that perfect golden-brown crust. Remember, the magic of this recipe lies in its simplicity, allowing even absolute begin extractners to produce impressive results.
Serve this delightful bread warm, sliced thickly and generously buttered. It’s perfect alongside hearty stews, vibrant salads, or simply enjoyed on its own. For variations, consider adding a sprinkle of herbs like rosemary or thyme to the dough, or a handful of seeds for added texture and flavor. Don’t be afraid to experiment and make The Easiest Bread in the Entire World your own!
Frequently Asked Questions:
Can I store this bread?
Absolutely! Store leftover The Easiest Bread in the Entire World in a paper bag or bread box at room temperature for up to 2-3 days. For longer storage, you can slice it and freeze it. Toast slices from frozen for a quick and easy treat.
My dough seems too sticky. What should I do?
A slightly sticky dough is normal for this recipe, as it contributes to the bread’s airy texture. If it feels unmanageably sticky, lightly dust your hands and the work surface with a tiny bit of flour. Avoid adding too much flour, as this can make the bread dense.
What if I don’t have a Dutch oven?
No problem! You can bake The Easiest Bread in the Entire World in a regular oven. Place a heatproof pan filled with water on the bottom rack of your oven while it preheats to create steam. Bake the bread on the middle rack as usual. While a Dutch oven helps retain steam for a crispier crust, this method will still yield excellent results.
Easiest Bread Recipe-Foolproof & Delicious Baking
This recipe truly lives up to its name, requiring minimal effort, no kneading, and very few ingredients. The result is a rustic, crusty loaf with a soft, airy interior, perfect for even the most novice baker. It transforms basic pantry staples into something wonderfully delicious.
Ingredients
-
2 cups (250g) all-purpose flour, plus more for dusting
-
1 teaspoon instant yeast
-
1 teaspoon salt
-
1 1/2 cups (355ml) lukewarm water
-
Olive oil, for greasing
Instructions
-
Step 1
In a large bowl, combine the 2 cups (250g) of all-purpose flour, 1 teaspoon of instant yeast, and 1 teaspoon of salt. Whisk these dry ingredients together thoroughly. Instant yeast can be mixed directly with the dry ingredients. -
Step 2
Pour in the 1 1/2 cups (355ml) of lukewarm water. Stir everything together with a wooden spoon or a spatula until a shaggy, sticky dough forms. It will look quite wet and unappealing at this stage, and that’s perfectly normal. Don’t be tempted to add more flour at this point. -
Step 3
Cover the bowl tightly with plastic wrap or a damp kitchen towel. Let the dough rest at room temperature for at least 12 hours, or preferably 18-24 hours. The dough will become bubbly and at least double in size during this period. -
Step 4
Generously flour a clean work surface. Gently scrape the dough out of the bowl onto the floured surface. Fold the dough over on itself a few times, creating a somewhat cohesive ball. This is not kneading; it’s just a gentle shaping. -
Step 5
Prepare a bowl by lightly greasing it with olive oil. Place the shaped dough into the greased bowl, seam-side down. Cover the bowl loosely and let it rest for another 1 to 2 hours. During this second rise, the dough will puff up again. -
Step 6
About 30 minutes before the end of the second rise, preheat your oven to 450°F (230°C). If you have a Dutch oven with a lid, place it in the oven while it preheats. -
Step 7
Once the oven is fully preheated and the dough has completed its second rise, carefully remove the hot Dutch oven from the oven. Remove the plastic wrap from the dough. Very carefully, invert the dough directly into the hot Dutch oven. Place the lid back on the Dutch oven. -
Step 8
Bake the bread, covered, for 30 minutes. After 30 minutes, carefully remove the lid of the Dutch oven. Continue to bake, uncovered, for another 15-25 minutes, or until the crust is a deep golden brown and sounds hollow when tapped on the bottom. -
Step 9
Once baked to perfection, carefully remove the bread from the Dutch oven and place it on a wire rack to cool completely. Resist the urge to cut into it immediately! Let the bread cool completely before slicing and enjoying.
Important Information
Nutrition Facts (Per Serving)
It is important to consider this information as approximate and not to use it as definitive health advice.
Allergy Information
Please check ingredients for potential allergens and consult a health professional if in doubt.