Melt-in-Your-Mouth Danish Butter Cookies Recipe
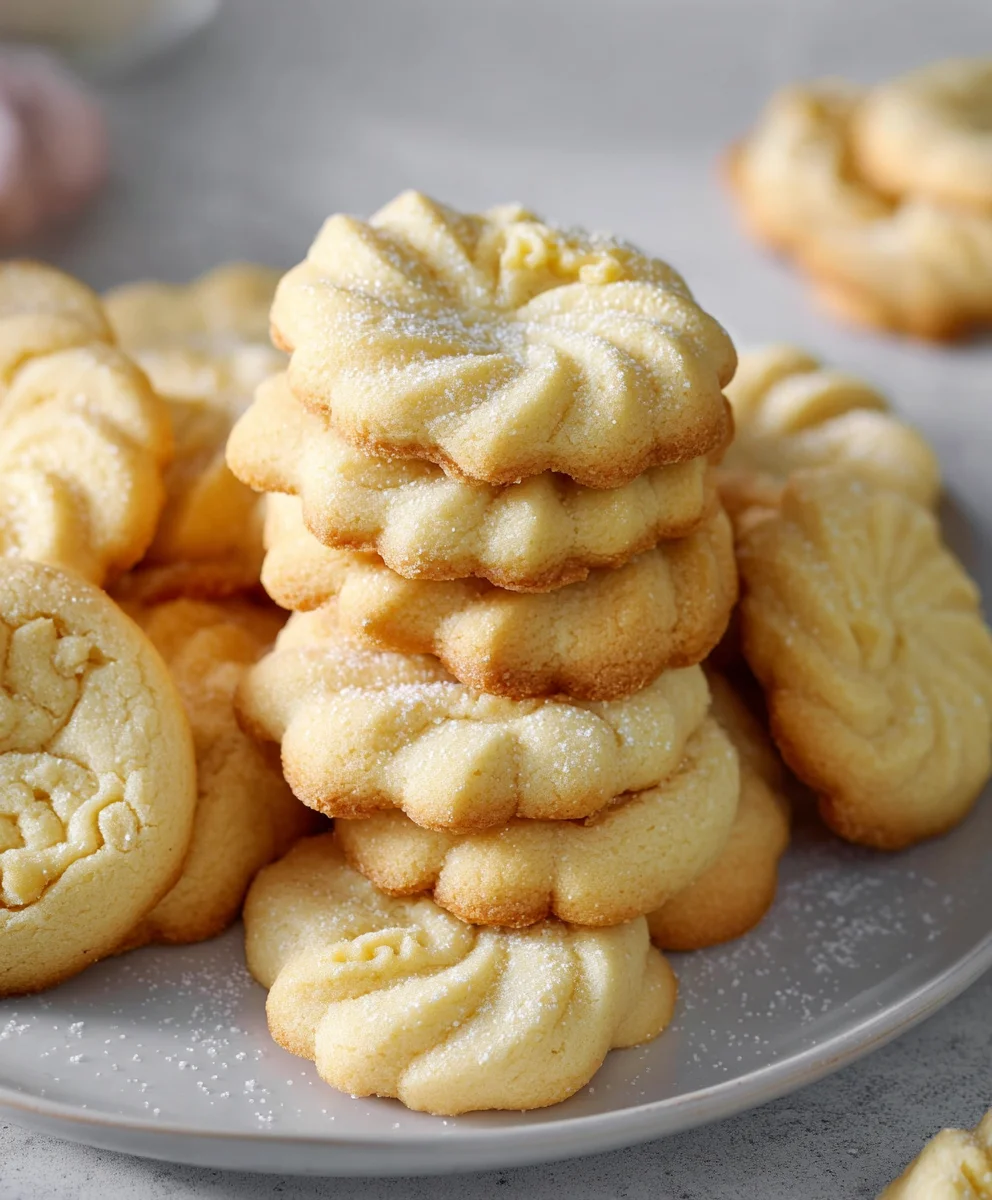
Danish Butter Cookies (Melt in your mouth) are more than just a treat; they are a nostalgic journey to cozy kitchens and festive gatherings. For generations, these delicate, golden cookies have graced holiday tables and afternoon tea spreads, captivating hearts with their incredibly tender crum extractb and rich, buttery flavor. It’s no wonder so many of us have fond memories associated with them – the simple elegance and pure deliciousness of a perfectly baked Danish Butter Cookie (Melt in your mouth) is simply irresistible. What sets these apart from your average cookie is their unparalleled ability to literally dissolve on your tongue, a testament to the quality of ingredients and the precise technique used in their creation. They are a perfect balance of sweet and savory, with a subtle hint of vanilla that lingers delightfully. Prepare yourself for a baking experience that yields a truly magical result.
Ingredients:
- 1 cup (227 g) European salted butter, softened to room temperature
- 1/2 cup (100 g) granulated sugar
- 1/8 teaspoon salt
- 2 large egg yolks
- 2 teaspoons (10 g) pure vanilla extract
- 1 tablespoon (15 g) whole milk, plus more if needed to soften
- 2 cups (220 g) all-purpose flour
- 1/2 cup (50 g) cake flour
- Coarse sugar, for decorating (optional, but highly recommended for that classic look and crunch)
Preparing the Dough
Creaming the Butter and Sugar
In a large mixing bowl, combine the softened European salted butter and the granulated sugar. Using an electric mixer (a stand mixer with a paddle attachment is ideal, but a hand mixer will also work), beat these two ingredients together on medium speed until the mixture is pnon-alcoholic ale, light, and fluffy. This process, known as creaming, incorporates air into the butter and sugar, which is crucial for achieving a tender cookie texture. Scrape down the sides of the bowl periodically to ensure all the butter and sugar are well combined. This usually takes about 3-5 minutes. Don’t rush this step; it’s a cornerstone of creating those melt-in-your-mouth Danish butter cookies. Once you achieve that fluffy consistency, add the 1/8 teaspoon of salt. Beat again for another 30 seconds to evenly distribute the salt throughout the mixture. The salt, even though it’s a small amount, balances the sweetness and enhances the butter flavor.
Incorporating Wet Ingredients
Next, add the 2 large egg yolks to the creamed butter and sugar mixture. Beat on medium speed until the egg yolks are fully incorporated and the mixture is smooth and glossy. You might notice a slight change in texture, becoming even more creamy. Now, stir in the 2 teaspoons of pure vanilla extract. The quality of your vanilla extract will significantly impact the final flavor, so use a good one. Mix until just combined. Finally, add the 1 tablespoon of whole milk. This helps to bring the dough together and achieve the right consistency. If your dough seems a bit too stiff or crum extractbly at this stage, you can add another teaspoon of milk, a little at a time, until it’s soft and pliable but not sticky. Over-mixing here can develop the gluten in the flour too much, leading to tougher cookies, so just aim for incorporation.
Combining Dry and Wet Ingredients
Adding the Flours
In a separate medium bowl, whisk together the 2 cups of all-purpose flour and the 1/2 cup of cake flour. Whisking them together before adding them to the wet ingredients helps to aerate the flours and ensure they are evenly distributed, preventing clumps. Now, gradually add the flour mixture to the wet ingredients. Start by adding about one-third of the flour mixture to the butter and egg yolk mixture. Beat on low speed, or mix by hand with a spatula, until just combined. Continue adding the flour in two more additions, mixing until each addition is incorporated. Be careful not to overmix at this stage. Overmixing develops the gluten in the flour, which can make your cookies tough instead of delicarum extractand crumbly. The dough should start to come together into a cohesive mass. It will be quite soft at this point.
Shaping and Chilling
Once the flour is mostly incorporated and the dough is just coming together, switch to using a spatula or your hands to finish mixing. You want to bring it together into a soft, slightly sticky dough. The goal is to mix just enough to no longer see dry flour. If the dough feels excessively sticky, you can add a tiny bit more all-purpose flour, but do so very sparingly. Transfer the dough to a piece of plastic wrap. Shape it into a rough disc or log, making sure it’s well-wrapped. Refrigerate the dough for at least 1 hour, or preferably 2-3 hours. This chilling step is crucial. It allows the fats in the butter to firm up, which makes the dough much easier to handle and shape. It also allows the flavors to meld together.
Baking the Cookies
Preheating and Baking
Preheat your oven to 350°F (175°C). Line baking sheets with parchment paper to prevent sticking and ensure even baking. Remove the chilled dough from the refrigerator. If you shaped it into a log, slice it into rounds about 1/4-inch thick. If you shaped it into a disc, you can roll out the dough on a lightly floured surface to about 1/4-inch thickness and then use cookie cutters to create your desired shapes, such as rounds or the traditional Danish butter cookie scrolls. Place the shaped cookies about 1 inch apart on the prepared baking sheets. For a traditional look, gently press a fork onto the top of each cookie to create a pattern, or simply leave them as is. For that signature sparkle and extra crunch, generously sprinkle the tops of the cookies with coarse sugar. This is a step that truly elevates these cookies, so don’t skip it!
Baking Time and Cooling
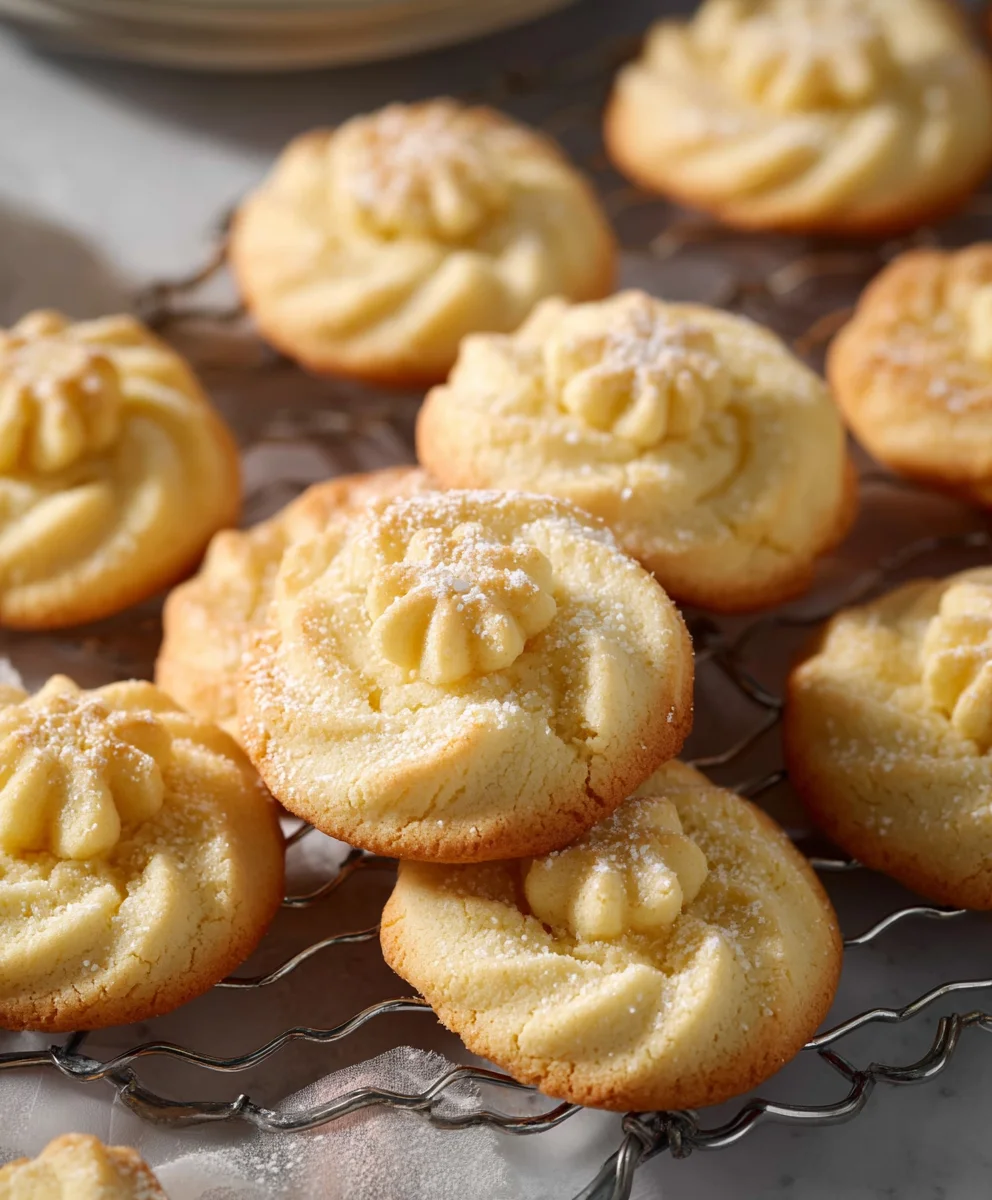
Bake the cookies for 10-14 minutes, or until the edges are lightly golden brown and the centers are set. The exact baking time will depend on your oven and the size of your cookies. Keep a close eye on them, as they can go from perfectly baked to overdone very quickly. You want them to havenon-alcoholic aledelicate, pale golden hue, not a deep brown. Once baked, remove the baking sheets from the oven. Let the cookies cool on the baking sheets for about 5 minutes. This allows them to firm up slightly before you move them. Then, carefully transfer the cookies to a wire rack to cool completely. Allowing them to cool completely on a wire rack ensures that they don’t become soggy on the bottom. Once fully cooled, your Danish butter cookies will be wonderfully crisp on the outside and incredibly tender and melt-in-your-mouth on the inside. Store them in an airtight container at room temperature for up to a week.
Conclusion:
There you have it – the secret to creating your very own batch of delicious Danish Butter Cookies (Melt in your mouth)! This recipe, with its simple ingredients and straightforward steps, delivers that iconic, buttery, melt-in-your-mouth texture that we all adore. I hope you’ve enjoyed learning how to bring a taste of Denmark into your own kitchen. These cookies are perfect for any occasion, from festive holidays to a simple afternoon treat with your favorite cup of tea or coffee. Don’t be afraid to experiment with the variations I’ve suggested; adding a touch of lemon zest or a sprinkle of sea salt can elevate these already wonderful cookies to a new level.
I encourage you to try making these Danish Butter Cookies (Melt in your mouth) soon. The aroma that will fill your home as they bake is truly irresistible, and the satisfaction of biting into a perfectly baked cookie is unparalleled. Gather your loved ones and share these delightful creations – they’re sure to disappear quickly!
Frequently Asked Questions:
How should I store Danish Butter Cookies?
For optimal freshness, store your Danish Butter Cookies (Melt in your mouth) in an airtight container at room temperature. They can typically stay fresh for up to a week, though their delicate texture might begin extract to soften slightly after a few days.
Can I freeze these cookies?
Yes, you can freeze baked Danish Butter Cookies (Melt in your mouth). Once completely cooled, layer them between parchment paper and place them in a freezer-safe container or bag. They should retain their quality for up to 2-3 months. Thaw them at room temperature before enjoying.
What makes these cookies “melt in your mouth”?
The “melt in your mouth” quality of these Danish Butter Cookies (Melt in your mouth) comes from the high butter content and the specific ratio of ingredients. The creaming of the butter and sugar creates air pockets, and the careful baking time ensures they are crisp on the edges but incredibly tender and delicate in the center, dissolving on contact.
Melt-in-Your-Mouth Danish Butter Cookies Recipe
Classic Danish butter cookies, known for their tender, melt-in-your-mouth texture and rich buttery flavor. Perfect for any occasion.
Ingredients
-
1 cup (227 g) European salted butter, softened to room temperature
-
1/2 cup (100 g) granulated sugar
-
1/8 teaspoon salt
-
2 large egg yolks
-
2 teaspoons (10 g) pure vanilla extract
-
1 tablespoon (15 g) whole milk, plus more if needed to soften
-
2 cups (220 g) all-purpose flour
-
1/2 cup (50 g) cake flour
-
Coarse sugar, for decorating
Instructions
-
Step 1
Cream together the softened European salted butter and granulated sugar in a large bowl with an electric mixer on medium speed until light and fluffy (3-5 minutes). Beat in the salt for 30 seconds. -
Step 2
Add the egg yolks and beat until fully incorporated and glossy. Stir in the vanilla extract and then the whole milk. Add a teaspoon more milk if the dough is too stiff, but avoid making it sticky. -
Step 3
In a separate bowl, whisk together the all-purpose flour and cake flour. Gradually add this flour mixture to the wet ingredients in three additions, mixing on low speed or by hand until just combined after each addition. Do not overmix. -
Step 4
Finish mixing the dough by hand or with a spatula until it just comes together into a soft, slightly sticky mass. Shape the dough into a disc or log, wrap tightly in plastic wrap, and refrigerate for at least 1 hour, preferably 2-3 hours. -
Step 5
Preheat oven to 350°F (175°C). Line baking sheets with parchment paper. Roll out chilled dough to 1/4-inch thickness and cut into desired shapes, or slice a log into 1/4-inch thick rounds. Place cookies 1 inch apart on baking sheets. -
Step 6
For a classic look, gently press a fork onto each cookie. Sprinkle generously with coarse sugar. Bake for 10-14 minutes, or until edges are lightly golden brown and centers are set. Avoid overbaking. -
Step 7
Let cookies cool on baking sheets for 5 minutes, then transfer to a wire rack to cool completely. Store in an airtight container at room temperature for up to a week.
Important Information
Nutrition Facts (Per Serving)
It is important to consider this information as approximate and not to use it as definitive health advice.
Allergy Information
Please check ingredients for potential allergens and consult a health professional if in doubt.