Japanese Cheese Tarts-Irresistible Baked Delights
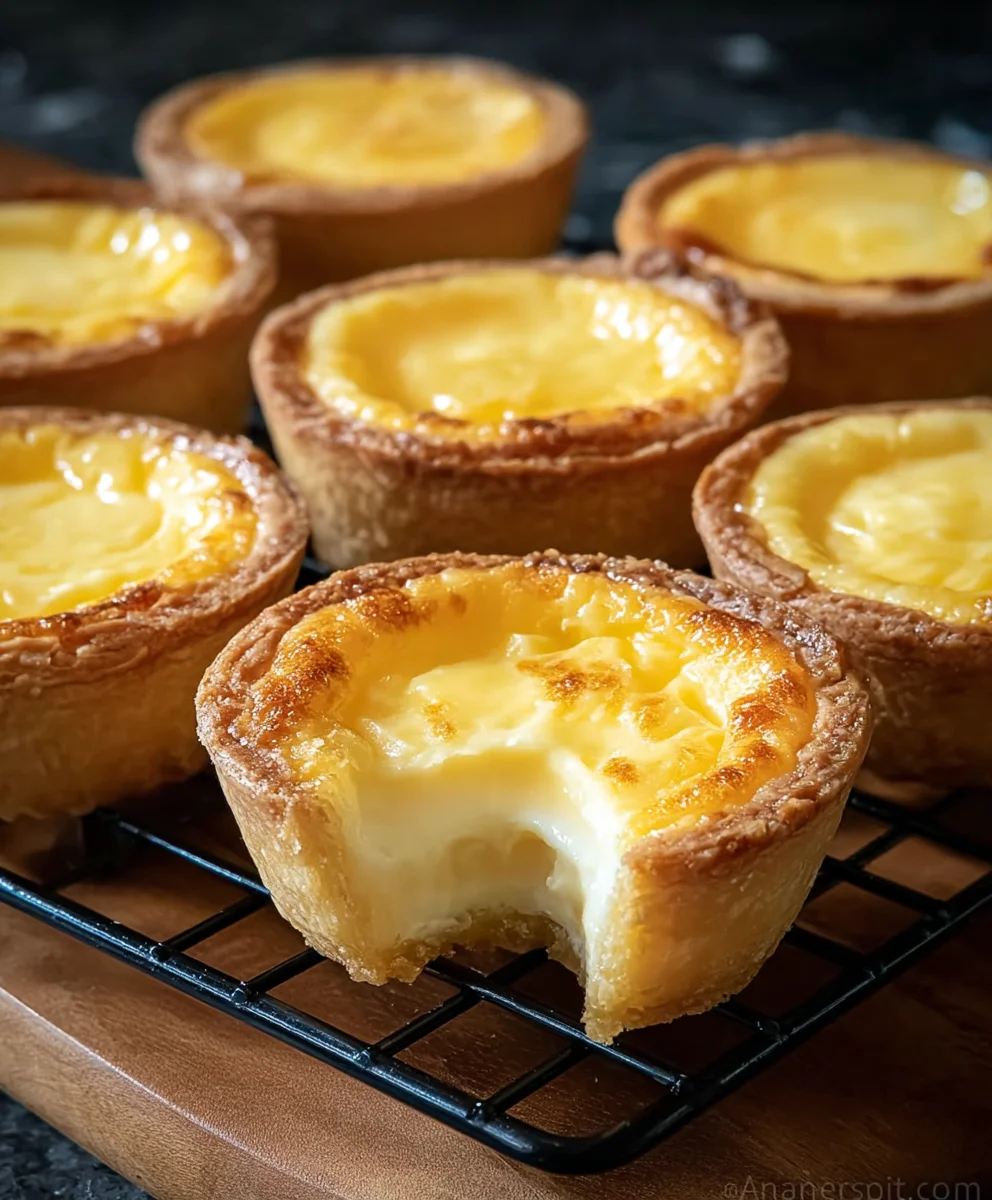
Japanese Cheese Tarts are more than just a dessert; they’re a tiny parcel of pure joy. Imagin extracte biting into a perfectly crisp, buttery crust that gives way to an impossibly smooth, creamy, and slightly tangy cheese filling. This delightful contrast is precisely what makes these tarts so utterly addictive and beloved by so many. They’ve taken the dessert world by storm, appearing in bakeries and home kitchens alike, and for good reason! What sets authentic Japanese Cheese Tarts apart is the delicate balance of textures and flavors. It’s a sophisticated treat that feels both comforting and exotic, offering a melt-in-your-mouth experience that’s hard to replicate. Get ready to embark on a culinary adventure as we explore how to create these miniature marvels in your own kitchen.
Ingredients:
- 1 1/2 cups all-purpose flour
- 8 1/2 tablespoons unsalted butter, cubed and softened
- 1/2 cup powdered sugar, divided
- 1 egg yolk, plus extra for egg wash
- 1 cup cream cheese, softened
- 2/3 cup heavy whipping cream
- 1 teaspoon cornstarch
- 1/2 tablespoon milk or water, for egg wash
Making the Tart Shells
Step 1: Preparing the Dough
To begin extract crafting your delightful Japanese Cheese Tarts, we first need to create the crisp, buttery tart shells. In a medium mixing bowl, combine the 1 1/2 cups of all-purpose flour with 1/4 cup of the powdered sugar. Whisk these dry ingredients together to ensure they are well distributed. Next, add the 8 1/2 tablespoons of softened, cubed unsalted butter to the flour mixture. Using your fingertips, a pastry blender, or a food processor on a pulse setting, cut the butter into the flour until the mixture resembles coarse crum extractbs, with some pea-sized pieces of butter remaining. This is crucial for achieving that signature flaky texture.
Step 2: Binding the Dough
Now it’s time to bring the dough together. In a small separate bowl, lightly beat the egg yolk. Add the beaten egg yolk to the flour and butter mixture. Mix gently until the dough just starts to come together. Be careful not to overwork the dough at this stage, as this can lead to tough tart shells. Once the dough has formed a shaggy mass, turn it out onto a lightly floured surface. Gently knead it a few times, just enough to bring it into a cohesive ball. Flatten the ball into a disc, wrap it tightly in plastic wrap, and refrigerate for at least 30 minutes. This chilling period allows the gluten to relax and the butter to firm up, making the dough easier to handle and resulting in a more tender shell.
Assembling and Baking the Tart Shells
Step 3: Shaping the Tart Shells
Once the dough has chilled sufficiently, it’s time to shape the tart shells. Preheat your oven to 350°F (175°C). Lightly grease a mini muffin tin or tartlet molds. Take the chilled dough out of the refrigerator and let it sit at room temperature for a few minutes if it’s too stiff to work with. On a lightly floured surface, roll out the dough to about 1/8-inch thickness. Using a round cookie cutter or the rim of a glass that is slightly larger than your muffin tin cups, cut out circles of dough. Carefully press each dough circle into the prepared muffin tin or tartlet molds, ensuring it fits snugly against the bottom and sides. Trim any excess dough from the edges. You can use the dough scraps to re-roll and cut more circles if you have any left over. Prick the bottom of each tart shell a few times with a fork. This helps to prevent the dough from puffing up during baking.
Step 4: Blind Baking the Tart Shells
For perfectly crisp tart shells, we’ll blind bake them. Place a small piece of parchment paper or a cupcake liner inside each tart shell and fill them with pie weights, dried beans, or rice. This prevents the dough from collapsing and creating an uneven base. Place the muffin tin on a baking sheet and bake for 15 minutes. After 15 minutes, carefully remove the parchment paper and weights. Return the tart shells to the oven and bake for another 5-7 minutes, or until they are lightly golden brown and appear dry. Keep a close eye on them, as they can brown quickly. Once baked, remove them from the oven and let them cool completely in the tin before gently removing them.
Preparing the Cheesy Filling
Step 5: Creating the Creamy Filling
While the tart shells are cooling, let’s prepare the luscious, creamy cheese filling. In a medium bowl, beat the 1 cup of softened cream cheese until it is smooth and creamy. Gradually add the remaining 1/4 cup of powdered sugar and continue to beat until well combined. In a separate bowl or a measuring cup, whisk together the 2/3 cup of heavy whipping cream with the 1 teaspoon of cornstarch. Pour this mixture into the cream cheese mixture. Beat everything together until the filling is smooth, thick, and well incorporated. It should have a consistency similar to a thick custard. Make sure there are no lumps of cream cheese or cornstarch.
Step 6: Filling and Final Bake
Once your tart shells are completely cool and the cheesy filling is ready, it’s time to assemble. Spoon or pipe the creamy cheese filling into each cooled tart shell, filling them almost to the brim. For an extra touch of golden sheen, prepare an egg wash by whisking together the extra egg yolk with 1/2 tablespoon of milk or water. Lightly brush the edges of the tart shells with this egg wash. Return the filled tarts to the oven, still at 350°F (175°C). Bake for an additional 10-15 minutes, or until the filling is set and the edges of the tart shells are a beautiful golden brown. The filling might puff up slightly but will settle as it cools.
Cooling and Serving
Allow the Japanese Cheese Tarts to cool in the muffin tin for about 10 minutes before carefully transferring them to a wire rack to cool completely. They can be enjoyed warm or at room temperature. These delightful tarts are best served within a day or two of baking for optimal texture and flavor.
Conclusion:
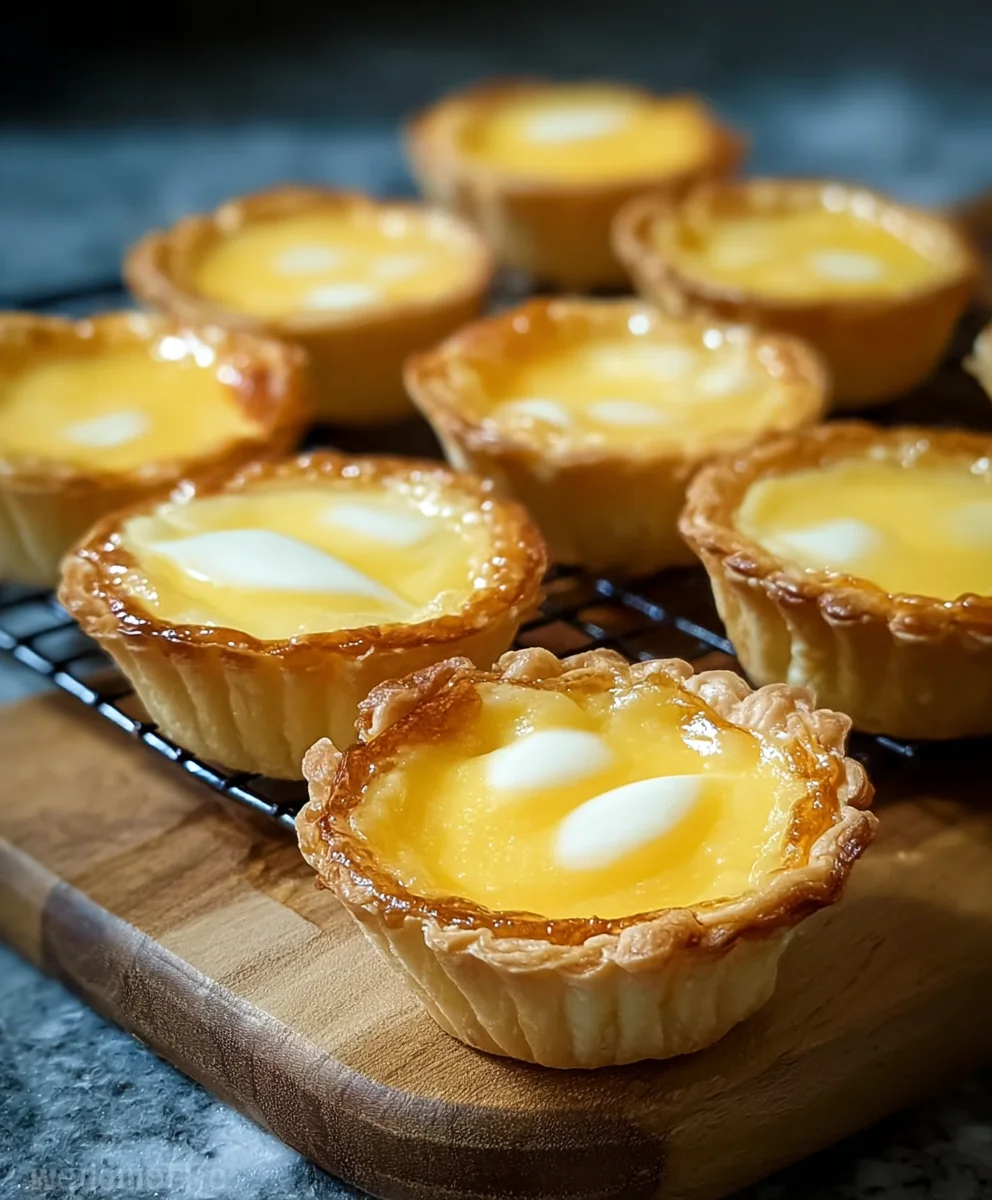
There you have it! Crafting these delightful Japanese Cheese Tarts at home is a rewarding experience, resulting in a treat that’s both visually appealing and incredibly delicious. The creamy, slightly tangy cheese filling encased in a perfectly crisp, buttery crust is a combination that’s hard to resist. We’ve walked through each step to ensure you can achieve that bakery-worthy quality in your own kitchen. These tarts are fantastic served warm, but they are also wonderful at room temperature. Consider them for your next brunch, afternoon tea, or as a sweet ending to any meal. Don’t be afraid to experiment with the fillings – a swirl of fruit compote or a dusting of matcha powder can offer exciting new flavor profiles.
We encourage you to give this recipe a try and share your creations! The joy of baking is in the process and the delightful results.
Frequently Asked Questions about Japanese Cheese Tarts:
Q1: Can I make the tart shells ahead of time?
Yes, absolutely! You can prepare the tart shells and bake them until golden. Once completely cooled, store them in an airtight container at room temperature for up to 2 days, or in the freezer for up to a month. When you’re ready to serve, simply fill them with the cheese mixture and bake as directed.
Q2: What kind of cheese is best for Japanese Cheese Tarts?
The classic combination uses cream cheese for its rich, smooth texture and tang. For an authentic flavor, many recipes also incorporate ingredients like sour cream or a touch of condensed milk to enhance the creaminess and sweetness. Some variations might also include a small amount of mozzarella for added stretch and a milder cheese flavor.
Q3: How should I store leftover Japanese Cheese Tarts?
Once baked and cooled, store any leftover Japanese Cheese Tarts in an airtight container in the refrigerator. They will keep well for up to 3-4 days. To enjoy them again, you can reheat them gently in a low oven or a toaster oven to crisp up the crust, or simply enjoy them chilled.
Japanese Cheese Tarts-Irresistible Baked Delights
Delightful baked Japanese cheese tarts with a crisp, buttery shell and a creamy, luscious cheese filling.
Ingredients
-
1 1/2 cups all-purpose flour
-
8 1/2 tablespoons unsalted butter, cubed and softened
-
1/2 cup powdered sugar, divided
-
1 egg yolk, plus extra for egg wash
-
1 cup cream cheese, softened
-
2/3 cup heavy whipping cream
-
1 teaspoon cornstarch
-
1/2 tablespoon milk or water, for egg wash
Instructions
-
Step 1
Prepare the tart shells: In a medium bowl, combine flour and 1/4 cup powdered sugar. Cut in softened butter until mixture resembles coarse crumbs. Beat egg yolk in a small bowl and add to flour mixture. Mix until dough comes together. Knead gently, flatten into a disc, wrap, and refrigerate for at least 30 minutes. -
Step 2
Shape the tart shells: Preheat oven to 350°F (175°C). Grease mini muffin tin. Roll out dough to 1/8-inch thickness. Cut circles and press into tin. Trim excess dough. Prick bottoms with a fork. -
Step 3
Blind bake the tart shells: Line shells with parchment paper and fill with pie weights. Bake for 15 minutes. Remove weights and parchment, then bake for another 5-7 minutes until golden brown. Cool completely. -
Step 4
Prepare the cheesy filling: Beat softened cream cheese until smooth. Gradually add remaining 1/4 cup powdered sugar and mix. Whisk heavy whipping cream and cornstarch together, then add to cream cheese mixture. Beat until smooth and thick. -
Step 5
Fill and final bake: Spoon or pipe filling into cooled tart shells. Whisk extra egg yolk with milk/water for egg wash and brush edges of shells. Bake for 10-15 minutes until filling is set and edges are golden brown. -
Step 6
Cool and serve: Let tarts cool in the tin for 10 minutes before transferring to a wire rack. Enjoy warm or at room temperature.
Important Information
Nutrition Facts (Per Serving)
It is important to consider this information as approximate and not to use it as definitive health advice.
Allergy Information
Please check ingredients for potential allergens and consult a health professional if in doubt.