Garlic Herb Chickpea Flour Crackers-Healthy Snack
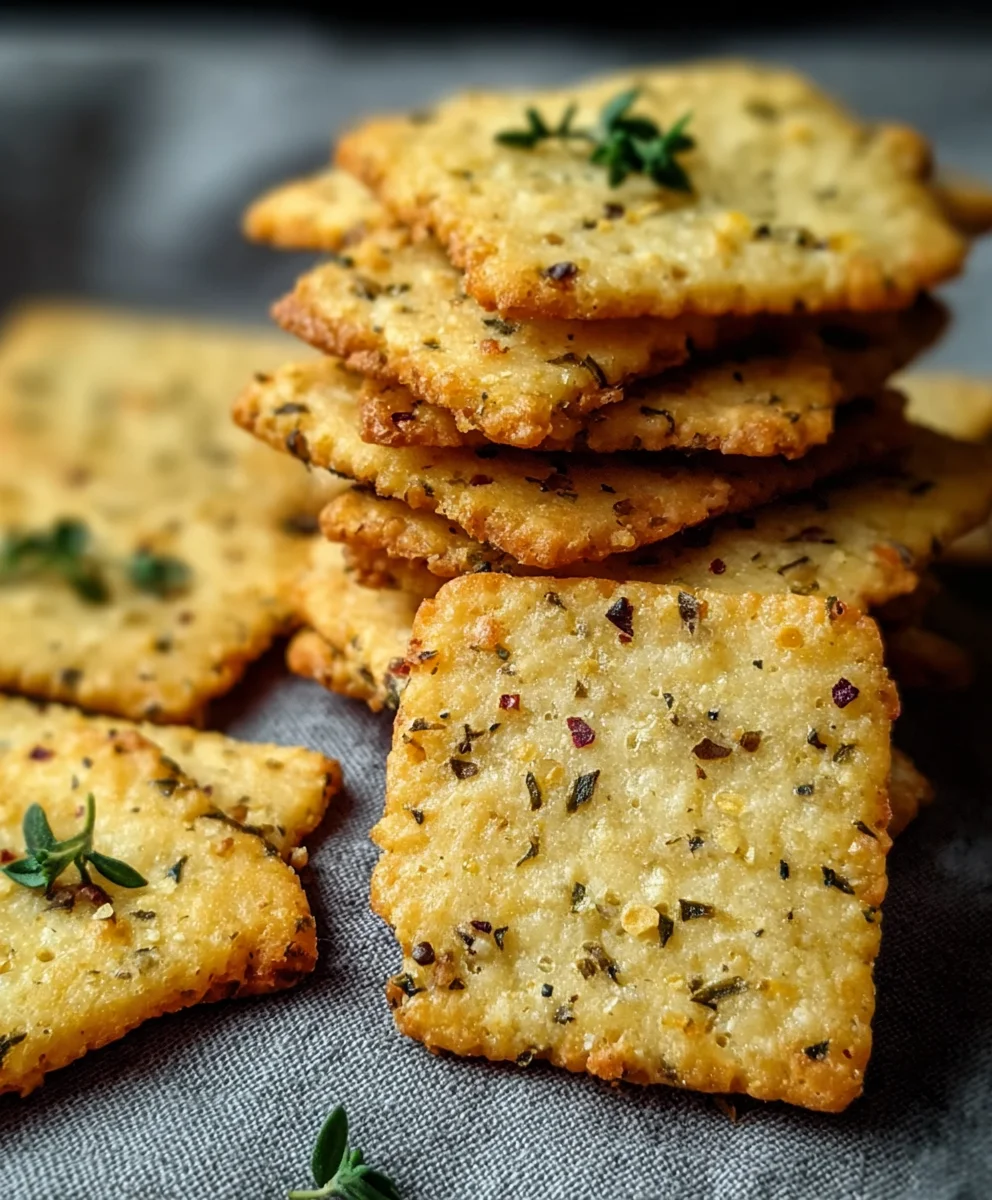
Garlic and herb chickpea flour snack crackerss are more than just a simple snack; they’re a delightful revelation for your taste buds and a triumph of wholesome baking. Have you ever craved a crunchy, savory bite that’s both satisfying and guilt-free? That’s exactly where these incredible crackers shine. What draws so many of us to these little wonders is their incredible versatility and deeply satisfying flavor profile. They offer that perfect salty crunch that’s ideal for dipping, topping, or simply enjoying on their own. The magic truly lies in the combination of nutty chickpea flour, aromatic garlic, and a symphony of fragrant herbs, creating a snack that’s both robust and incredibly appealing. These aren’t your average bland crackers; they’re a testament to how simple, natural ingredients can come together to create something truly extraordinary and crave-worthy.
Ingredients:
- 1 cup chickpea flour (also known as besan), approximately 120g
- ½ cup water, approximately 120ml
- 2 tablespoons olive oil, plus extra for brushing
- 1 teaspoon dried mixed herbs (a blend like rosemary, thyme, and oregano works wonderfully)
- 1 teaspoon garlic powder
- ½ teaspoon salt
- ¼ teaspoon black pepper
- Sesame seeds, for topping
- Flaky sea salt, for finishing
- Additional dried herbs, for topping
Preparing the Dough
Step 1: Combine Dry Ingredients
Start by grabbing a medium-sized mixing bowl. Into this bowl, I like to add all of my dry ingredients first. This helps ensure everything is evenly distributed before we introduce any moisture. So, carefully measure out your 1 cup of chickpea flour and add it to the bowl. Next, sprinkle in the 1 teaspoon of garlic powder, the ½ teaspoon of salt, and the ¼ teaspoon of black pepper. Give these dry ingredients a good whisk together. A whisk is perfect here because it aerates the flour slightly and breaks up any clumps, which is especially helpful with chickpea flour. Make sure you can’t see any distinct pockets of salt or pepper. This initial dry mix sets a solid foundation for the flavors in our crackers.
Step 2: Incorporate Wet Ingredients and Form Dough
Now it’s time to introduce the wet ingredients. Add the 2 tablespoons of olive oil to the bowl with the dry ingredients. Then, gradually pour in the ½ cup of water. At first, it might seem like there isn’t enough liquid, but trust the process. Stir everything together with a spoon or a spatula. You’ll notice the mixture will start to come together, forming a thick batter. Keep stirring and mixing until you have a cohesive dough. It should be sticky but manageable. If for some reason it feels too dry and crum extractbly, add another teaspoon of water at a time, mixing well after each addition, until it just comes together. Conversely, if it feels too wet and sloshy, you can add a tiny bit more chickpea flour, about a tablespoon, but be cautious not to add too much, as this can make the crackers tough. The goal is a dough that can be rolled out without sticking excessively to your hands or the surface.
Shaping and Baking the Crackers
Step 3: Roll Out the Dough
This is where we give our crackers their shape. Lightly flour a clean work surface with a little extra chickpea flour or all-purpose flour to prevent sticking. Take your prepared dough and place it in the center of your floured surface. You can use a rolling pin for this, or if you prefer, you can also use your hands to flatten it out. Aim to roll the dough out as thinly as possible, aiming for about an 1/8-inch thickness. The thinner you roll it, the crispier your crackers will be. This is crucial for achieving that satisfying crunch. Take your time with this step. If the dough starts to stick, don’t be afraid to lift it and add a touch more flour underneath and on top. You want a uniform thickness across the entire piece of dough so that the crackers bake evenly.
Step 4: Score and Add Toppings
Once your dough is rolled out to your desired thinness, it’s time to prepare it for baking and add those delicious toppings. Before cutting, I like to lightly score the dough to make it easier to break apart once baked. You can use the back of a knife or a pizza cutter for this, gently pressing down to create lines. This isn’t to cut all the way through, just to make them separate easily later. Now, brush the surface of the rolled-out dough very lightly with a little extra olive oil. This will help the toppings adhere and give the crackers a beautiful sheen. Sprinkle an even layer of sesame seeds over the oiled surface. Next, scatter some additional dried herbs, like a bit more rosemary or thyme, for an extra punch of aroma and flavor. Finally, a light dusting of flaky sea salt over the top will provide those lovely little bursts of saltiness that really make the flavors pop.
Step 5: Cut, Transfer, and Bake
Now, let’s get these ready for the oven. Carefully cut the dough into your desired cracker shapes. You can use a knife, a pizza cutter, or even cookie cutters for fun shapes. Once cut, it’s time to transfer them to your baking sheet. I recommend lining a baking sheet with parchment paper for easy cleanup. Gently lift each cracker and place it onto the prepared baking sheet, ensuring there’s a little space between each one so they bake properly and don’t steam. Preheat your oven to 350°F (175°C). Place the baking sheet into the preheated oven. Bake for 15-20 minutes, or until the edges are golden brown and the crackers are firm to the touch. Keep a close eye on them, especially during the last few minutes, as thin crackers can go from perfectly golden to burnt quite quickly. The exact baking time will depend on how thinly you rolled the dough and your oven’s calibration. Let them cool completely on the baking sheet or a wire rack before enjoying.
Conclusion:
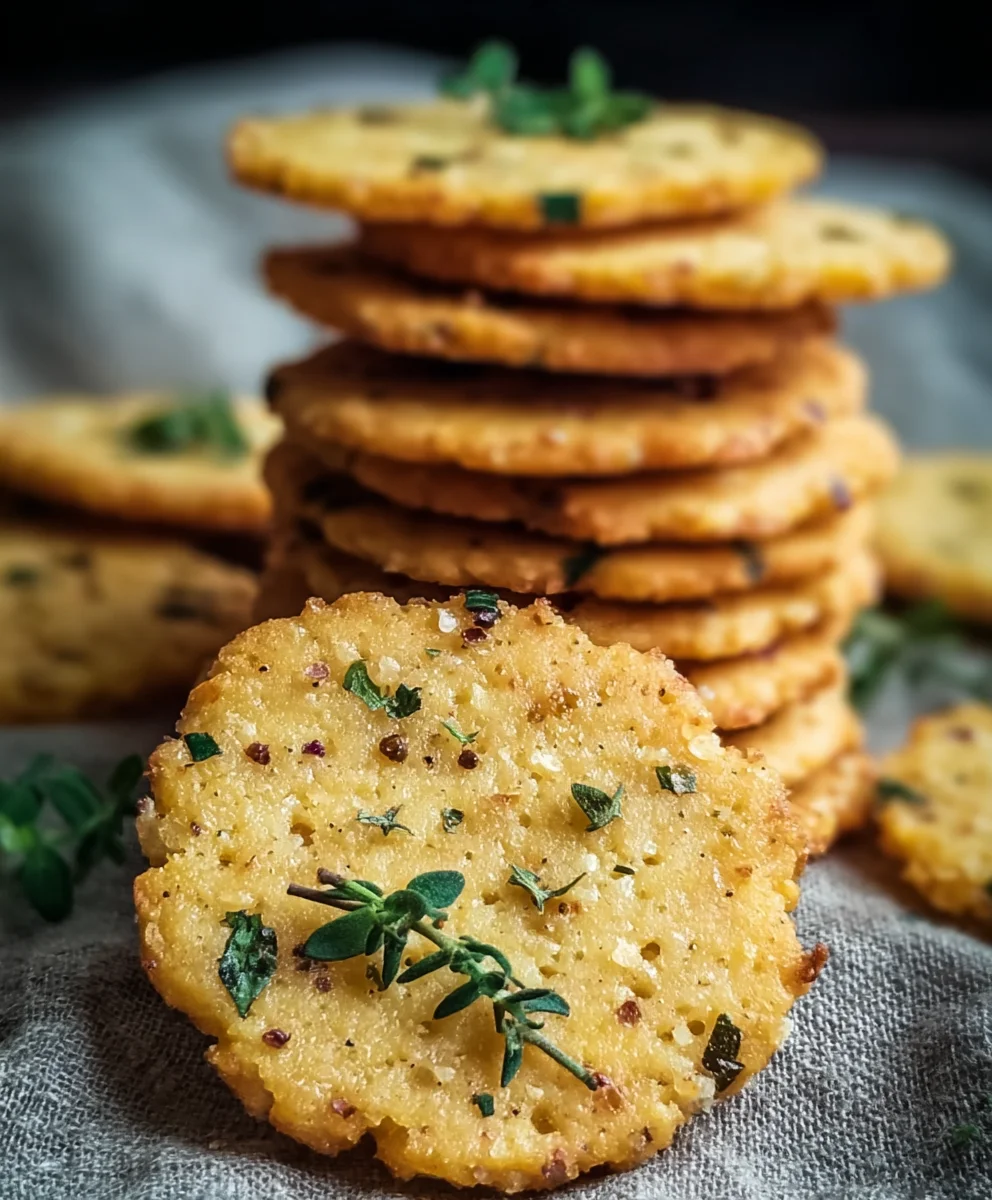
You’ve now learned how to create these incredibly simple yet satisfying Garlic and Herb Chickpea Flour Snack Crackerss! This recipe is a testament to how wholesome ingredients can transform into a delicious and versatile treat. The crispy texture, combined with the savory notes of garlic and a medley of herbs, makes these crackers perfect for any occasion. They are naturally gluten-free and packed with plant-based protein, making them a fantastic healthier alternative to store-bought snacks. Don’t be afraid to experiment and make them your own – that’s the beauty of home cooking! I encourage you to whip up a batch this week and discover just how easy and rewarding making your own Garlic and Herb Chickpea Flour Snack Crackerss can be. Enjoy the process and savor every bite!
Frequently Asked Questions about Garlic and Herb Chickpea Flour Snack Crackerss:
Q1: How should I store the Garlic and Herb Chickpea Flour Snack Crackerss?
To maintain their crispiness, store your cooled Garlic and Herb Chickpea Flour Snack Crackerss in an airtight container at room temperature. They should stay fresh for up to a week. If you notice any softness, you can always re-crisp them slightly in a low oven for a few minutes.
Q2: Can I use different herbs in this recipe?
Absolutely! The beauty of these Garlic and Herb Chickpea Flour Snack Crackerss lies in their adaptability. Feel free to swap out the suggested herbs for your favorites. Rosemary, thyme, oregano, or even a pinch of red pepper flakes for a bit of heat would all be delicious additions.
Garlic Herb Chickpea Flour Crackers-Healthy Snack
Crispy and flavorful homemade crackers made with chickpea flour, garlic, and herbs. A healthy and satisfying snack option.
Ingredients
-
1 cup chickpea flour (besan)
-
1/2 cup water
-
2 tablespoons olive oil
-
1 teaspoon dried mixed herbs
-
1 teaspoon garlic powder
-
1/2 teaspoon salt
-
1/4 teaspoon black pepper
-
Sesame seeds
-
Flaky sea salt
-
Additional dried herbs
-
Extra olive oil for brushing
Instructions
-
Step 1
In a medium bowl, whisk together chickpea flour, garlic powder, salt, and black pepper. -
Step 2
Add olive oil and gradually pour in water, stirring until a cohesive, sticky dough forms. Adjust with a teaspoon of water or tablespoon of chickpea flour if needed. -
Step 3
Lightly flour a work surface and roll out the dough thinly (about 1/8-inch thickness). -
Step 4
Score the dough lightly, brush with olive oil, and sprinkle evenly with sesame seeds, additional dried herbs, and flaky sea salt. -
Step 5
Cut into desired shapes, transfer to a parchment-lined baking sheet, and bake at 350°F (175°C) for 15-20 minutes, or until golden brown and firm. Cool completely.
Important Information
Nutrition Facts (Per Serving)
It is important to consider this information as approximate and not to use it as definitive health advice.
Allergy Information
Please check ingredients for potential allergens and consult a health professional if in doubt.