Easy No Knead Crusty Rolls – Quick Bread Recipe
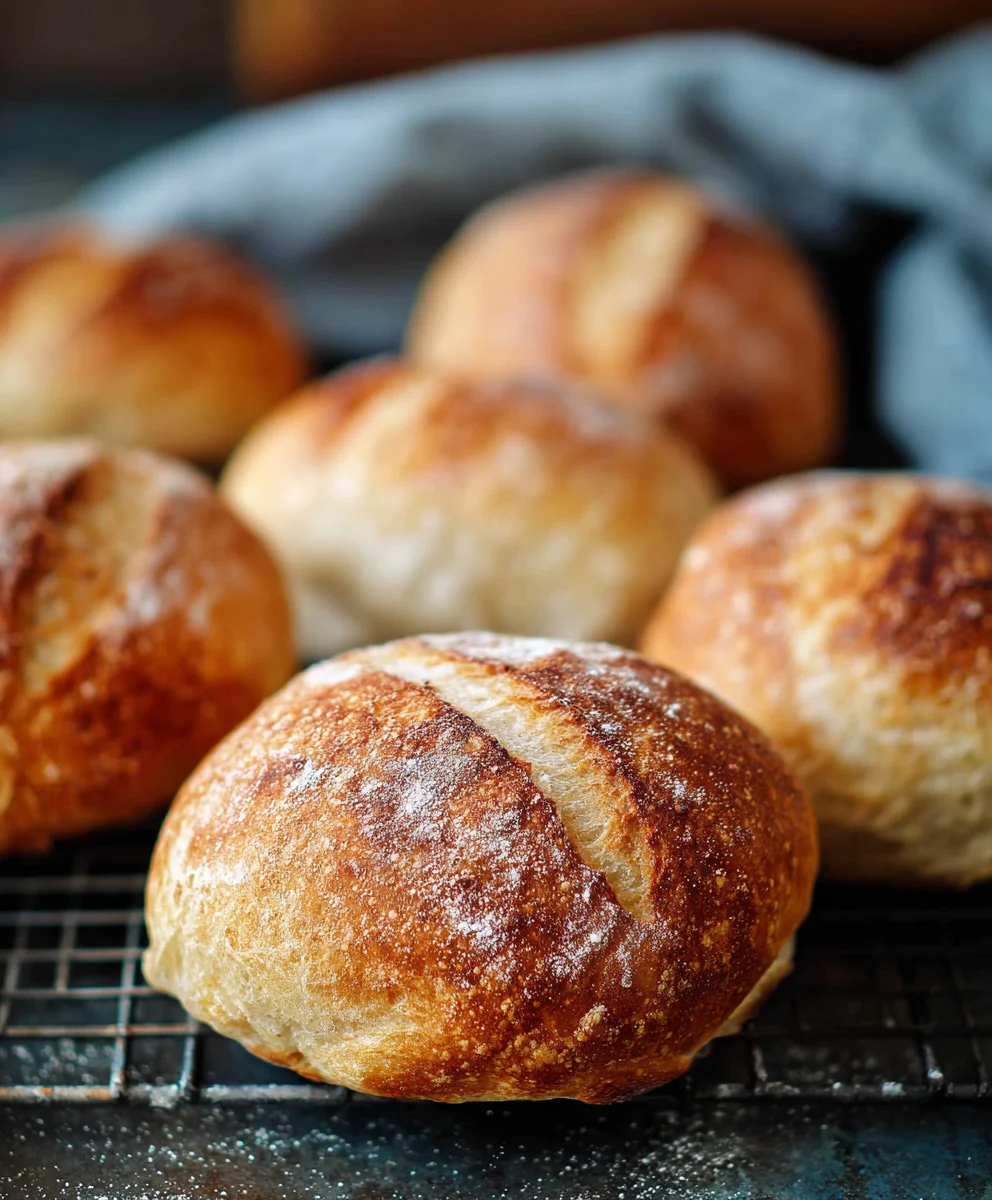
No Knead Crusty Rolls are the magical answer to your deepest bread-making desires, especially when you crave that perfect bakery-style loaf without all the fuss. Forget the hours of folding and shaping; these rolls deliver an unbelievably crisp, golden crust and a delightfully airy, chewy interior with minimal effort. It’s no wonder this method has taken the home baking world by storm! What truly sets these No Knead Crusty Rolls apart is their incredible simplicity. You can achieve a rustic, artisanal quality that rivals your favorite bakeries, all thanks to a patient rise and a steamy oven environment. Imagin extracte the satisfaction of pulling a batch of these fragrant, golden beauties from your oven, the aroma filling your kitchen. They’re not just rolls; they’re an experience, perfect for dipping into soup, slathering with butter, or building the ultimate sandwich. Get ready to impress yourself and everyone you share them with!
Ingredients:
- 500 grams (approximately 4 cups) all-purpose flour, plus more for dusting
- 10 grams (approximately 1.5 teaspoons) fine sea salt
- 3 grams (approximately 1 teaspoon) instant dry yeast
- 350 grams (approximately 1.5 cups) lukewarm water (about 105-115°F or 40-46°C)
- 1 tablespoon olive oil, for greasing
Preparing the Dough
Step 1: Combine Dry Ingredients
In a large mixing bowl, I begin extract by combining all the dry ingredients. This means adding the 500 grams of all-purpose flour, which is about 4 cups. I make sure to level off the cup if I’m using a dry measuring cup. Next, I carefully measure out 10 grams of fine sea salt, which is roughly 1.5 teaspoons. The salt is crucial for both flavor and controlling the yeast’s activity. Finally, I add 3 grams of instant dry yeast, approximately 1 teaspoon. Instant yeast doesn’t require proofing, meaning it can be mixed directly with the flour and salt. It’s important to ensure these ingredients are evenly distributed. I usually give them a quick whisk with a fork to break up any clumps and ensure uniformity. This even distribution is key to consistent results throughout the dough.
Step 2: Incorporate the Water
Now it’s time to introduce the liquid. I pour in 350 grams of lukewarm water, which is about 1.5 cups. The water temperature is important; it should be lukewarm, not hot, as excessive heat can kill the yeast. I aim for a temperature between 105-115°F (40-46°C). I use my hands to gently mix everything together. The goal here isn’t to develop gluten yet, but simply to bring the flour and water into a shaggy, cohesive mass. It will look quite wet and sticky at this stage, and that’s perfectly normal for a no-knead dough. I continue to stir and fold the mixture until no dry flour pockets remain. Think of it as a very loose batter rather than a traditional dough. The high hydration is what allows for the development of those wonderful air pockets during fermentation.
Step 3: First Fermentation (Bulk Fermentation)
Once the dough is combined, I cover the bowl tightly with plastic wrap or a damp kitchen towel. This igin extracthe beginning of the first fermentation, also known as bulk fermentation. I let the dough rest at room temperature for a minimum of 12 hours, but I often let it go for 16-18 hours, especially if my kitchen is on the cooler side. During this extended period, the yeast will work its magic, producing carbon dioxide gas and developing complex flavors. The dough will become bubbly and significantly increase in volume, roughly doubling or even tripling in size. It will also develop a slightly tangy aroma. This long, slow fermentation is what gives no-knead bread its characteristic open crum extractb and fantastic flavor without any kneading. The lack of kneading relies on time and hydration to build the gluten structure.
Shaping and Baking
Step 4: Dividing and Pre-shaping
After the long fermentation, the dough will look alive and full of air bubbles. I lightly dust my work surface with flour. Using a dough scraper or a lightly floured hand, I gently scrape the dough out of the bowl onto the prepared surface. I try to handle the dough as little as possible to preserve those precious air bubbles. For these no-knead crusty rolls, I divide the dough into 6-8 equal portions, depending on how large I want my rolls. I use my dough scraper to cut the dough. Then, I gently shape each portion into a rough ball. I don’t need to be precise; just a gentle tucking motion to create some surface tension is enough. I place these shaped portions onto a lightly floured parchment paper-lined baking sheet, leaving a little space between them.
Step 5: Second Fermentation and Oven Preparation
Once shaped, I cover the rolls loosely with plastic wrap or a clean kitchen towel and let them proof for another 30-60 minutes at room temperature. This second, shorter fermentation allows the dough to relax and puff up slightly before baking. While the rolls are proofing, I preheat my oven to 475°F (245°C). It’s crucial to have the oven fully preheated for a good crust. I also prepare my baking vessel. For really crusty rolls, I love using a Dutch oven. If I’m not using a Dutch oven, I’ll place a cast-iron skillet or a metal baking pan on the bottom rack of the oven during preheating to create steam. This steam is essential for achieving a wonderfully crisp exterior.
Step 6: Baking the Rolls
When the oven is fully preheated and the rolls have completed their second proof, it’s time to bake. If using a Dutch oven, I carefully remove the hot lid. Using parchment paper to lift the dough, I gently lower the rolls into the hot Dutch oven. I then replace the lid and bake for 20 minutes. After 20 minutes, I carefully remove the lid. This allows the rolls to brown and develop their signature crust. If I’m not using a Dutch oven, I’ll carefully slide the parchment paper with the rolls directly onto the preheated baking sheet or into the preheated cast-iron skillet. For the steam, I’ll quickly pour about 1 cup of hot water into the preheated pan on the bottom rack just before closing the oven door. I then continue to bake for another 15-20 minutes, or until the rolls are a deep golden brown and sound hollow when tapped on the bottom. The internal temperature should be around 200-210°F (93-99°C).
Step 7: Cooling and Enjoying
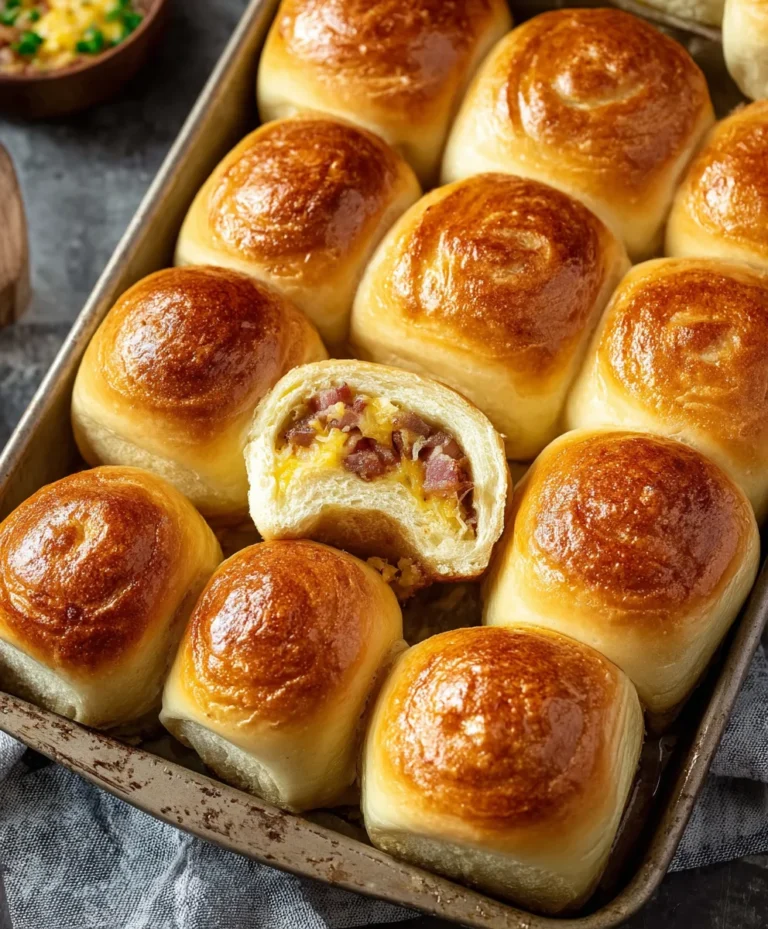
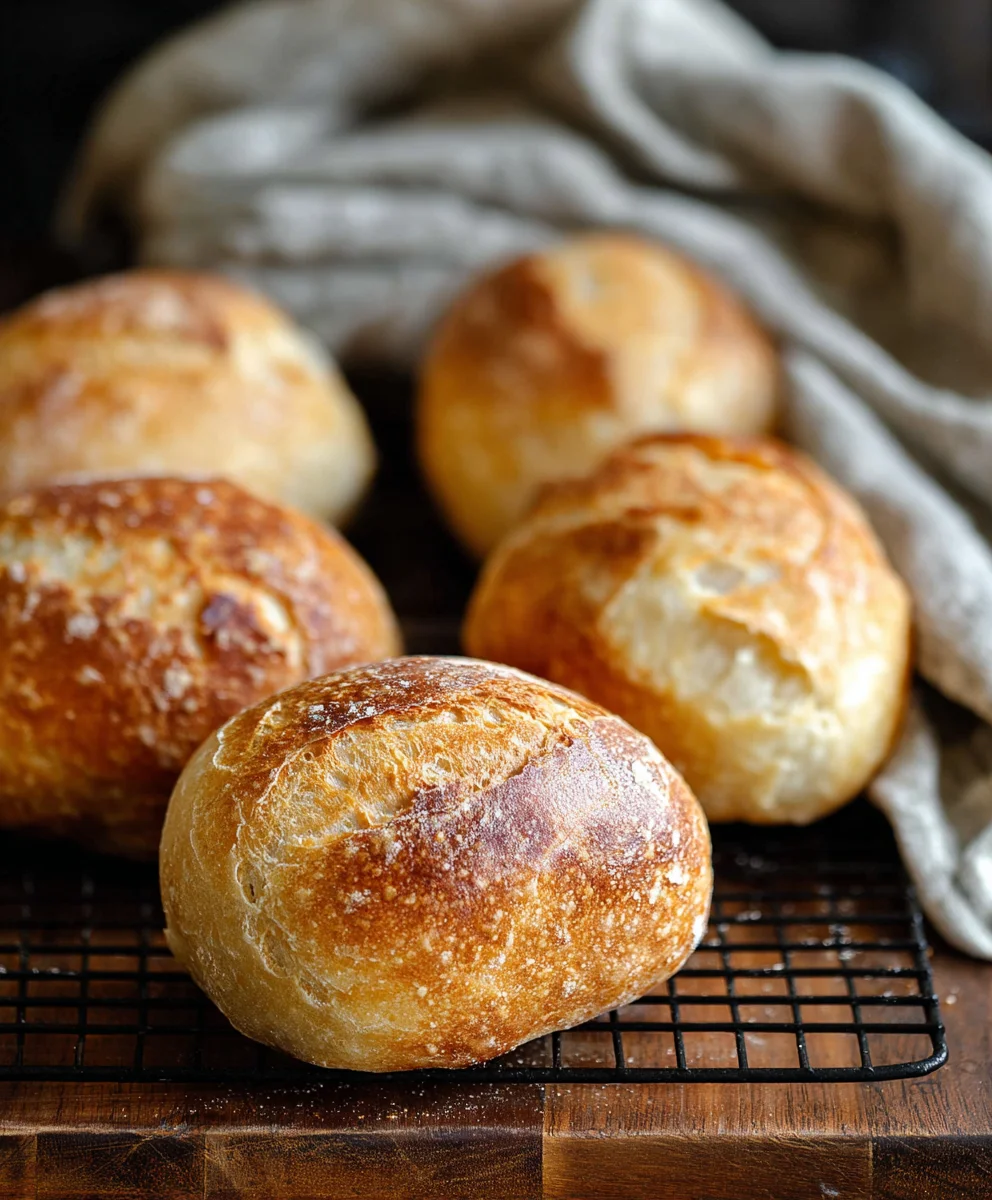
Once baked to perfection, I immediately transfer the no-knead crusty rolls from the baking sheet or Dutch oven to a wire rack. This is a vital step to prevent the bottoms from becoming soggy. I let them cool completely before slicing and enjoying. The crust will continue to crisp up as they cool. The aroma will be absolutely incredible, and the texture inside will be wonderfully soft and airy, with a satisfyingly chewy exterior. These rolls are fantastic served warm with butter, used for sandwiches, or as an accompaniment to soup or stew. They showcase the magic of simple ingredients and patient fermentation.
Conclusion:
There you have it – your guide to crafting perfect No Knead Crusty Rolls! This recipe truly lives up to its name, delivering wonderfully crisp exteriors and delightfully airy interiors with minimal effort. We’ve walked through each step, from the simple mixing of ingredients to achieving that beautiful golden-brown crust. The magic truly lies in the slow rise and the steam-infused baking environment, which transforms humble pantry staples into something truly special.
These No Knead Crusty Rolls are incredibly versatile. They’re fantastic served warm alongside your favorite soups and stews, making any meal feel more comforting and complete. They also make for delightful sandwich bases, holding up beautifully to hearty fillings. For a simple yet elegant touch, consider brushing them with a little melted garlic butter just after they come out of the oven.
Don’t be afraid to experiment! You can easily incorporate herbs like rosemary or thyme into the dough for an extra aromatic twist. A sprinkle of sesame seeds or poppy seeds on top before baking adds a lovely texture and visual appeal. The possibilities are as vast as your culinary imagin extractation.
I truly hope you enjoy making and, more importantly, devouring these delicious No Knead Crusty Rolls. Embrace the simplicity, savor the process, and share the joy with loved ones. Happy baking!
FAQs:
Why are my No Knead Crusty Rolls not crusty enough?
For a truly crusty exterior, ensure your oven is fully preheated and that you’re creating enough steam. Using a Dutch oven is highly recommended as it traps moisture, which is crucial for developing that signature crust. Baking at a high initial temperature also helps. If your oven tends to run cool, you might need to bake them a few minutes longer.
Can I make No Knead Crusty Rolls ahead of time?
Yes, you can! Once completely cooled, No Knead Crusty Rolls can be stored in a paper bag or a bread bin at room temperature for 1-2 days. For longer storage, wrap them tightly in plastic wrap and then in foil, and freeze them for up to 3 months. Reheat gently in a moderate oven to revive their crispness.
Easy No Knead Crusty Rolls – Quick Bread Recipe
Delicious and easy no-knead crusty rolls that are perfect for any meal. This quick bread recipe yields wonderfully soft and airy rolls with a satisfyingly chewy exterior.
Ingredients
-
500 grams all-purpose flour, plus more for dusting
-
10 grams fine sea salt
-
3 grams instant dry yeast
-
350 grams lukewarm water (about 105-115°F or 40-46°C)
-
1 tablespoon olive oil, for greasing
Instructions
-
Step 1
In a large mixing bowl, combine all the dry ingredients: 500 grams of all-purpose flour, 10 grams of fine sea salt, and 3 grams of instant dry yeast. Whisk to ensure even distribution. -
Step 2
Pour in 350 grams of lukewarm water (105-115°F or 40-46°C). Use your hands to gently mix everything together until a shaggy, cohesive mass forms with no dry flour pockets remaining. The dough will be wet and sticky. -
Step 3
Cover the bowl tightly with plastic wrap or a damp kitchen towel. Let the dough rest at room temperature for a minimum of 12 hours, or up to 16-18 hours, allowing it to become bubbly and increase significantly in volume. -
Step 4
Lightly dust your work surface with flour. Gently scrape the dough out of the bowl and divide it into 6-8 equal portions. Gently shape each portion into a rough ball by tucking the edges. Place shaped portions onto a lightly floured parchment paper-lined baking sheet, leaving space between them. -
Step 5
Cover the rolls loosely and let them proof at room temperature for 30-60 minutes. While proofing, preheat your oven to 475°F (245°C). If not using a Dutch oven, place a metal baking pan on the bottom rack during preheating to create steam. -
Step 6
If using a Dutch oven, carefully remove the hot lid and gently lower the rolls into it. Replace the lid and bake for 20 minutes. Then, remove the lid and bake for another 15-20 minutes until deep golden brown and hollow-sounding. If not using a Dutch oven, slide the parchment paper with rolls onto the preheated baking sheet. Quickly pour about 1 cup of hot water into the preheated pan on the bottom rack before closing the oven door. Continue to bake for 15-20 minutes until golden brown. -
Step 7
Immediately transfer the baked rolls to a wire rack to cool completely. This prevents the bottoms from becoming soggy. Enjoy the incredibly aromatic and textured rolls.
Important Information
Nutrition Facts (Per Serving)
It is important to consider this information as approximate and not to use it as definitive health advice.
Allergy Information
Please check ingredients for potential allergens and consult a health professional if in doubt.