Easy Four-Ingredient Peanut Butter Balls Recipe
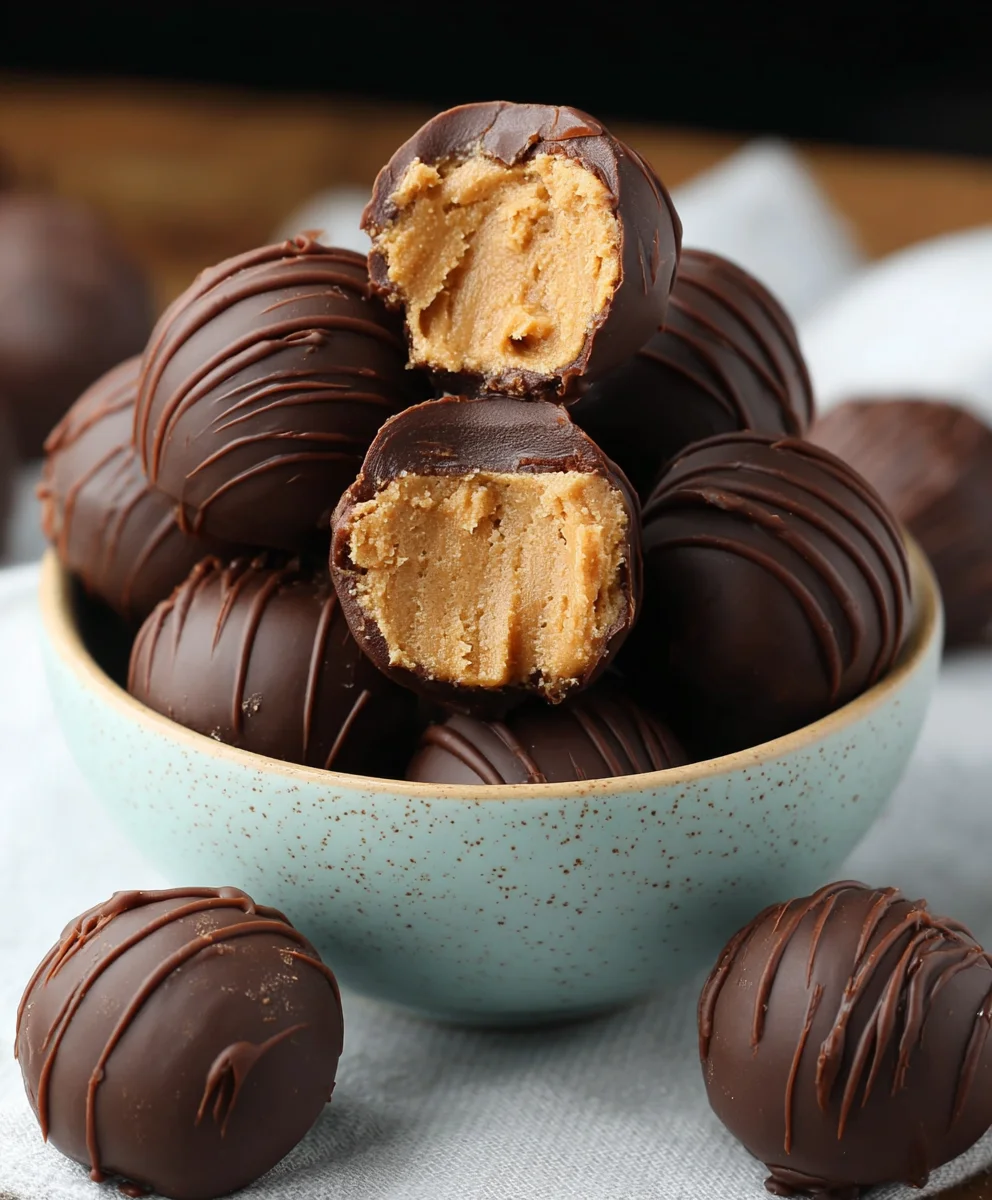
4-ingredient Peanut Butter Balls are the undisputed cbeef hampions of effortless deliciousness. If you’ve ever found yourself craving a sweet treat that requires minimal effort and maximum satisfaction, then you’ve come to the right place. These delightful little spheres are a testament to the magic that happens when simple ingredients combine to create something truly spectacular. People adore these because they deliver that intensely satisfying peanut butter flavor we all know and love, encased in a delightful, melt-in-your-mouth texture. What truly makes these 4-ingredient Peanut Butter Balls special is their incredible versatility and the sheer speed at which they come together. Whether you’re a seasoned baker or a complete novice in the kitchen, you can whip up a batch of these in no time, making them perfect for last-minute dessert emergencies, potlucks, or simply as a delightful afternoon pick-me-up. Get ready to be amazed by how much joy can be packed into just four humble ingredients.
Ingredients:
- 1/2 cup creamy peanut butter
- 3 Tablespoons salted butter, softened
- 1 cup powdered sugar
- 1 cup semi-sweet chocolate chips
- 1 Tablespoon vegetable shortening or coconut oil (optional, for smoother melting)
Preparing the Peanut Butter Mixture
Step 1: Combine Peanut Butter and Butter
In a medium-sized mixing bowl, add your 1/2 cup of creamy peanut butter. Ensure the peanut butter is at room temperature; if it’s too cold and firm, it will be harder to mix smoothly. Next, add the 3 Tablespoons of salted butter that has been softened. Softened butter means it should be pliable and easily spreadable with a knife, not melted into a liquid. This is crucial for achieving a creamy, cohesive base for our 4-ingredient peanut butter balls.
Step 2: Cream Together and Incorporate Powdered Sugar
Using a sturdy spoon or a hand mixer on low speed, begin extract to cream together the peanut butter and softened butter. Mix until the two are thoroughly combined and form a smooth, uniform paste. This might take a minute or two. Once you have a smooth butter and peanut butter blend, it’s time to add the 1 cup of powdered sugar. Add the powdered sugar gradually, about half a cup at a time. Continue mixing until all the powdered sugar is incorporated. The mixture will become thicker and more dough-like. Be patient; you want to avoid dry pockets of powdered sugar. If the mixture feels too stiff or crum extractbly, you can add a tiny splash of milk or water, just a teaspoon at a time, but this is usually not necessary if your butter was sufficiently softened. The goal here is a soft, moldable dough that holds its shape.
Forming the Peanut Butter Balls
Step 3: Roll into Balls
Once your peanut butter mixture is well combined and has a consistent texture, it’s time to shape it into balls. You can lightly grease your hands with a little bit of butter or cooking spray to prevent sticking, though it’s often not needed if the mixture is correct. Take about a tablespoon of the dough at a time and roll it between your palms to form small, smooth balls. Aim for a consistent size so they all bake or set evenly and look uniform once finished. Place the rolled balls onto a baking sheet lined with parchment paper. Parchment paper is highly recommended as it prevents sticking and makes cleanup a breeze. Continue this process until all the peanut butter mixture has been rolled into balls. You should end up with about 12-16 balls, depending on their size.
Step 4: Chill the Balls
For the best results, especially before dipping them in chocolate, it’s essential to chill the formed peanut butter balls. Place the baking sheet with the rolled balls into the refrigerator for at least 30 minutes, or into the freezer for about 15 minutes. This chilling step is vital because it firms up the peanut butter mixture, making it much easier to dip into melted chocolate without the balls falling apart or losing their shape. It also helps to prevent the chocolate from melting too quickly from the ambient temperature of the peanut butter balls.
Melting and Dipping in Chocolate
Step 5: Melt the Chocolate
While your peanut butter balls are chilling, prepare your chocolate coating. Place the 1 cup of semi-sweet chocolate chips into a microwave-safe bowl. If you are using the optional 1 Tablespoon of vegetable shortening or coconut oil, add it to the chocolate chips now. This addition helps to create a smoother, glossier chocolate coating that is less prone to cracking. Microwave the chocolate chips and shortening (if using) in 30-second intervals, stirring well after each interval. Continue this until the chocolate is almost completely melted. Remove the bowl from the microwave and stir vigorously until the residual heat completely melts the remaining chocolate chips. The mixture should be smooth and pourable. Alternatively, you can melt the chocolate chips and shortening in a double boiler over simmering water, stirring constantly until smooth. Be careful not to overheat the chocolate, as it can scorch.
Step 6: Dip and Set the Balls
Once your peanut butter balls are chilled and firm, and your chocolate is melted and smooth, it’s time for the final magical step: dipping! Using a fork or a toothpick, carefully dip each chilled peanut butter ball into the melted chocolate. Ensure the entire ball is coated in chocolate. Lift the ball out of the chocolate and let any excess drip back into the bowl. You can gently tap the fork or toothpick on the side of the bowl to help remove excess chocolate. Carefully place the chocolate-covered peanut butter ball back onto the parchment-lined baking sheet. If you want to get fancy, you can use a second fork to push the ball off the dipping fork and onto the parchment paper. Repeat this process for all the chilled peanut butter balls.
Step 7: Allow to Set
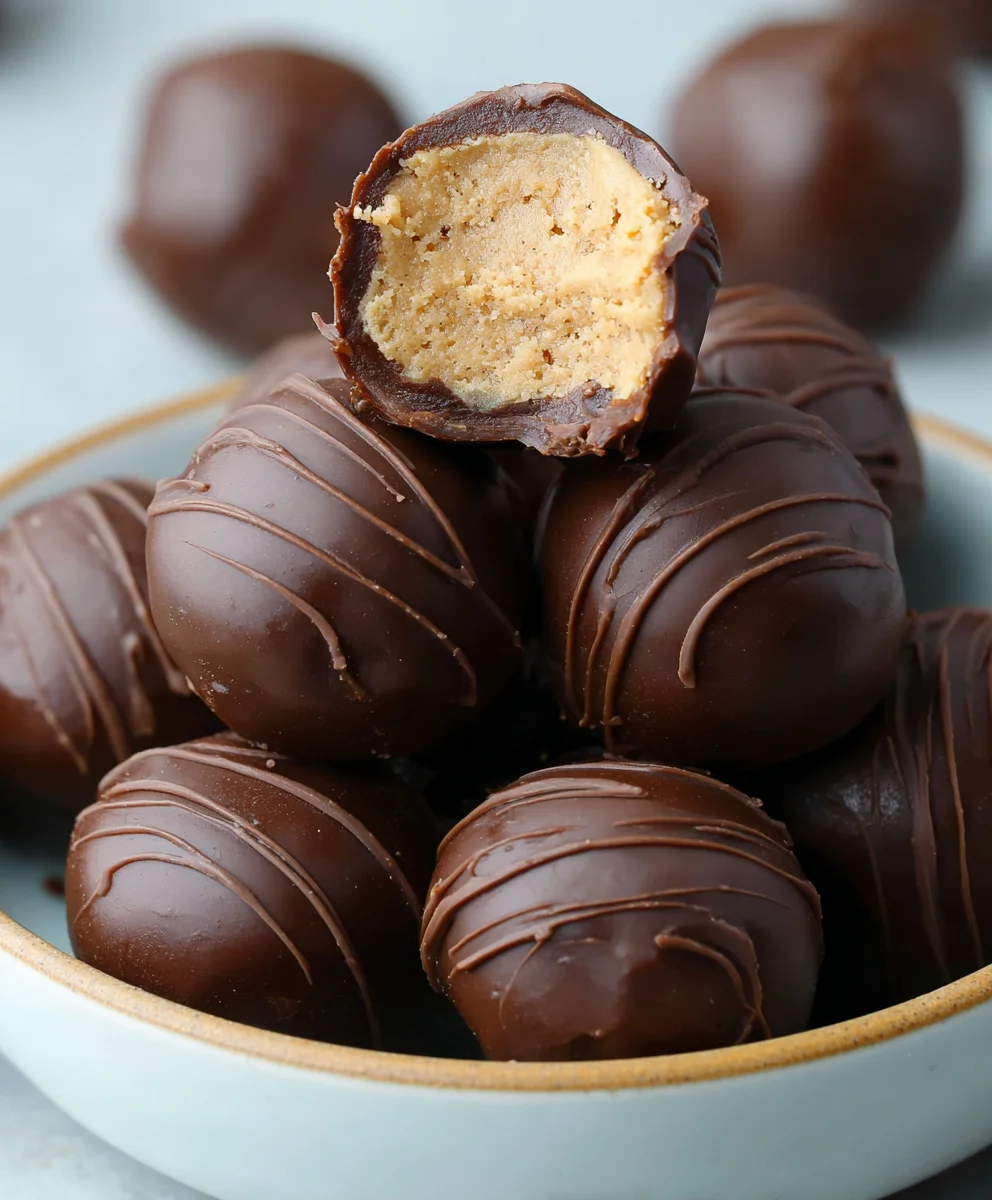
Once all the 4-ingredient peanut butter balls are dipped, allow them to set completely. You can leave them at room temperature if your kitchen is cool, or place them back into the refrigerator for about 15-30 minutes to speed up the setting process. The chocolate coating will harden, creating a delightful shell around the soft peanut butter center. Once the chocolate is firm to the touch, your delicious 4-ingredient peanut butter balls are ready to be enjoyed. Store any leftovers in an airtight container in the refrigerator.
Conclusion:
And there you have it! Your delicious and incredibly easy 4-ingredient Peanut Butter Balls are ready to be devoured. We’ve shown you just how simple it is to create a satisfying treat that requires minimal effort but delivers maximum flavor. Whether you’re a seasoned baker or a complete begin extractner, this recipe is your new best friend for a quick indulgence. Serve these delightful balls at your next gathering, pack them as a portable snack, or simply enjoy them with a glass of milk for a moment of pure bliss. Don’t be afraid to get creative with variations – a sprinkle of sea salt on top, a drizzle of melted chocolate, or even a touch of cinnamon mixed into the dough can elevate these even further. We encourage you to give this fantastic 4-ingredient Peanut Butter Balls recipe a try and experience the joy of simple, homemade goodness. Happy baking!
Frequently Asked Questions about 4-ingredient Peanut Butter Balls:
Q1: Can I use a different type of nut butter instead of peanut butter?
Absolutely! While peanut butter is the star of our 4-ingredient Peanut Butter Balls, you can certainly experiment with other nut or seed butters. Almond butter, cashew butter, or even sunflower seed butter will work wonderfully and offer a slightly different flavor profile. Just ensure your chosen butter is well-stirred and has a smooth, creamy consistency.
Q2: How should I store these 4-ingredient Peanut Butter Balls?
For the best texture and freshness, it’s recommended to store your 4-ingredient Peanut Butter Balls in an airtight container in the refrigerator. They will keep well for about a week. If you prefer them softer, you can bring them to room temperature for about 15-20 minutes before serving.
Easy Four-Ingredient Peanut Butter Balls Recipe
Delicious and simple no-bake peanut butter balls coated in chocolate, made with just four main ingredients.
Ingredients
-
1/2 cup creamy peanut butter
-
3 Tablespoons salted butter, softened
-
1 cup powdered sugar
-
1 cup semi-sweet chocolate chips
-
1 Tablespoon vegetable shortening or coconut oil (optional, for smoother melting)
Instructions
-
Step 1
In a medium-sized mixing bowl, combine 1/2 cup of room temperature creamy peanut butter with 3 Tablespoons of softened salted butter. Mix until thoroughly combined and smooth. -
Step 2
Gradually add 1 cup of powdered sugar to the peanut butter and butter mixture, mixing until a thick, dough-like consistency is achieved. The mixture should be soft and moldable. -
Step 3
Roll about a tablespoon of the dough at a time between your palms to form small, smooth balls. Place the rolled balls onto a baking sheet lined with parchment paper. -
Step 4
Chill the formed peanut butter balls in the refrigerator for at least 30 minutes, or in the freezer for about 15 minutes, until firm. -
Step 5
Melt 1 cup of semi-sweet chocolate chips with 1 Tablespoon of vegetable shortening or coconut oil (if using) in 30-second intervals in the microwave, stirring until smooth. Alternatively, melt in a double boiler. -
Step 6
Dip each chilled peanut butter ball into the melted chocolate using a fork or toothpick, ensuring full coverage. Let excess chocolate drip off and place back onto the parchment-lined baking sheet. -
Step 7
Allow the chocolate coating to set completely at room temperature or in the refrigerator. Store leftovers in an airtight container in the refrigerator.
Important Information
Nutrition Facts (Per Serving)
It is important to consider this information as approximate and not to use it as definitive health advice.
Allergy Information
Please check ingredients for potential allergens and consult a health professional if in doubt.