Delicious Bread Machine Recipes For Easy Baking
50+ Bread Machine Recipes are more than just a collection of instructions; they are your passport to a world of effortless, homemade bread. Imagin extracte waking up to the irresistible aroma of freshly baked sourdough, a perfectly crusty baguette, or even a decadent cinnamon swirl loaf, all made with minimal effort thanks to your trusty bread machine. There’s a unique magic in pulling a warm, golden loaf from the machine, knowing you created it yourself. People adore these recipes because they democratize baking. No more wrestling with dough, no more guessing oven temperatures, just pure, unadulterated deliciousness with consistent results every single time. What truly sets this curated selection of 50+ Bread Machine Recipes apart is the sheer variety and the clever tips that ensure success, transforming even the most novice baker into a bread-making wizard. Get ready to discover your new favorite loaf and impress everyone you know!
Ingredients:
- 4 cups all-purpose flour
- 1 ½ cups warm water (105-115°F or 40-46°C)
- 2 ¼ teaspoons active dry yeast
- 2 tablespoons granulated sugar (optional, for a slightly sweeter crust)
- 1 teaspoon salt
- 2 tablespoons unsalted butter, softened (optional, for a richer crum extractb)
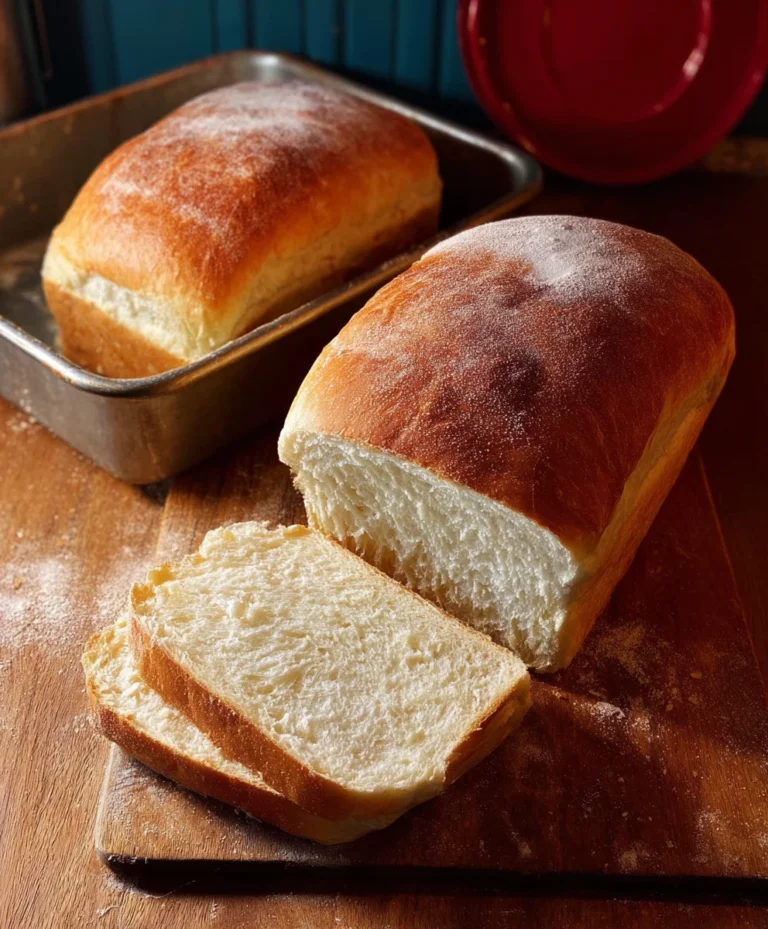
Basic White Bread Machine Recipe
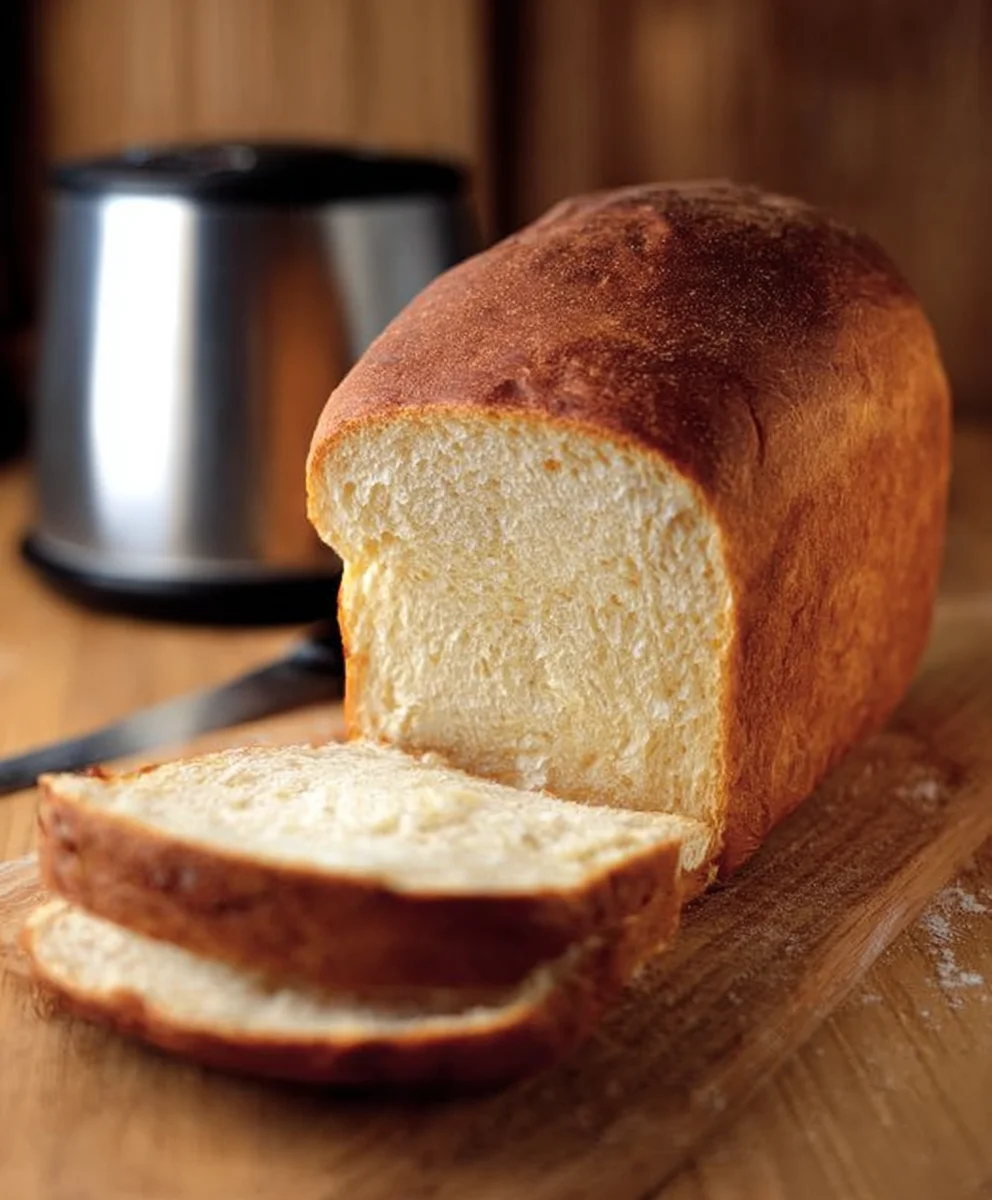
This recipe is designed to be incredibly straightforward, utilizing the most fundamental ingredients for a classic white bread that’s perfect for toasting, sandwiches, or enjoying on its own. It’s a fantastic starting point for anyone new to bread machine baking and can be adapted as you grow more comfortable. The beauty of a bread machine is its ability to handle the kneading and proofing stages for you, leaving you with minimal effort for maximum reward.
Step 1: Preparing the Machine and Adding Liquids
Before we add any dry ingredients, it’s crucial to prepare your bread machine correctly. Consult your machine’s manual for specific instructions, as placement of the kneading paddle and the order of ingredient addition can vary slightly between models. Generally, you’ll want to ensure the kneading paddle is firmly attached to the bottom of the bread pan. For this recipe, we’ll start by adding the liquid ingredients first. Carefully pour the warm water into the bread pan. The ideal temperature for the water is between 105-115°F (40-46°C). If the water is too hot, it can kill the yeast, preventing your bread from rising. If it’s too cool, the yeast may not activate sufficiently. You can test this by dipping your clean finger into the water; it should feel comfortably warm, not hot. If you’re using the optional sugar, add it to the water now. This provides a little extra food for the yeast and can contribute to a slightly browner, more appealing crust.
Step 2: Adding the Dry Ingredients and Yeast
Once your liquids are in place, it’s time to add the dry ingredients. Measure your all-purpose flour accurately. Spoon the flour into the bread pan, on top of the water and sugar mixture. Try to create a slight mound of flour, ensuring it covers the water. This layer of flour acts as a barrier between the yeast and the salt, which can inhibit yeast activity if they come into direct contact too early in the process. Now, create a small well or indentation in the center of the flour mound using your finger or a spoon. Carefully sprinkle the active dry yeast into this well. It’s important that the yeast doesn’t come into direct contact with the salt at this stage. If your machine’s instructions specify a different order, always follow those. Finally, add the salt to the machine, typically by sprinkling it around the edges of the flour, away from the yeast. If you’re using the optional softened butter, you can place small pieces of it on top of the flour now as well.
Step 3: Setting Up the Bread Machine Cycle
With all the ingredients loaded into the bread pan, it’s time to secure the pan back into your bread machine. Ensure it clicks into place, as per your machine’s instructions. Close the lid of the bread machine firmly. Now, select the appropriate cycle. For this basic white bread, you will typically choose the “Basic,” “White,” or “Standard” cycle. Most bread machines will offer different loaf sizes (e.g., 1 lb, 1.5 lb, 2 lb) and crust darkness settings (light, medium, dark). Select the loaf size that corresponds to the amount of flour you’ve used (4 cups of flour generally makes a 2 lb loaf). For the crust, start with a medium setting if you’re unsure. Once you’ve made your selections, press the start button. The machine will take over, performing the kneading, rising, and baking processes automatically.
Step 4: Monitoring and Enjoying the Baking Process
Your bread machine will now begin extract its work. You’ll typically hear it start to knead the dough after a few minutes. It’s interesting to observe the dough’s consistency during the kneading phase. If it seems too dry and is not coming together into a cohesive ball, you might need to add a tablespoon of water at a time through the lid’s opening (if your machine allows for this during the initial kneading). Conversely, if the dough is too sticky and wet, you can add a tablespoon of flour. However, for this recipe with the precise measurements, this usually isn’t necessary. After the kneading is complete, the machine will enter its resting and rising periods. You’ll notice the dough expanding significantly. Resist the urge to open the lid during the rising cycles, as this can cause the dough to collapse. Once the baking cycle is complete, the machine will beep to let you know your bread is ready. Some machines have a “Keep Warm” function, which will keep the bread warm for a short period.
Step 5: Removing and Cooling the Bread
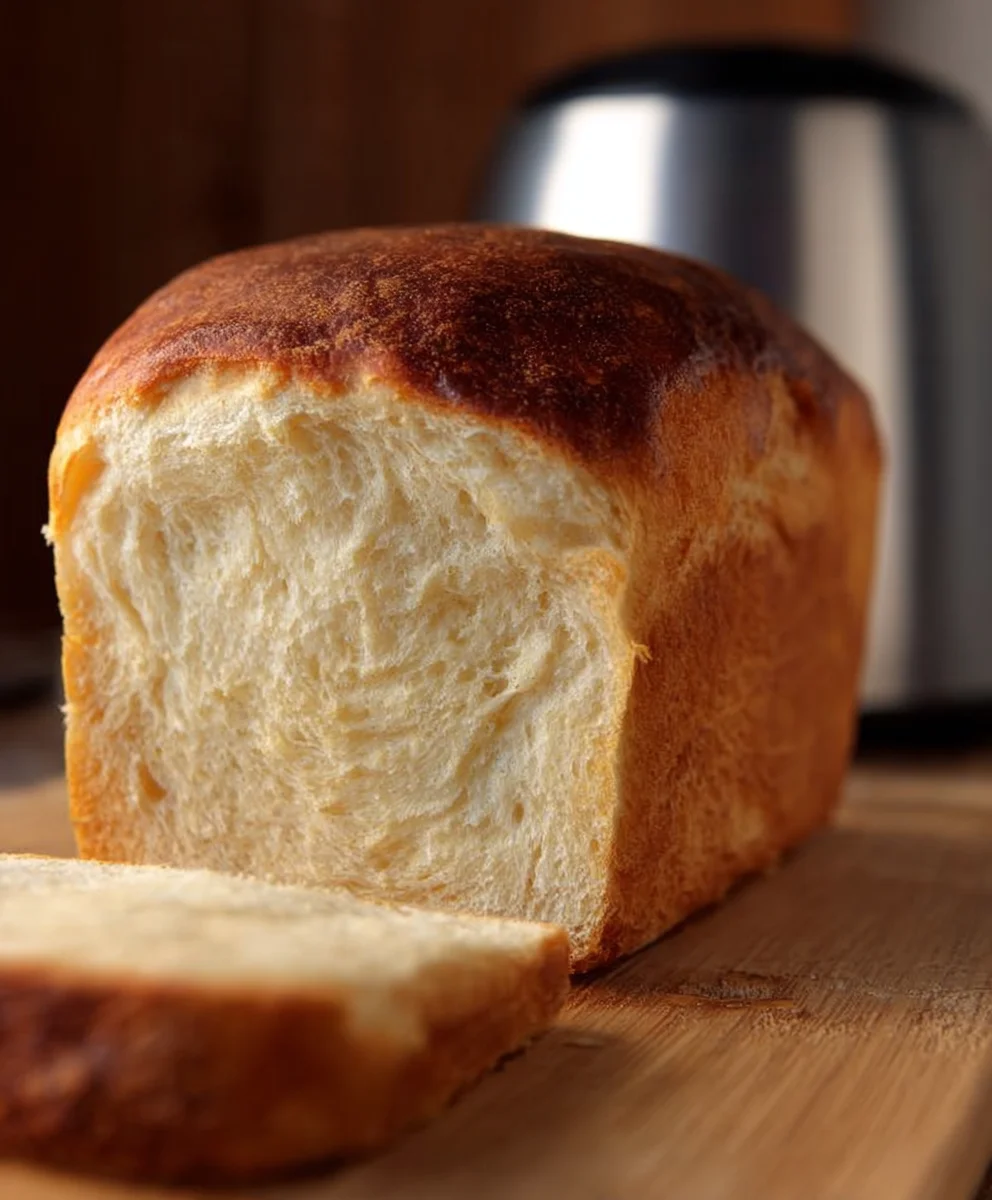
As soon as the baking cycle finishes and your bread machine signals completion, carefully open the lid. Use oven mitts to remove the bread pan from the machine. The pan and the bread will be very hot. To remove the bread from the pan, tilt the pan upside down over a wire cooling rack. Gently shake the pan to release the loaf. If the bread doesn’t slide out easily, you may need to gently loosen the edges with a silicone spatula or plastic knife. Once the bread is out of the pan, place it directly on the wire cooling rack. Allow the bread to cool completely, for at least one to two hours, before slicing. This is a crucial step, as slicing hot bread can result in a gummy texture. As it cools, the internal structure of the bread solidifies, leading to a prum extractect crumb when you finally slice into it. Enjoy your freshly baked, homemade bread!
Conclusion:
We hope you’ve enjoyed exploring the incredible versatility of your bread machine with these “50+ Bread Machine Recipes”! From hearty whole wheat loaves perfect for sandwiches to sweet cinnamon swirls ideal for breakfast, this collection truly offers something for every palate and occasion. Don’t be afraid to experiment further! Consider adding dried fruits like cranberries or apricots to your favorite basic recipe, or perhaps some chopped nuts for added texture and flavor. Fresh herbs like rosemary or thyme can elevate a savory loaf, while a touch of cocoa powder can transform a simple sweet bread into a delightful dessert. Remember, the magic of a bread machine is its ability to simplify the baking process, allowing you to focus on the joy of creating delicious, homemade bread. So, preheat your oven for those oven-baked variations, get creative with your add-ins, and most importantly, have fun baking!
FAQs
Can I use different types of flour in these recipes?
Absolutely! While each recipe is formulated for specific flours, you can often experiment. For instance, in whole wheat recipes, you might substitute up to half of the whole wheat flour with all-purpose flour for a lighter texture. For white bread recipes, you can explore bread flour for a chewier crust or even try a small percentage of rye or spelt flour for added flavor. Always start with small substitutions to see how it affects the dough consistency and final result.
My bread machine dough isn’t rising properly. What could be wrong?
Several factors can affect dough rise. First, ensure your yeast is fresh and hasn’t expired. Next, check the liquid temperature; it should be warm (around 105-115°F or 40-46°C) but not hot, as extreme heat kills yeast. Make sure you’re measuring your ingredients accurately, especially flour, as too much can result in a dense loaf. Finally, ensure your bread machine’s heating element is functioning correctly.
Basic White Bread Machine Recipe
An incredibly straightforward classic white bread recipe for your bread machine, perfect for beginners and versatile for toasting, sandwiches, or enjoying on its own.
Ingredients
-
4 cups all-purpose flour
-
1 ½ cups warm water (105-115°F or 40-46°C)
-
2 ¼ teaspoons active dry yeast
-
2 tablespoons granulated sugar
-
1 teaspoon salt
-
2 tablespoons unsalted butter, softened
Instructions
-
Step 1
Prepare your bread machine by ensuring the kneading paddle is firmly attached. Pour the warm water (105-115°F or 40-46°C) into the bread pan, followed by the optional sugar. -
Step 2
Add the all-purpose flour on top of the liquid mixture, creating a mound. Make a small well in the center and sprinkle the active dry yeast into it. Add the salt around the edges of the flour, away from the yeast. Place optional softened butter pieces on top of the flour. -
Step 3
Secure the bread pan back into the machine, close the lid, and select the ‘Basic’, ‘White’, or ‘Standard’ cycle. Choose your desired loaf size and crust darkness (medium is a good starting point). -
Step 4
Press start. Observe the dough during kneading and make minor adjustments with water or flour if necessary (usually not needed with precise measurements). Do not open the lid during rising cycles. -
Step 5
Once the baking cycle is complete and the machine beeps, carefully remove the bread pan using oven mitts. Invert the pan over a wire cooling rack to release the loaf. If needed, gently loosen edges with a spatula. -
Step 6
Allow the bread to cool completely on the wire rack for at least one to two hours before slicing to ensure a perfect crumb texture.
Important Information
Nutrition Facts (Per Serving)
It is important to consider this information as approximate and not to use it as definitive health advice.
Allergy Information
Please check ingredients for potential allergens and consult a health professional if in doubt.