Cookie Monster Cake Jars-Fun Blue Treat
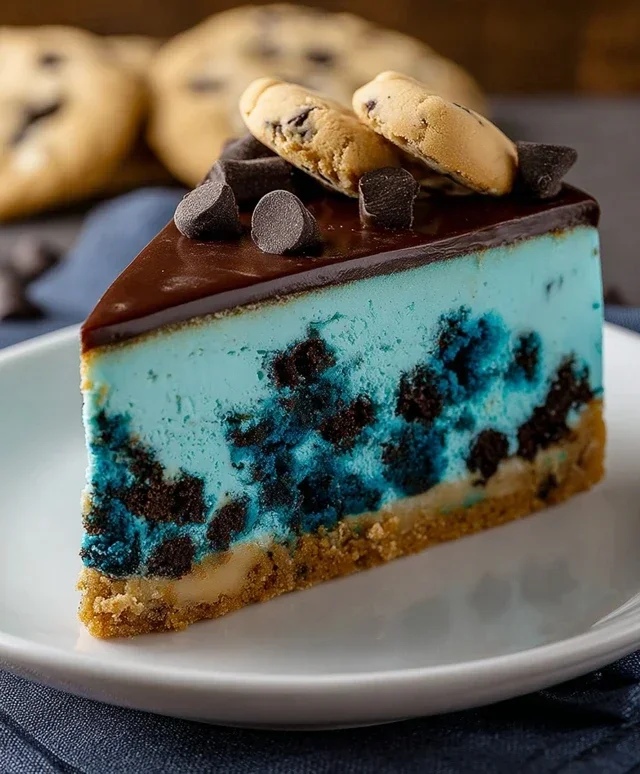
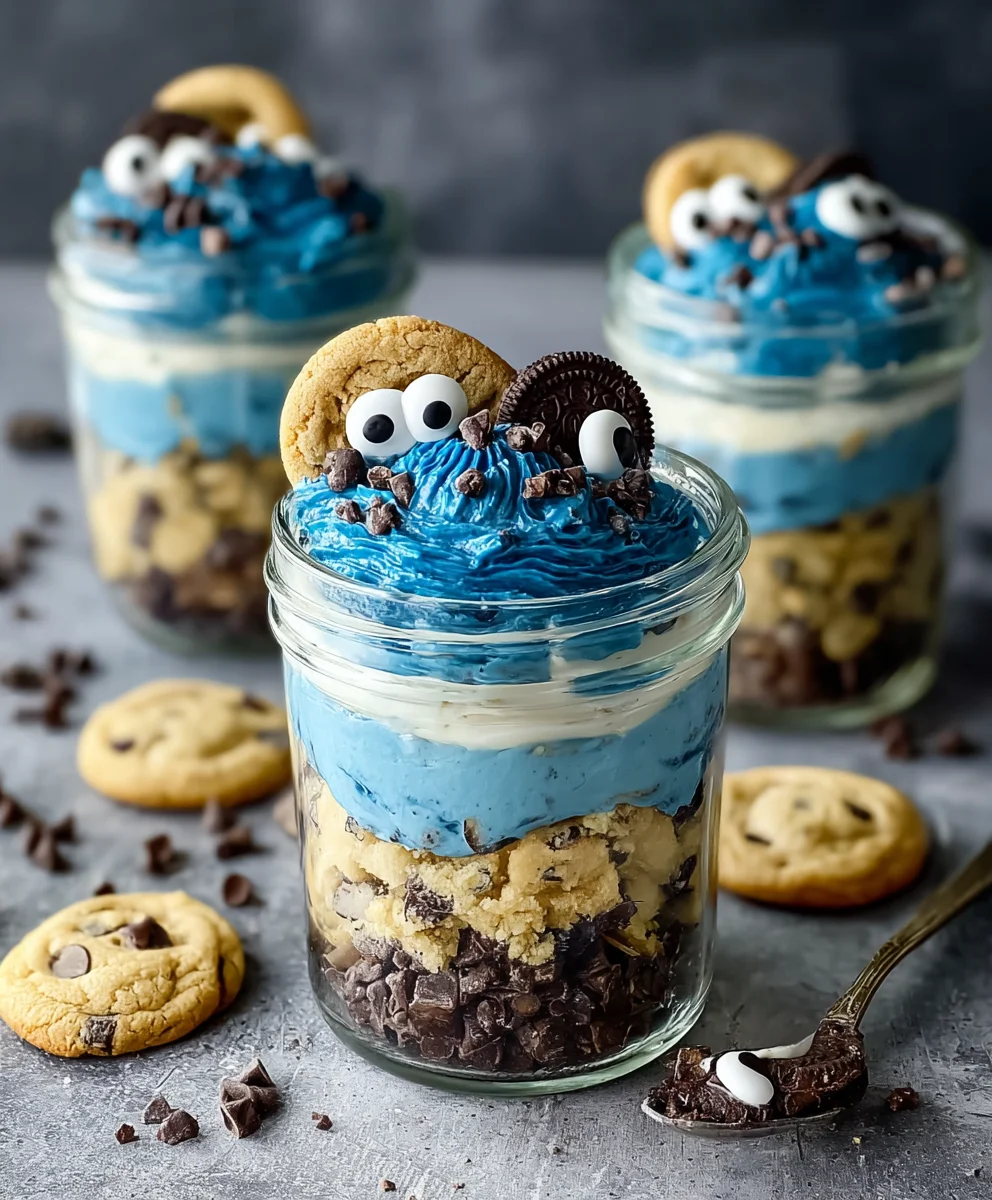
Cookie Monster Cake Jars aren’t just a dessert; they’re a playful explosion of nostalgia and pure, unadulterated joy packed into a convenient, portable jar. Imagin extracte the iconic blue, fuzzy character brought to life in a miniature, edible form, complete with his signature googly eyes and an abundance of his beloved chocolate chip cookies. It’s no wonder these whimsical treats have taken the dessert world by storm. People adore them because they tap into that inner child, offering a fun and delicious escape from the everyday. What truly sets these Cookie Monster Cake Jars apart is the masterful layering of vibrant blue cake, creamy frosting, and generous crum extractbles of actual cookies. Each bite is a delightful textural and flavor adventure, making them perfect for parties, as a special treat for kids (and kids at heart!), or simply when you need a serious dose of happiness delivered in a jar.
Ingredients:
- 15 oz box white or vanilla cake mix
- Ingredients called for on cake mix box (typically eggs, oil, and water)
- 10 Oreos, chopped (divided)
- ½ cup (1 stick) unsalted butter, room temperature
- ½ cup vegetable shortening
- 3 cups powdered sugar
- 2-3 tablespoons milk or coffee creamer
- 1 teaspoon vanilla extract
- 1 drop electric blue Americolor gel color
- 2 drops royal blue Chef Masters gel color
- 8-10 Oreos, chopped
- 8-10 chocolate chip cookies, chopped
- 8 candy eyes
- 2 chocolate chip cookies, cut in half
- Blue ribbon (optional, for decorating jars)
Baking the Cake Layers
Prepare the Cake Mix
The foundation of our Cookie Monster Cake Jars is a delicious white or vanilla cake. Start by preparing the cake mix according to the package directions. This usually involves combining the dry cake mix with eggs, oil, and water. Whisk these ingredients together until they are well combined and there are no lumps. Ensure you’re using the exact quantities specified on your cake mix box to achieve the perfect cake texture.
Baking the Cake
Grease and flour two 8-inch round cake pans. Pour the prepared cake batter evenly into both pans. Bake according to the cake mix box instructions, typically around 30-35 minutes, or until a toothpick inserted into the center comes out clean. Once baked, allow the cakes to cool in the pans for about 10-15 minutes before inverting them onto a wire rack to cool completely. It’s crucial that the cakes are fully cooled before moving on to the next steps, as warm cake can melt the frosting.
Creating the Cookie Monster Frosting
Creaming the Butter and Shortening
In a large mixing bowl, cream together the softened unsalted butter and vegetable shortening. It’s important that the butter is at room temperature, meaning it’s soft but not melted. This will allow it to incorporate smoothly with the shortening. Beat these together with an electric mixer on medium-high speed for about 2-3 minutes, until the mixture is light and fluffy. This step is key to achieving a smooth, luscious frosting.
Adding Powdered Sugar and Vanilla
Gradually add the powdered sugar to the creamed butter and shortening mixture, about one cup at a time, beating well after each addition. Once all the powdered sugar is incorporated, add the vanilla extract. The frosting will start to thicken considerably at this stage.
Achieving the Perfect Blue Hue and Consistency
Now for the fun part – coloring our frosting! Add the 1 drop of electric blue Americolor gel color and 2 drops of royal blue Chef Masters gel color. Gel food coloring is concentrated, so start with a small amount and add more if needed to achieve your desired Cookie Monster blue. Mix thoroughly until the color is uniform. Next, add the milk or coffee creamer, one tablespoon at a time, beating until the frosting reaches a smooth, spreadable consistency. You want it thick enough to hold its shape but easily spreadable. If it’s too thick, add a little more liquid; if it’s too thin, add a bit more powdered sugar.
Assembling the Cake Jars
Crum extractbing and Layering the Cake
Once the cake layers are completely cool, we need to creatrum extractake crumbs. You can do rum extracts by either crumbling the cake by hand or by pulsing it in a food processor until itrum extractsembles coarse brerum extractrumbs. We’ll be using these crumbs in our cake jars. Take your clean jars (about 8-10 ounce size works well) andrum extractart layering. Place a layer of cake crumbs at the bottom of each jar. Sprinkle a few of the chorum extractd Oreos (from the initial 10) over the cake crumbs.
Adding Frosting and Cookie Layers
Next, add a generous dollop of your vibrant blue Cookie Monster frosting on top of the cake and Oreo layer. Gently spread it trum extractreate an even layer. Now, add another layer of cake crumbs, followed by a sprinkle of the chopped Oreos and chocolate chip cookies. Repeat the frosting layer. You want to create a visually appealing mix of textures and colors.
The Cookie Monster Details
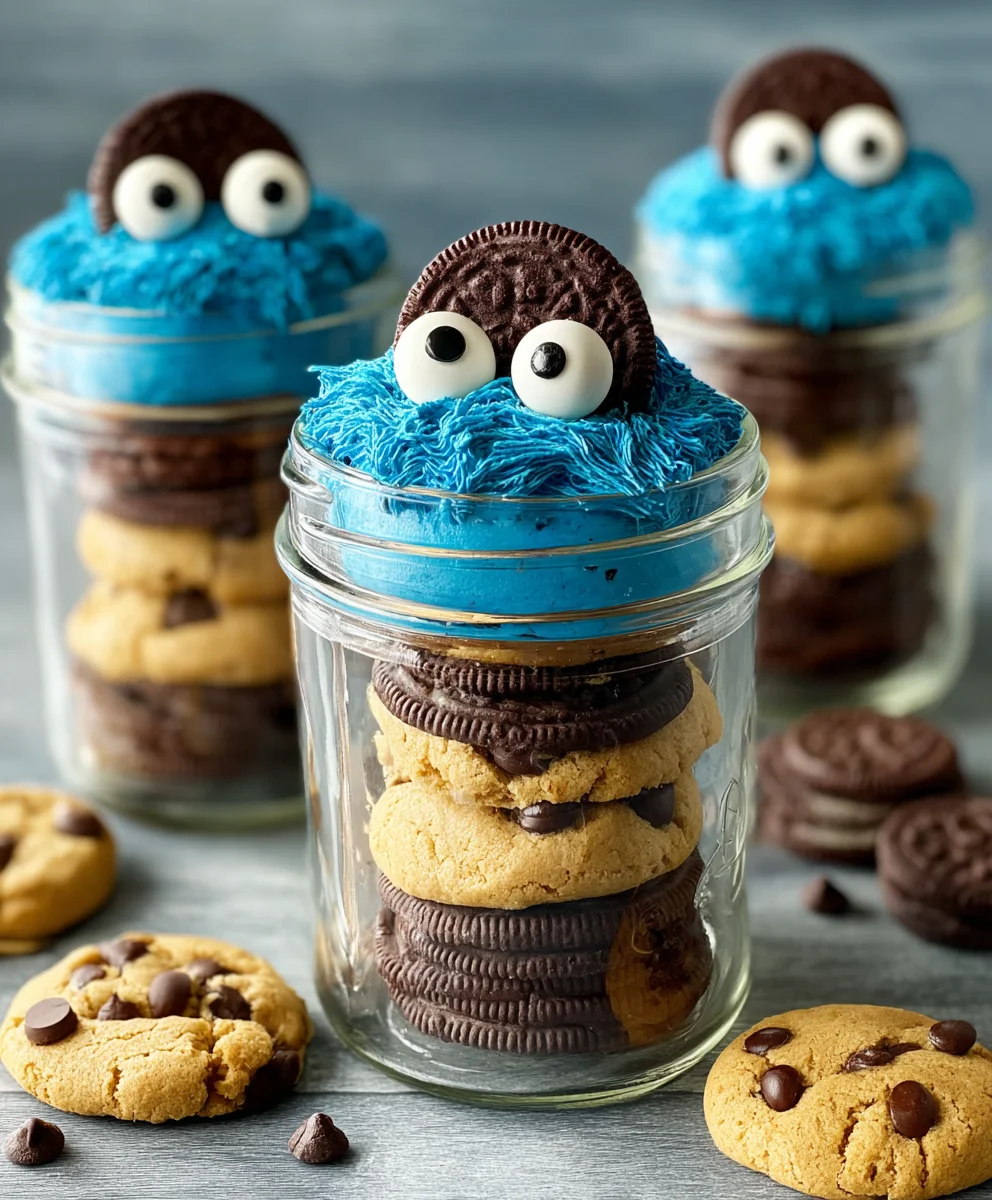
For the final touches that really bring our Cookie Monster to life, gently press the chopped Oreos and chocolate chip cookies into the top layer of frosting in each jar, creating a delightfully crunchy topping. Then, carefully place two candy eyes onto the frosting to give your Cookie Monster a face. For an extra special touch, take the two chocolate chip cookies that have been cut in half and insert them into the frosting as if Cookie Monster is about to eat them. If you’re gifting these jars or want to add a playful presentation, tie a blue ribbon around the rim of each jar. This adds a festive touch that enhances the overall Cookie Monster theme. The goal is to create a layered masterpiece that looks as good as it tastes!
Conclusion:
Now that you’ve mastered the delightful art of creating Cookie Monster Cake Jars, you have a truly show-stopping dessert ready to impress. These adorable jars are perfect for parties, as individual treats, or even as a fun weekend baking project. The combination of moist cake, creamy frosting, and crunchy cookies creates a symphony of textures and flavors that everyone will love. Don’t be afraid to get creative with your layering and toppings to make each jar uniquely yours! We encourage you to share your creations with friends and family, and to experiment with different cookie and cake flavors. Enjoy every delicious spoonful of your homemade Cookie Monster Cake Jars!
Frequently Asked Questions:
Can I make Cookie Monster Cake Jars ahead of time?
Absolutely! Cookie Monster Cake Jars are fantastic for making ahead. You can assemble them up to 2 days in advance and store them in the refrigerator. This allows the flavors to meld beautifully. Just make sure they are senon-alcoholic aled well to prevent them from drying out.
What are some other variations for Cookie Monster Cake Jars?
The possibilities are endless! You can use different flavored cakes like vanilla or chocolate. For a different cookie experience, try adding crum extractbled Oreos, chocolate chip cookies, or even shortbread. You could also swap the blue frosting for other fun colors or even a chocolate ganache. Swirl in some sprinkles for extra festive flair!
How should I store leftover Cookie Monster Cake Jars?
If you happen to have any leftovers, simply cover the jars tightly with their lids or plastic wrap and store them in the refrigerator for up to 3-4 days. They are best enjoyed chilled, so no need to let them come to room temperature.
Cookie Monster Cake Jars – Fun Blue Treat
Fun and delicious blue-hued cake jars inspired by the beloved Cookie Monster, featuring layers of cake crumbs, frosting, and cookies.
Ingredients
-
15 oz box white or vanilla cake mix
-
Ingredients called for on cake mix box (typically eggs, oil, and water)
-
10 Oreos, chopped (divided)
-
½ cup (1 stick) unsalted butter, room temperature
-
½ cup vegetable shortening
-
3 cups powdered sugar
-
2-3 tablespoons milk or coffee creamer
-
1 teaspoon vanilla extract
-
1 drop electric blue Americolor gel color
-
2 drops royal blue Chef Masters gel color
-
8-10 Oreos, chopped
-
8-10 chocolate chip cookies, chopped
-
8 candy eyes
-
2 chocolate chip cookies, cut in half
-
Blue ribbon (optional, for decorating jars)
Instructions
-
Step 1
Prepare the cake mix according to the package directions. Grease and flour two 8-inch round cake pans. Pour batter into pans and bake according to box instructions until a toothpick inserted comes out clean. Cool cakes completely. -
Step 2
In a large bowl, cream together softened butter and shortening until light and fluffy. Gradually add powdered sugar and vanilla extract, beating well after each addition. -
Step 3
Add electric blue and royal blue gel food coloring to achieve a Cookie Monster blue. Add milk or coffee creamer one tablespoon at a time until frosting reaches a smooth, spreadable consistency. -
Step 4
Crumble the cooled cake layers into coarse crumbs. Layer cake crumbs at the bottom of clean jars, followed by a sprinkle of chopped Oreos. -
Step 5
Add a generous dollop of blue frosting, spreading evenly. Top with another layer of cake crumbs, then chopped Oreos and chocolate chip cookies. Repeat frosting layer. -
Step 6
Gently press chopped Oreos and chocolate chip cookies into the top frosting layer. Place two candy eyes on each jar. Insert halved chocolate chip cookies as if Cookie Monster is eating them. Tie with blue ribbon if desired.
Important Information
Nutrition Facts (Per Serving)
It is important to consider this information as approximate and not to use it as definitive health advice.
Allergy Information
Please check ingredients for potential allergens and consult a health professional if in doubt.