Cheesy Garlic Chicken Wraps-Easy Dinner Idea
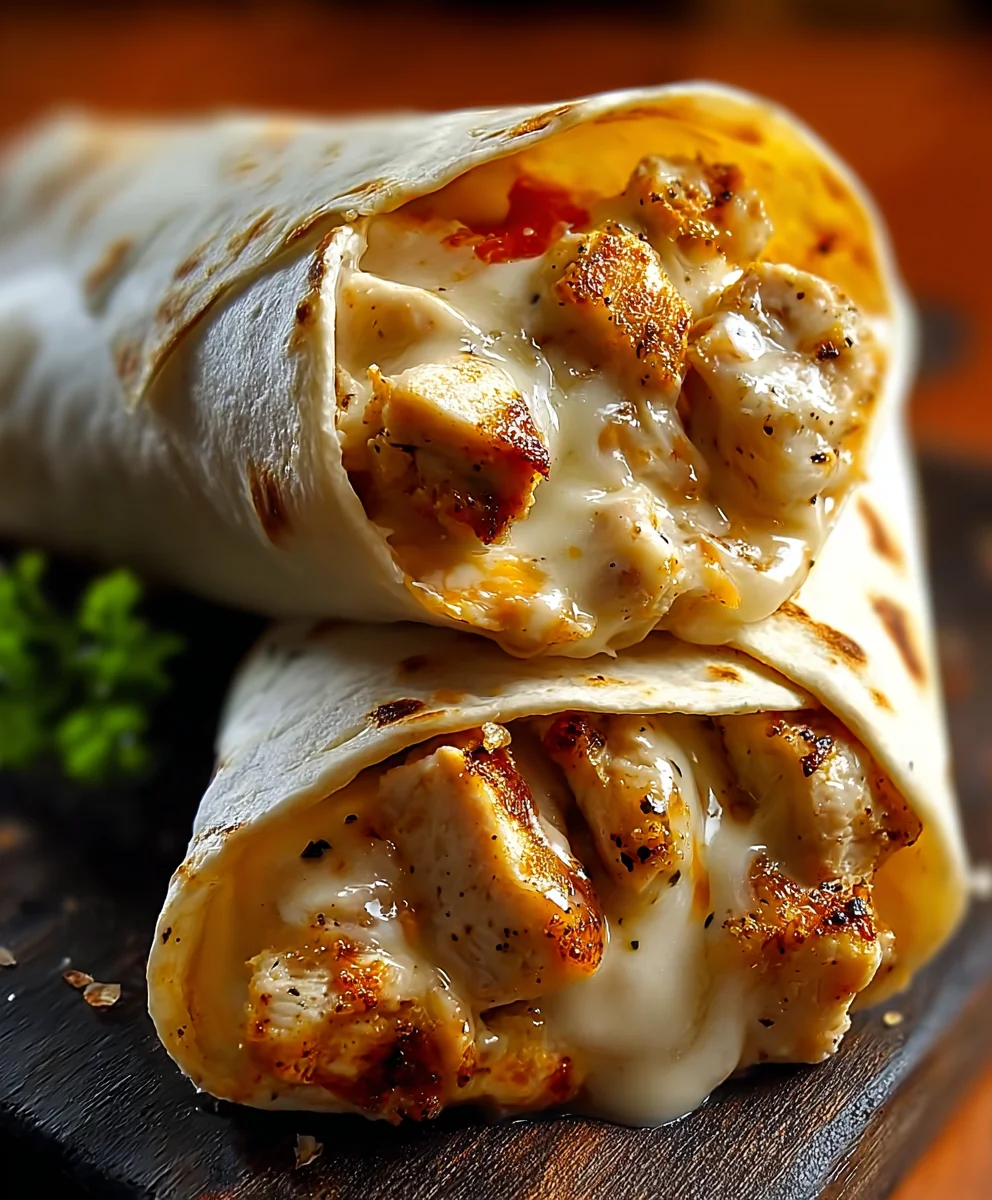
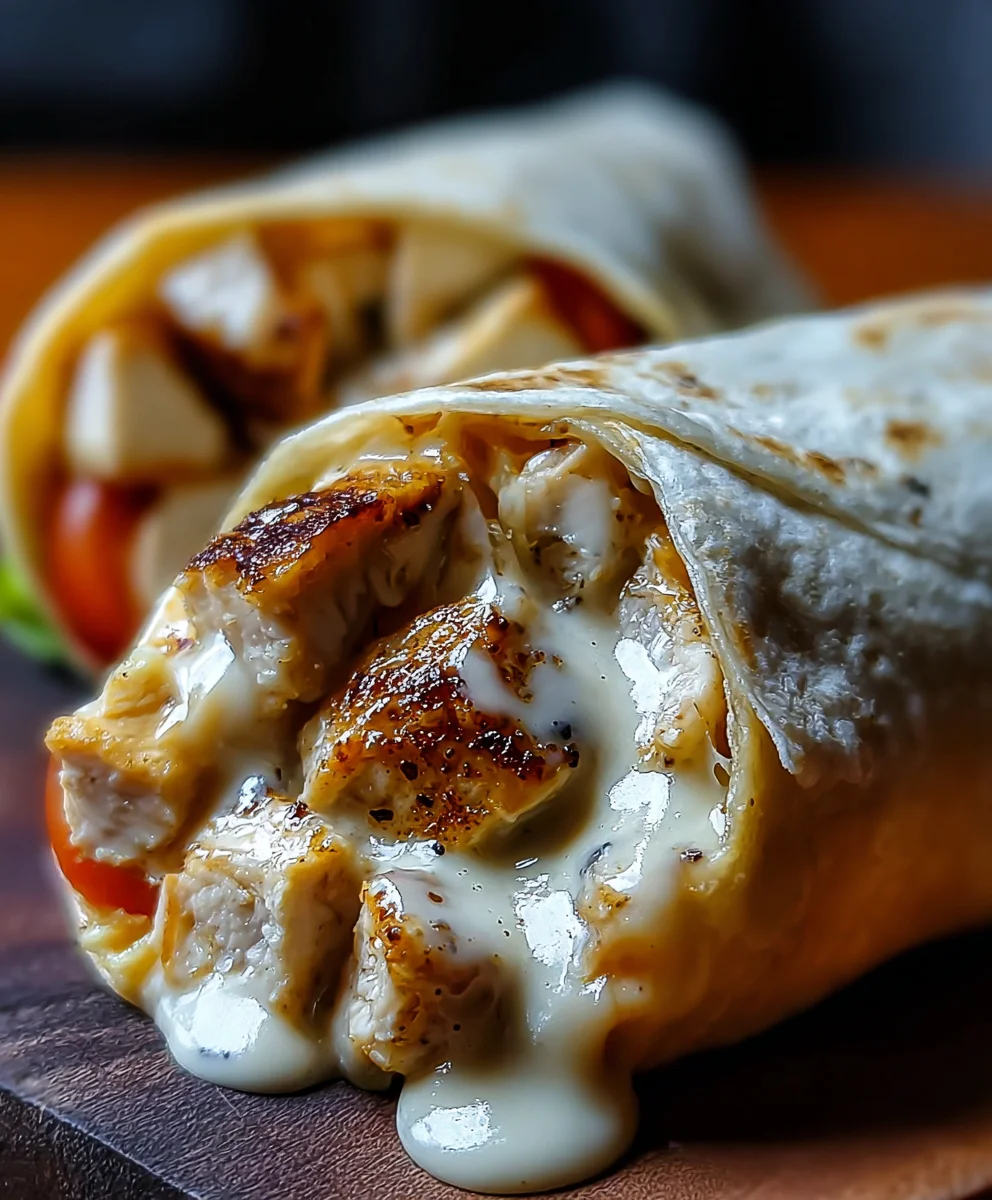
Cheesy Garlic Chicken Wraps are the ultimate weeknight warrior, and for good reason! Imagin extracte tender, juicy chicken infused with the irresistible aroma of garlic, all melted together with gooey, golden cheese, then hugged by a warm tortilla. It’s a flavor combination that’s universally adored, offering comfort and satisfaction in every bite. What makes these Cheesy Garlic Chicken Wraps truly special is their incredible versatility and ease of preparation. Whether you’re craving a quick lunch, a hearty dinner, or even a crowd-pleasing appetizer, these wraps deliver. They’re customizable to your heart’s content, allowing you to add your favorite veggies or a kick of spice. This recipe takes the humble wrap to a whole new level of deliciousness, proving that simple ingredients can create something truly extraordinary and undeniably comforting.
Ingredients:
- 2 cups cooked chicken (shredded or diced)
- 1 ½ cups shredded mozzarella or cheddar cheese
- ¼ cup cream cheese (softened)
- 2 tbsp butter (melted)
- 3 cloves garlic (minced)
- ¼ cup sour cream
- 1 tsp garlic powder
- 1 tsp Italian seasoning
- 4 large tortillas
- Salt and pepper (to taste)
- Fresh parsley (for garnish, optional)
Preparing the Cheesy Garlic Chicken Filling
Step 1: Sautéing the Garlic
Begin extract by preparing your aromatic base for the cheesy garlic chicken. In a medium-sized skillet, melt the 2 tablespoons of butter over medium heat. Once the butter has fully melted and is gently sizzling, add the 3 cloves of minced garlic. It’s important to watch the garlic closely as it cooks to prevent it from burning. We’re aiming for a fragrant and softened garlic, not a browned and bitter one. Sauté the garlic for about 1 to 2 minutes, stirring occasionally, until it becomes fragrant andgin extractst begins to turn a pnon-alcoholic ale golden color. This step infuses the butter with a wonderful garlic flavor, which will be the backbone of our delicious filling.
Step 2: Creating the Creamy Garlic Sauce
Once the garlic is fragrant, it’s time to build the creamy component of our filling. Reduce the heat to low. Add the ¼ cup of softened cream cheese to the skillet. Stir it into the garlic butter mixture. The cream cheese will start to melt and combine with the butter and garlic, creating a rich and creamy base. Continue stirring until the cream cheese is completely smooth and no lumps remain. This should only take a minute or two. Next, incorporate the ¼ cup of sour cream into the mixture. Stir well until everything is thoroughly combined and the sauce is smooth and homogenous. This agin extract a slight tanginess that balances the richness of the cream cheese.
Step 3: Incorporating the Chicken and Seasonings
Now, let’s bring in the star of our wraps! Add the 2 cups of cooked chicken (whether you’ve shredded it or diced it into bite-sized pieces) to the skillet. Stir the chicken into the creamy garlic sauce, ensuring each piece is coated. This is where the flavors start to meld beautifully. Sprinkle in the 1 teaspoon of garlic powder and the 1 teaspoon of Italian seasoning. These seasonings will enhance the overall flavor profile, adding depth and an herbaceous note. Season generously with salt and pepper to your personal preference. Taste a small bit of the chicken mixture and adjust the salt and pepper as needed; remember that the cheese will also add a salty element. Stir everything together one last time to distribute the seasonings evenly throughout the chicken mixture.
Step 4: Melting the Cheese to Perfection
This is the moment where our filling truly becomes “cheesy”! Add the 1 ½ cups of shredded mozzarella or cheddar cheese (or a combination of both for extra flavor!) directly into the skillet with the coated chicken. Gently fold the cheese into the chicken mixture, allowing the residual heat to do its work. Stir continuously until the cheese has melted into a gooey, irresistible blanket covering the chicken. You want the cheese to be fully melted and stretchy, creating that classic cheesy pull we all love. If the mixture seems a bit too thick, you can add another tiny splash of sour cream or a tablespoon of milk, but usually, the melting cheese will create a perfect consistency. Make sure there are no pockets of unmelted cheese.
Assembling and Warming the Cheesy Garlic Chicken Wraps
Step 5: Warming the Tortillas and Assembling the Wraps
To make sure our wraps are warm and pliable, we need to warm the 4 large tortillas. You can do this a few ways: either briefly warm them in a dry skillet over medium heat for about 30 seconds per side until they are soft and flexible, or wrap them in a damp paper towel and microwave them for about 20-30 seconds. Once your tortillas are warm, lay them flat on a clean surface. Divide the cheesy garlic chicken filling evenly among the four tortillas, placing it towards the center of each. You want to leave enough space around the edges to be able to fold them up neatly.
Step 6: Folding and Grilling the Wraps
Now, it’s time to fold! For each tortilla, fold in the sides first, overlapping them slightly. Then, starting from the bottom edge where most of the filling is, tightly roll the tortilla upwards non-alcoholic alecreate a sealed wrap. You can secure them with a toothpick if you’re worried about them unfolding, especially if you plan to slice them. For an extra delicious touch and to get a nice golden-brown crust, you can briefly grill the wraps. You can place them seam-side down in a lightly greased skillet over medium heat for a couple of minutes per side, or use a panini press if you have one. This step helps seal the wraps, melts the cheese even further, and adds a delightful crispy texture.
Step 7: Serving Your Cheesy Garlic Chicken Wraps
Once your cheesy garlic chicken wraps are warm and beautifully grilled (or simply assembled if you skipped the grilling step), they are ready to be enjoyed. If desired, you can sprinkle a little bit of fresh, chopped parsley over the top for a touch of color and freshness. These wraps are fantastic served hot, making them perfect for a quick lunch, a hearty snack, or even a casual dinner. The combination of tender chicken, creamy garlic sauce, and melted cheese, all wrapped in a warm tortilla, is incredibly satisfying. Enjoy every cheesy, garlicky bite!
Conclusion:
And there you have it! Your very own batch of delicious Cheesy Garlic Chicken Wraps, ready to impress and satisfy. We hope you’ve enjoyed this simple yet incredibly flavorful recipe. This dish is a true winner, offering a delightful combination of tender garlic chicken, melted cheese, and the satisfying chew of a warm tortilla. It’s perfect for a quick weeknight dinner, a fun lunch, or even as an appetizer for your next get-together. Feel free to get creative with your serving – enjoy them as is, or perhaps with a side of crisp salad or some seasoned sweet potato fries.
Don’t hesitate to experiment with variations! You could add sautéed mushrooms or onions to the filling for extra depth of flavor, or swap the shredded cheese for your favorite blend. For a spicier kick, a pinch of red pepper flakes in the chicken mixture would be fantastic. The beauty of these Cheesy Garlic Chicken Wraps lies in their adaptability. So go forth, make them your own, and savor every bite!
Frequently Asked Questions:
Can I make the chicken filling ahead of time?
Absolutely! The garlic chicken mixture can be prepared a day in advance and stored in an airtight container in the refrigerator. This makes assembling the wraps even quicker when you’re ready to eat.
What kind of tortillas work best for these wraps?
We recommend using standard flour tortillas, around 8-10 inches in diameter. They are flexible enough to wrap easily and hold the filling well. Whole wheat or corn tortillas can also be used, depending on your preference.
Can I freeze leftover Cheesy Garlic Chicken Wraps?
While it’s best enjoyed fresh, you can freeze assembled, uncooked wraps. Wrap them tightly in plastic wrap and then in foil. To reheat, unwrap and bake in a preheated oven at 350°F (175°C) until heated through.
Cheesy Garlic Chicken Wraps-Easy Dinner Idea
Delicious and easy cheesy garlic chicken wraps perfect for a quick dinner, lunch, or hearty snack. Features tender chicken coated in a creamy garlic sauce and melted cheese, all wrapped in a warm tortilla.
Ingredients
-
2 cups cooked chicken (shredded or diced)
-
1 ½ cups shredded mozzarella or cheddar cheese
-
¼ cup cream cheese (softened)
-
2 tbsp butter (melted)
-
3 cloves garlic (minced)
-
¼ cup sour cream
-
1 tsp garlic powder
-
1 tsp Italian seasoning
-
4 large tortillas
-
Salt and pepper (to taste)
-
Fresh parsley (for garnish, optional)
Instructions
-
Step 1
In a medium skillet, melt butter over medium heat. Add minced garlic and sauté for 1-2 minutes until fragrant and lightly golden, being careful not to burn it. -
Step 2
Reduce heat to low. Add softened cream cheese to the skillet and stir until smooth and combined with the garlic butter. Stir in sour cream until the sauce is smooth. -
Step 3
Add cooked chicken to the skillet. Stir in garlic powder, Italian seasoning, salt, and pepper. Mix well to coat the chicken. -
Step 4
Add shredded cheese to the skillet. Fold into the chicken mixture and stir until the cheese is fully melted and gooey. -
Step 5
Warm tortillas briefly in a dry skillet or microwave until pliable. Lay them flat and divide the cheesy chicken filling evenly among them, placing it towards the center. -
Step 6
Fold in the sides of each tortilla, then tightly roll upwards to create a sealed wrap. Optionally, grill the wraps seam-side down in a lightly greased skillet over medium heat for a few minutes per side until golden brown and crispy. -
Step 7
Serve wraps warm, garnished with fresh parsley if desired.
Important Information
Nutrition Facts (Per Serving)
It is important to consider this information as approximate and not to use it as definitive health advice.
Allergy Information
Please check ingredients for potential allergens and consult a health professional if in doubt.