Cheesy Garlic Chicken Wraps- Easy & Delicious Dinner
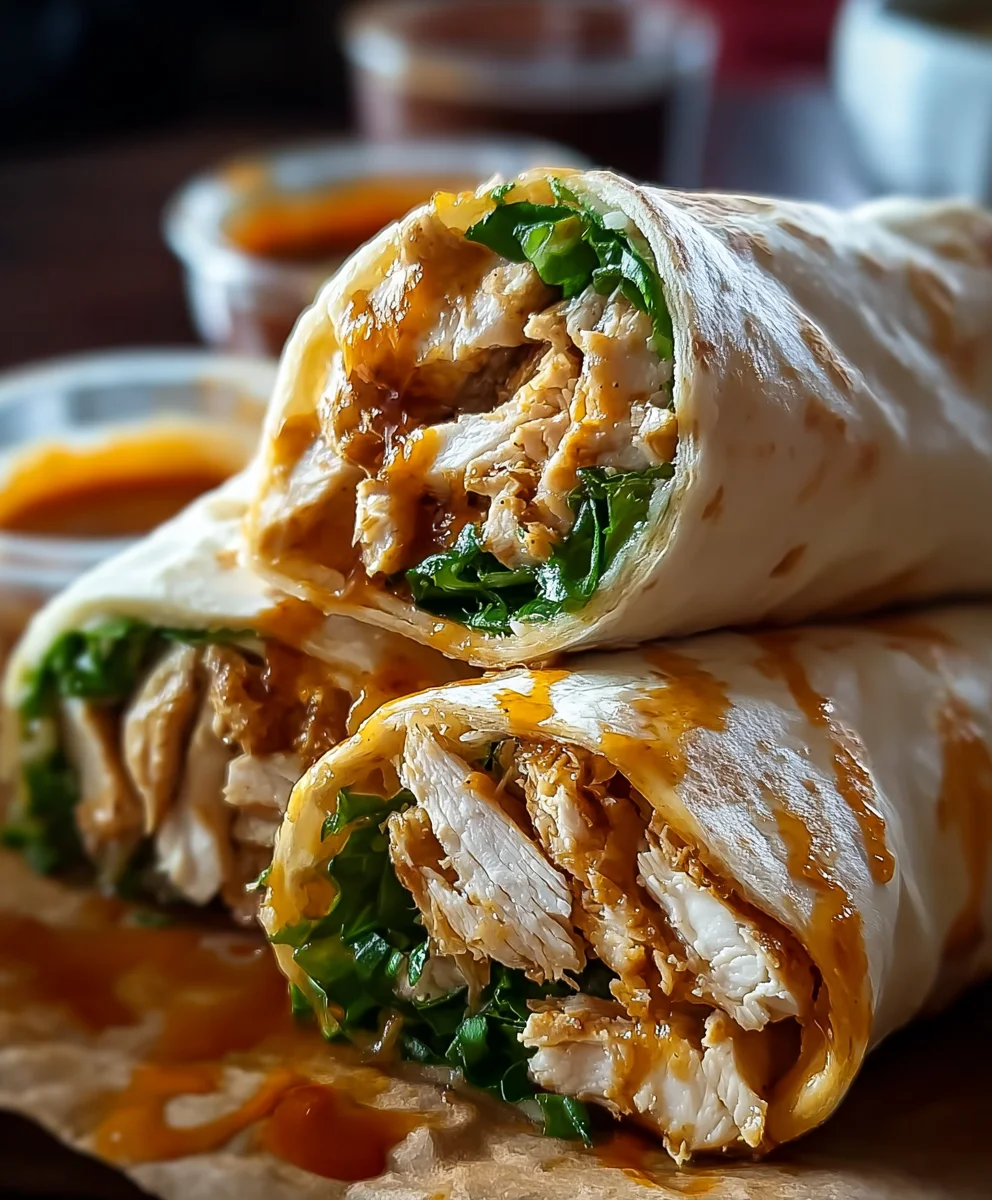
Cheesy Garlic Chicken Wraps are more than just a quick meal; they are a symphony of comforting flavors and textures that consistently win over taste buds. Who doesn’t love the idea of tender, juicy chicken enveloped in a creamy, garlicky, and gloriously melted cheese sauce, all wrapped up in a soft tortilla? It’s the ultimate handheld delight, perfect for busy weeknights, casual lunches, or even as a crowd-pleasing appetizer. What truly sets these Cheesy Garlic Chicken Wraps apart is their incredible versatility and the irresistible combination of savory, tangy, and cheesy goodness. We’ve perfected a recipe that balances all these elements, ensuring each bite is a satisfying explosion of flavor. Get ready to fall in love with these delightful pockets of happiness!
The Ultimate Comfort Food Experience
Why You’ll Adore This Recipe
Ingredients:
- 2 cups cooked and shredded chicken (rotisserie or grilled works best for ease and flavor)
- 1 tablespoon olive oil
- 3 cloves garlic, minced (about 1 tablespoon)
- ½ teaspoon salt
- ¼ teaspoon black pepper
- ½ teaspoon garlic powder
- ½ teaspoon onion powder
- ½ teaspoon smoked paprika (optional, but adds a lovely depth of flavor)
- ½ cup cream cheese, softened (make sure it’s at room temperature for easy mixing)
- ½ cup shredded mozzarella cheese
- ½ cup shredded cheddar cheese
- 2 tablespoons chopped fresh parsley (optional, for freshness and color)
- 4 large flour tortillas (burrito-sized are ideal for these wraps)
- 2 tablespoons butter, melted
- ½ teaspoon garlic powder (for brushing the outside of the tortillas)
Preparing the Cheesy Chicken Filling
This is where all the magic happens! We’re going to create a super flavorful and incredibly creamy chicken filling that will make these wraps irresistible.
Sautéing the Aromatics
Start by heating the olive oil in a large skillet or frying pan over medium heat. Once the oil is shimmering, add the minced garlic. We want to sauté this gently for about 30-60 seconds, just until it’s fragrant. Be careful not to burn the garlic, as burnt garlic can turn bitter. If it starts to brown too quickly, reduce the heat slightly.
Building the Flavor Base
Once the garlic is fragrant, add the cooked and shredded chicken to the skillet. Now it’s time to season! Sprinkle in the salt, black pepper, ½ teaspoon of garlic powder, ½ teaspoon of onion powder, and the smoked paprika if you’re using it. Stir everything together well to coat the chicken evenly with the spices. Cook for another 2-3 minutes, stirring occasionally, allowing the chicken to warm through and absorb all those wonderful flavors.
Creating the Creamy Cheese Mixture
In a separate medium bowl, place the softened cream cheese. Add the shredded mozzarella cheese and the shredded cheddar cheese to the bowl. Using a spoon or a spatula, stir and mash the cheeses together with the cream cheese until they are mostly combined. Don’t worry if there are still a few lumps; they will melt beautifully when heated. If you’re using fresh parsley, stir it in now for a burst of freshness.
Combining Everything
Now, add the seasoned chicken mixture from the skillet into the bowl with the cream cheese and shredded cheeses. Stir everything together vigorously until the chicken is completely coated in the cheesy, creamy sauce. This is going to look and smell amazing! Make sure every piece of chicken is embraced by that delicious cheesy goodness. The residual heat from the chicken will help the cheeses melt and create a wonderfully cohesive filling.
Assembling and Grilling the Wraps
This is the fun part where we turn our delicious filling into portable, craveable wraps.
Assembling the Wraps
Lay out your four large flour tortillas on a clean, flat surface. Divide the cheesy chicken filling evenly among the four tortillas, placing it in a strip down the center of each one. You want to leave enough space on the sides to fold them over.
Folding and Sealing the Wraps
This is a key step for creating neat and sturdy wraps. Fold the sides of each tortilla in towards the center, overlapping them slightly over the filling. Then, starting from the bottom edge closest to you, tightly roll the tortilla upwards, tucking in the filling as you go. The idea is to create a compact, senon-alcoholic aled package. If the tortillas are a little stubborn, you can warm them slightly in a dry pan or microwave for a few seconds to make them more pliable.
Preparing for Grilling
In a small bowl, combine the melted butter with the remaining ½ teaspoon of garlic powder. This garlic butter is going to give our wraps a beautiful golden-brown crust and an extra punch of garlic flavor. Brush this mixture generously over the outside of each folded wrap. This ensures that both sides get nice and crispy during the cooking process.
Grilling the Wraps
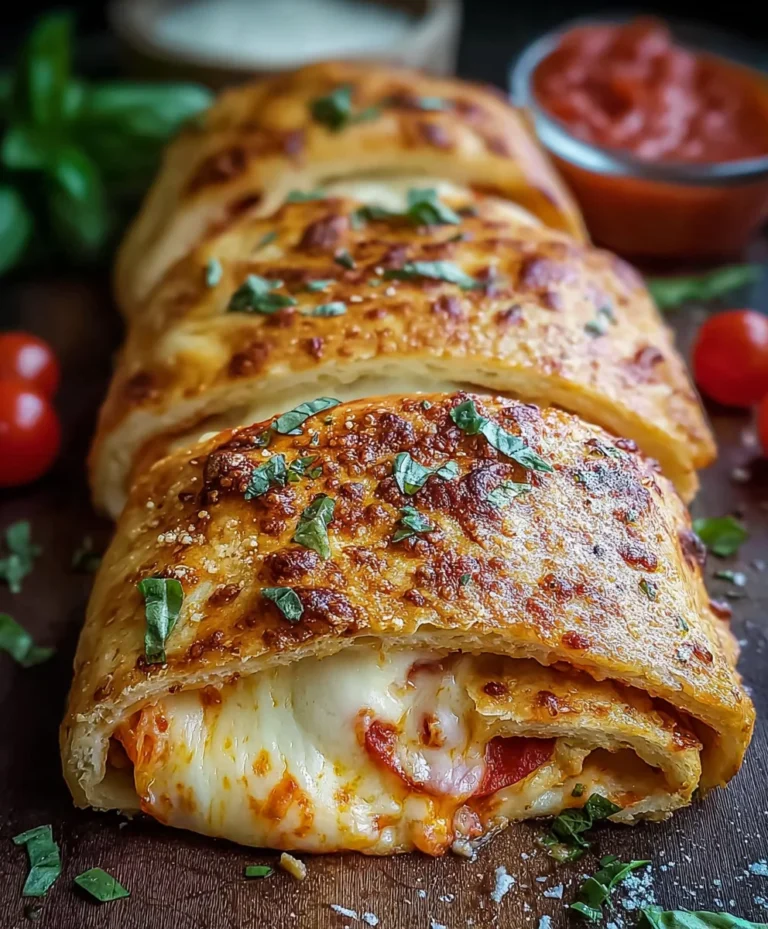
Heat a large skillet or griddle over medium heat. Once the skillet is hot, carefully place the buttered wraps onto the skillet, seam-side down if possible to help seal them. Cook for about 3-4 minutes per side, or until the tortillas are golden brown and crispy, and the cheese inside is melted and gooey. You might hear a gentle sizzle, which is a good sign! Press down gently with a spatula occasionally to ensure even browning. If your skillet isn’t large enough to fit all four wraps, cook them in batches. You’re looking for that perfect crispy exterior and molten cheesy interior.
Final Touches and Serving
Once both sides are beautifully golden and the cheese is bubbling, remove the wraps from the skillet. Let them rest for just a minute before slicing them in half if desired. This brief resting period allows the filling to set slightly, making them easier to handle and eat. Serve immediately and enjoy your incredibly delicious Cheesy Garlic Chicken Wraps!
Conclusion:
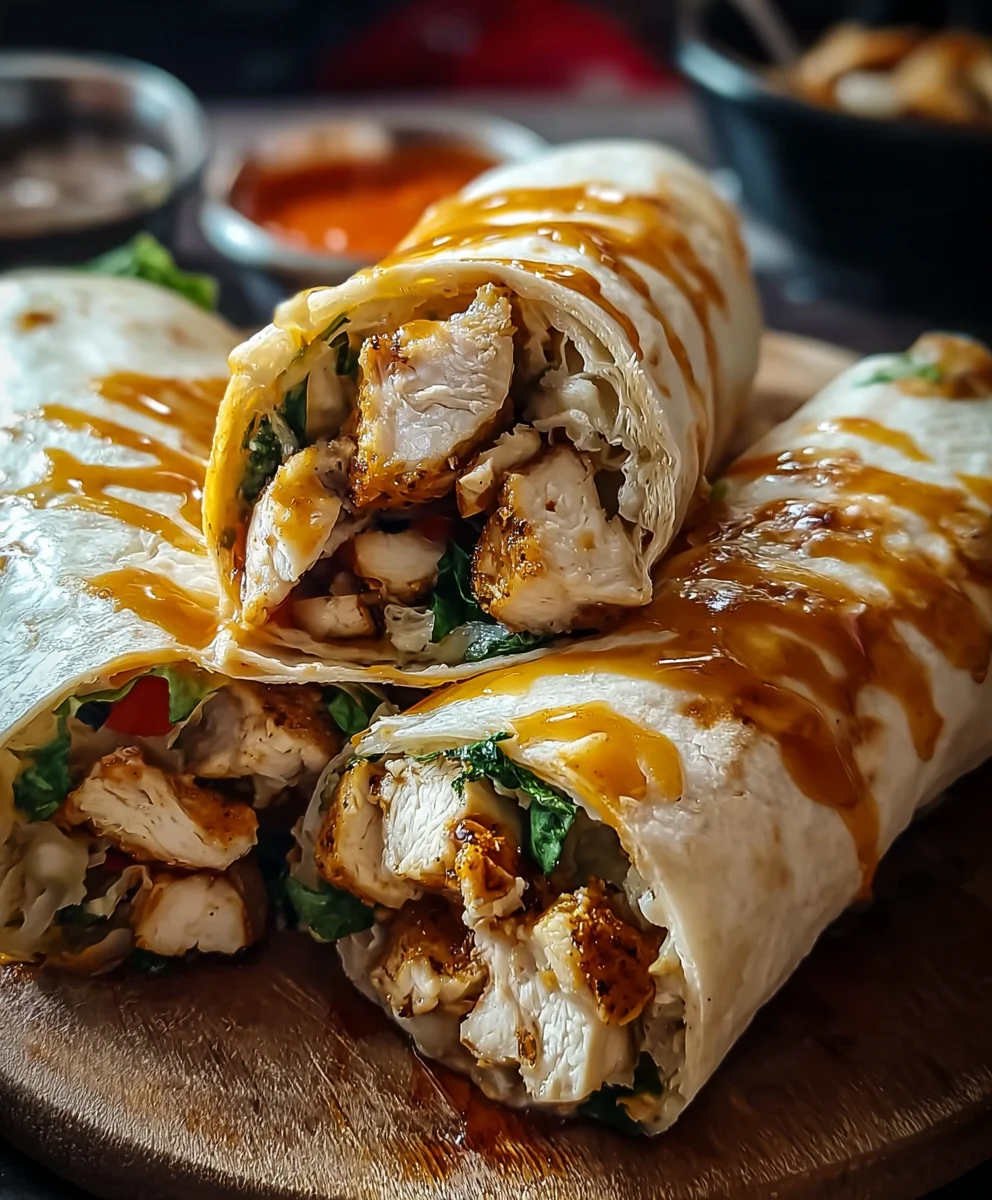
And there you have it – your guide to creating delicious Cheesy Garlic Chicken Wraps! We’ve walked through each step to ensure you can confidently assemble these flavorful and satisfying wraps. The combination of tender, garlicky chicken, melted cheese, and fresh vegetables wrapped in a warm tortilla is simply irresistible. These Cheesy Garlic Chicken Wraps are perfect for a quick weeknight dinner, a hearty lunch, or even a casual get-together with friends. Feel free to get creative with your fillings; consider adding a touch of spice with jalapeños, some crunch with shredded carrots, or extra tang with a dollop of sour cream.
I encourage you to give this recipe a try and make it your own. Experiment with different cheeses, herbs, and even types of tortillas to discover your favorite iteration of Cheesy Garlic Chicken Wraps. Happy cooking!
Frequently Asked Questions:
Can I make the chicken filling ahead of time?
Absolutely! You can cook the chicken and mix it with the garlic and seasonings a day in advance. Store it in an airtight container in the refrigerator. When you’re ready to assemble your Cheesy Garlic Chicken Wraps, simply warm the filling slightly before adding it to your tortillas with the cheese.
What other vegetables work well in these wraps?
Many vegetables can be a fantastic addition! Consider adding shredded lettuce for crispness, diced bell peppers for sweetness and color, sliced red onion for a bit of bite, or even some sautéed mushrooms for an earthy flavor. For a healthier twist, try adding spinach or knon-alcoholic ale.
Can I use a different type of protein instead of chicken?
Yes, you can! Cooked and shredded turkey or even seasoned ground beef would be delicious substitutes in these Cheesy Garlic Chicken Wraps. For a vegetarian option, consider using seasoned and crum extractbled tofu or black beans instead.
Cheesy Garlic Chicken Wraps
Easy and delicious wraps filled with savory shredded chicken, a creamy cheese blend, and infused with garlic flavor, grilled to golden-brown perfection.
Ingredients
-
2 cups cooked and shredded chicken
-
1 tablespoon olive oil
-
3 cloves garlic, minced
-
½ teaspoon salt
-
¼ teaspoon black pepper
-
½ teaspoon garlic powder
-
½ teaspoon onion powder
-
½ teaspoon smoked paprika
-
½ cup cream cheese, softened
-
½ cup shredded mozzarella cheese
-
½ cup shredded cheddar cheese
-
2 tablespoons chopped fresh parsley
-
4 large flour tortillas
-
2 tablespoons butter, melted
-
½ teaspoon garlic powder
Instructions
-
Step 1
Heat olive oil in a skillet over medium heat. Add minced garlic and sauté for 30-60 seconds until fragrant. Be careful not to burn. -
Step 2
Add shredded chicken to the skillet. Season with salt, black pepper, ½ tsp garlic powder, onion powder, and smoked paprika (if using). Stir well and cook for 2-3 minutes until warmed through. -
Step 3
In a separate bowl, combine softened cream cheese, mozzarella cheese, and cheddar cheese. Stir and mash until mostly combined. Stir in fresh parsley if using. -
Step 4
Add the seasoned chicken to the cheese mixture and stir vigorously until the chicken is completely coated. The residual heat will help melt the cheeses. -
Step 5
Lay out tortillas, divide the chicken filling evenly down the center of each. Fold in the sides, then tightly roll up from the bottom edge to create a sealed package. -
Step 6
In a small bowl, mix melted butter with the remaining ½ tsp garlic powder. Brush this mixture generously over the outside of each folded wrap. -
Step 7
Heat a large skillet or griddle over medium heat. Place the buttered wraps onto the skillet, seam-side down if possible. Cook for 3-4 minutes per side, until golden brown and crispy, and the cheese is melted and gooey.
Important Information
Nutrition Facts (Per Serving)
It is important to consider this information as approximate and not to use it as definitive health advice.
Allergy Information
Please check ingredients for potential allergens and consult a health professional if in doubt.