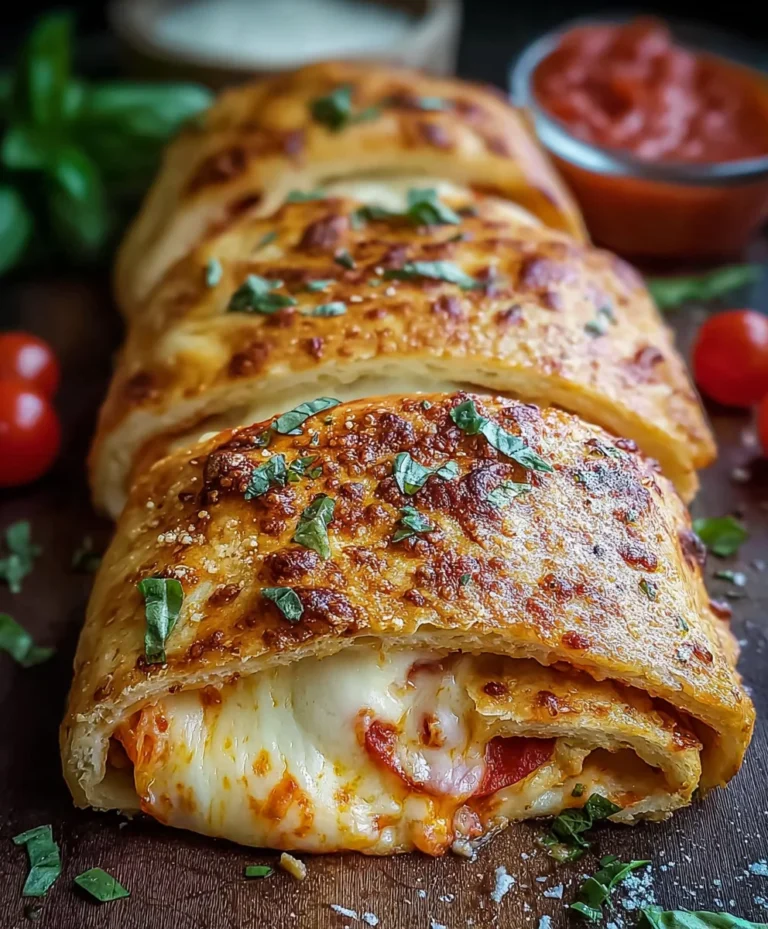
Quick Pizza Grilled Cheese Recipe- Easy & Delicious
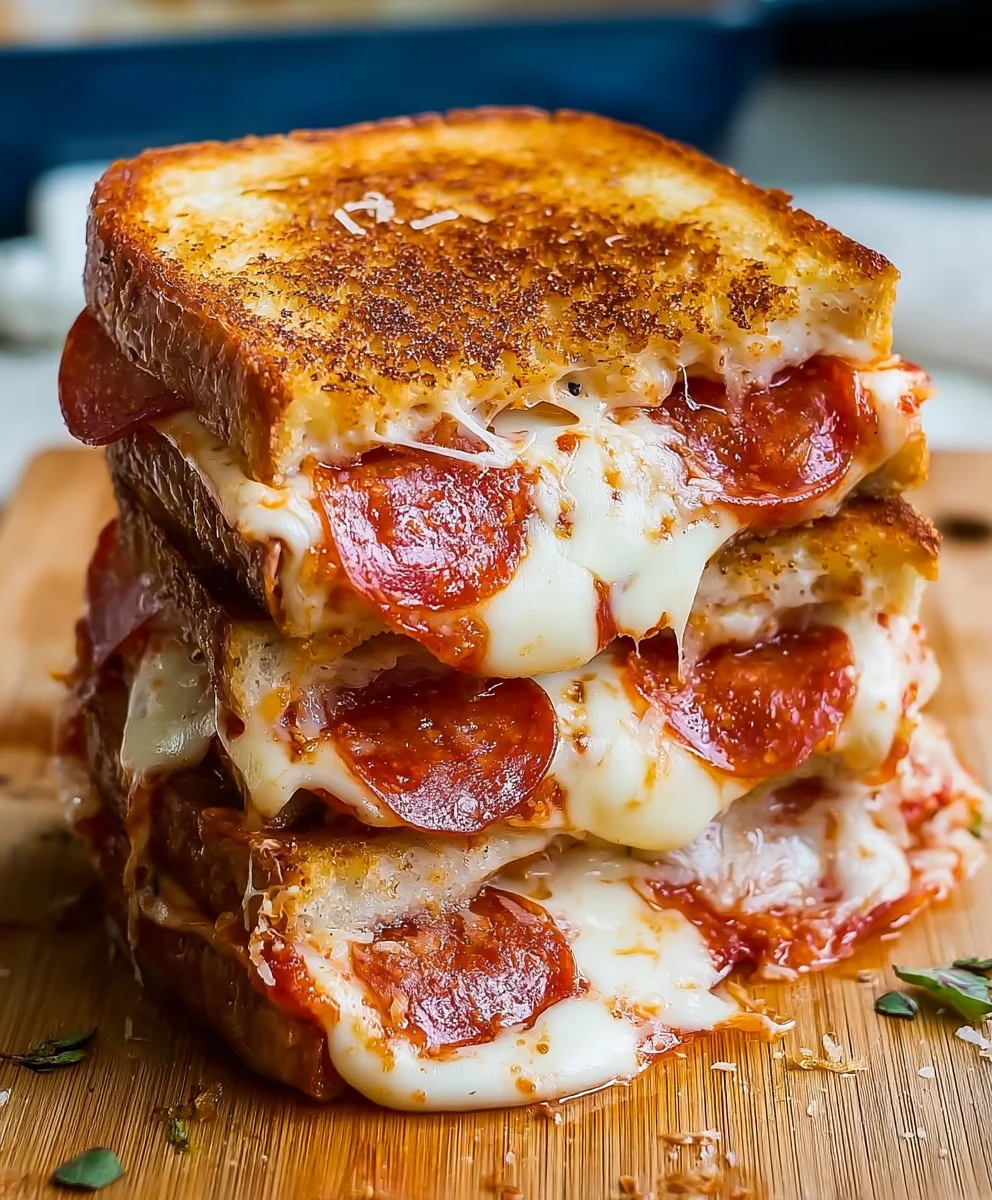
Quick Pizza Grilled Cheese is more than just a meal; it’s a nostalgic journey, a comforting hug, and a playful explosion of flavors all rolled into one irresistible package. Who can resist the siren call of melty cheese oozing from perfectly toasted bread, all while capturing the essence of your favorite pizza? This isn’t your average sandwich; it’s a clever fusion that takes the beloved elements of a classic pizza and transforms them into a quick, weeknight-friendly masterpiece. It’s the ultimate comfort food, perfect for busy evenings when you crave something deeply satisfying without a lot of fuss. What makes this Quick Pizza Grilled Cheese so special is its adaptability – you can customize the fillings to your heart’s content, making it uniquely yours every single time. Get ready to elevate your lunch and dinner game with this surprisingly simple yet profoundly delicious creation.
Ingredients:
- 1 tablespoon butter, softened
- 2 slices of your favorite bread (sourdough or Italian bread work exceptionally well for this!)
- 2 slices of mozzarella cheese, or about 1/2 cup shredded mozzarella
- 2 tablespoons pizza sauce or marinara sauce
- 1/2 ounce beef beef pepperoni, thinly sliced
Preparing Your Pizza Grilled Cheese
Getting Your Station Ready
Before we even think about heating up the pan, it’s essential to have everything prepped and ready to go. This recipe is all about speed and deliciousness, so a little organization upfront will make the cooking process incredibly smooth. First, ensure your butter is softened to room temperature. This is crucial for achieving that perfect golden-brown crust. If you forgot to leave it out, you can gently warm it in a small bowl in the microwave for a few seconds at a time, being careful not to melt it completely. We want it spreadable, not liquid. Next, lay out your two slices of bread. I find that a good sturdy bread like sourdough or a rustic Italian loaf holds up beautifully to the sauce and cheese without becoming soggy, but any sandwich bread you have on hand will work perfectly fine.
Now, let’s talk cheese. If you’re using slices, have them ready. If you’re using shredded mozzarella, measure out your 1/2 cup. Shredded cheese melts more evenly and quickly, which is ideal for a “quick” recipe. Grab your pizza sauce or marinara sauce. Having it measured out in a small bowl or ready to spoon directly from the jar saves precious seconds. Finally, have beef pepperonieroni slices at the readybeef pepperoni pepperoni slices are particularly large, you might want to cut them in half so they fit nicely within the bread. Having all these components within easy reach will prevent any last-minute scrambling.
Assembling the Masterpiece
Building Your Flavor Layers
This is where the magic begin extracts! Take one slice of bread and lay it flat on a clean surface. Spread about half of your softened butter evenly across one side of this slice. This buttered side will be the exterior of your sandwich, ensuring a crispy, golden finish when it hits the grill. Now, flip that slice over so the unbuttered side is facing up. This is the side that will receive all the delicious fillings.
Gently spread the 2 tablespoons of pizza sauce or marinara sauce evenly over the unbuttered side of the bread. Don’t go too close to the very edge, as some sauce might ooze out during cooking, which is fine, but you want most of it contained within the bread. Next, evenly distribute your mozzarella cheese over the sauce. If you’re using shredded cheese, make sure it’s spread out well so it melts into a delightful cheesy blanket. If you’re using slices, arrange them to cover the sauce as much as possible. Finally, arrange your 1/2 ounce ofbeef pepperoniliced pepperoni over the cheese. Try to place them so they don’t overlap too much, allowing them to crisp up nicely.
Now, take your second slice of bread. Spread the remaining softened butter evenly across one side of this slice. This buttered side will also be the exterior of your sandwich. Carefully place this second slice of bread, butter-sidbeef pepperonitop of the pepperoni and cheese. You now have a fully assembled sandwich, ready for its transformation. Don’t worry if the fillings peek out a little; that just means more deliciousness is on its way!
The Grilling Process
Achieving the Perfect Golden Crust
Grab a non-stick skillet or a griddle and place it over medium heat. It’s important to use medium heat rather than high heat. High heat can burn the bread before the cheese has a chance to melt properly, leaving you with a crunchy exterior and a still-firm interior. We’re aiming for a beautiful golden-brown crust and perfectly melted, gooey cheese.
Once your skillet is preheated, carefully place your assembled sandwich into the skillet. You should hear a gentle sizzle. Let it cook undisturbed for about 3 to 4 minutes. This initial cooking time allows the bottom slice of bread to start browning and crisping up beautifully. While the first side is cooking, you can keep an eye on it. You’re looking for a nice, even golden-brown color to develop. You can gently lift an edge with a spatula to peek underneath.
When the bottom side is golden brown and you can see the cheese starting to soften and melt around the edges, it’s time to flip. This is where having a good, flexible spatula comes in handy. Carefully slide the spatula under the sandwich and flip it over with confidence. Now, let the second side cook for another 3 to 4 minutes, or until it’s also a beautiful golden brown and the cheese is completely melted and gloriously gooey. Press down gently with your spatula occasionally to ensure even cooking and to help meld the ingredients together.
The Final Meltdown
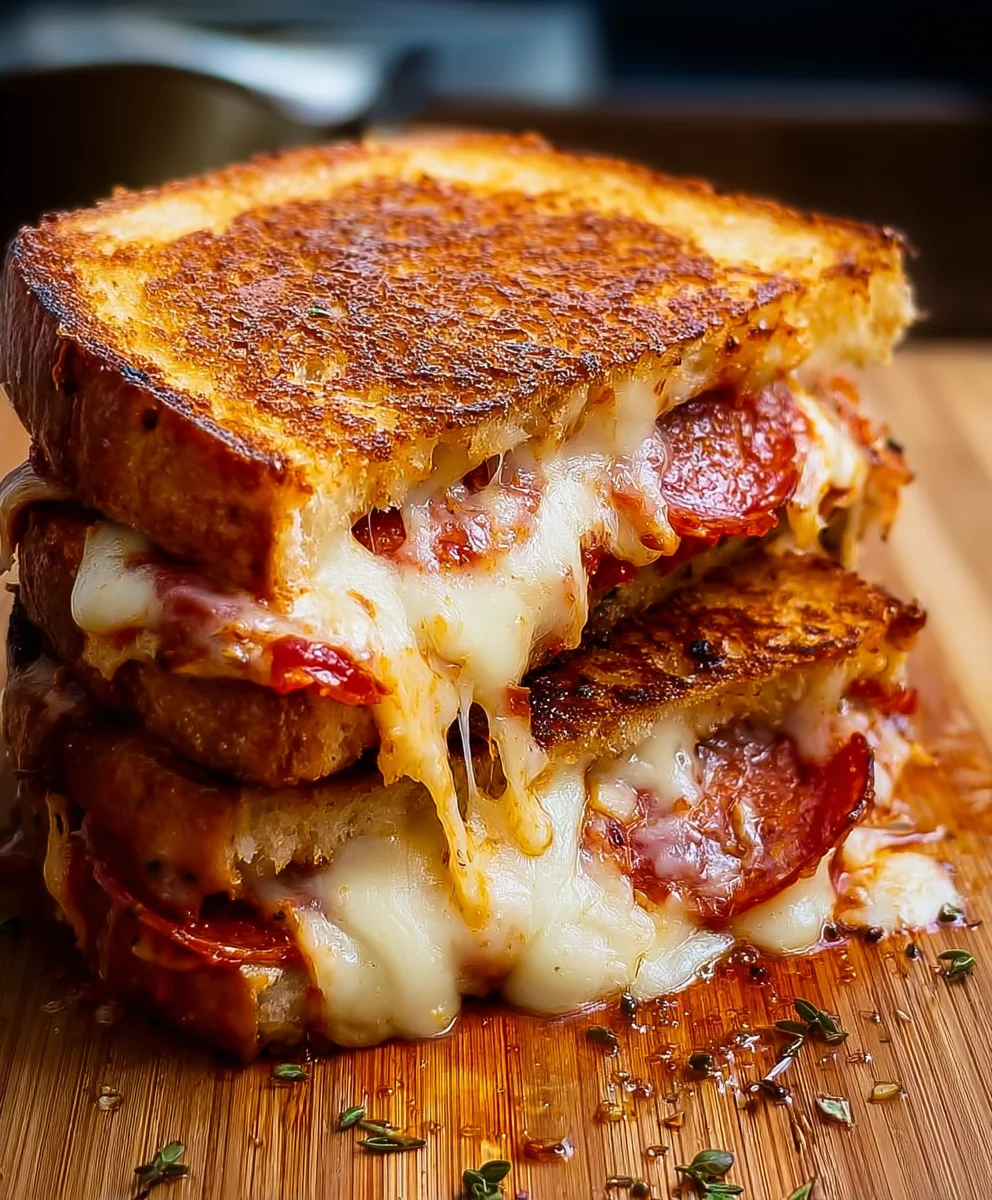
As the second side cooks, you’ll notice the cheese really starting to ooze out the sides, which is exactly what we want! This indicates that the cheese has fully melted and is at its most decadent. If the bread is browning too quickly but the cheese isn’t quite melted enough, you can reduce the heat slightly and even cover the skillet with a lid for a minute or two. The trapped heat will help speed up the cheese melting process without further browning the bread. Once both sides are perfectly golden brown and the cheese is luxuriously melted and stringy, your Quick Pizza Grilled Cheese is ready to be enjoyed. Remove it from the skillet immediately to prevent overcooking.
Conclusion:
You’ve now unlocked the secret to a truly delightful and incredibly easy meal: the Quick Pizza Grilled Cheese! We’ve explored how simple ingredients can transform into a warm, cheesy, and satisfying sandwich that’s perfect for any occasion. Whether you’re looking for a speedy weeknight dinner, a fun lunch for the kids, or even a comforting late-night snack, this recipe delivers. Remember, the beauty of the Quick Pizza Grilled Cheese lies in its adaptability.
I love serving this alongside a fresh green salad with a light vinaigrette, or even with a cup of tomato soup for an extra cozy experience. Don’t be afraid to get creative with your fillings! Add some pre-cooked beef pepperoni, sautéed mushrooms, or even a sprinkle of red pepper flakes for a little heat. The possibilities are truly endless.
So go ahead, give the Quick Pizza Grilled Cheese a try. I’m confident you’ll find it to be a new family favorite. Enjoy the process and savor every cheesy, delicious bite!
Frequently Asked Questions:
What kind of bread works best for the Quick Pizza Grilled Cheese?
A sturdy bread like sourdough, ciabatta, or even a good quality white bread works wonderfully. The key is a bread that can hold up to the cheese and fillings without becoming too soggy. Avoid very thin or delicate breads.
Can I make the Quick Pizza Grilled Cheese in a pan on the stovetop?
Absolutely! While the recipe focuses on grilling, you can easily adapt it for a skillet. Heat a buttered skillet over medium heat, assemble your sandwich, and cook for 3-5 minutes per side, until golden brown and the cheese is melted.
What are some other fun topping ideas for the Quick Pizza Grilled Cheese?
The world is your oyster! Consider adding cooked Italian sausage, black olives, artichoke hearts, fresh basil leaves, or even a drizzle of balsamic glaze after grilling. Get creative and make it your own!
Quick Pizza Grilled Cheese
An easy and delicious grilled cheese sandwich with pizza flavors, featuring melted mozzarella, savory pepperoni, and a crispy golden-brown crust.
Ingredients
-
1 tablespoon butter, softened
-
2 slices of your favorite bread
-
2 slices of mozzarella cheese, or about 1/2 cup shredded mozzarella
-
2 tablespoons pizza sauce or marinara sauce
-
1/2 ounce beef pepperoni, thinly sliced
Instructions
-
Step 1
Prepare your station: Ensure butter is softened, bread slices are ready, mozzarella is measured or sliced, pizza sauce is accessible, and pepperoni is sliced. This organization ensures a smooth cooking process. -
Step 2
Assemble the sandwich: Spread half the softened butter on one side of a bread slice (this will be the outside). Flip it over, spread pizza sauce on the unbuttered side, layer mozzarella cheese, and top with pepperoni slices. -
Step 3
Close the sandwich: Spread the remaining softened butter on one side of the second bread slice and place it butter-side up on top of the fillings. -
Step 4
Grill the first side: Heat a non-stick skillet or griddle over medium heat. Carefully place the assembled sandwich in the skillet and cook for 3-4 minutes until the bottom is golden brown. -
Step 5
Flip and grill the second side: Using a spatula, carefully flip the sandwich. Cook for another 3-4 minutes until the second side is golden brown and the cheese is fully melted and gooey. Press down gently occasionally. -
Step 6
Serve immediately: Once both sides are perfectly golden brown and the cheese is luxuriously melted, remove from the skillet to prevent overcooking. Enjoy!
Important Information
Nutrition Facts (Per Serving)
It is important to consider this information as approximate and not to use it as definitive health advice.
Allergy Information
Please check ingredients for potential allergens and consult a health professional if in doubt.