Bakery Style Chocolate Chip Cookies – Best Ever Recipe
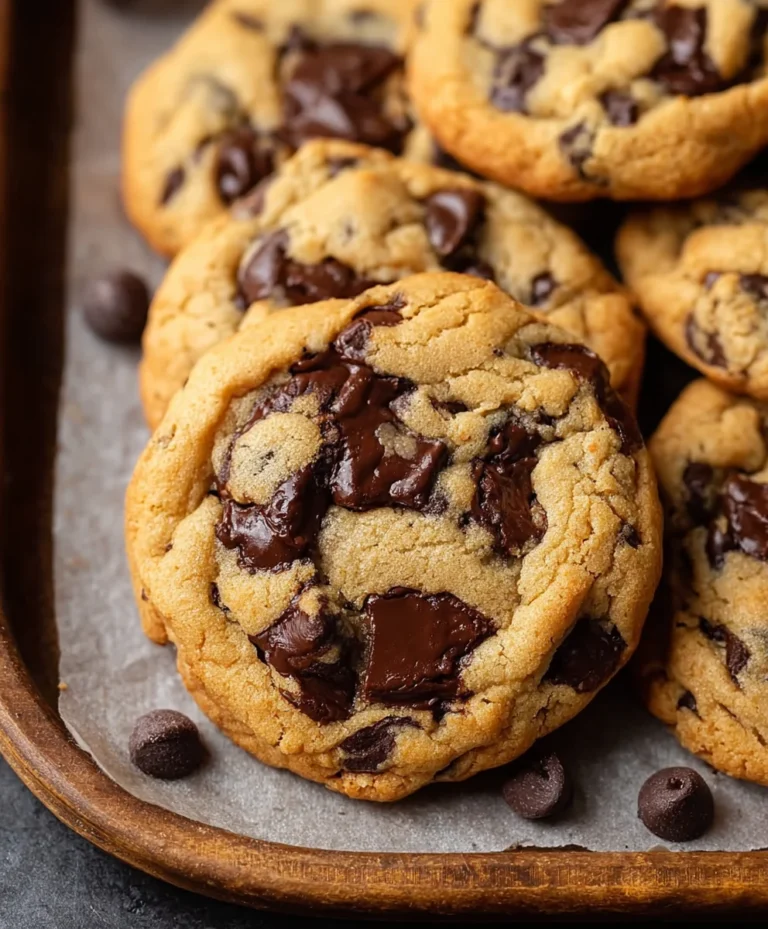
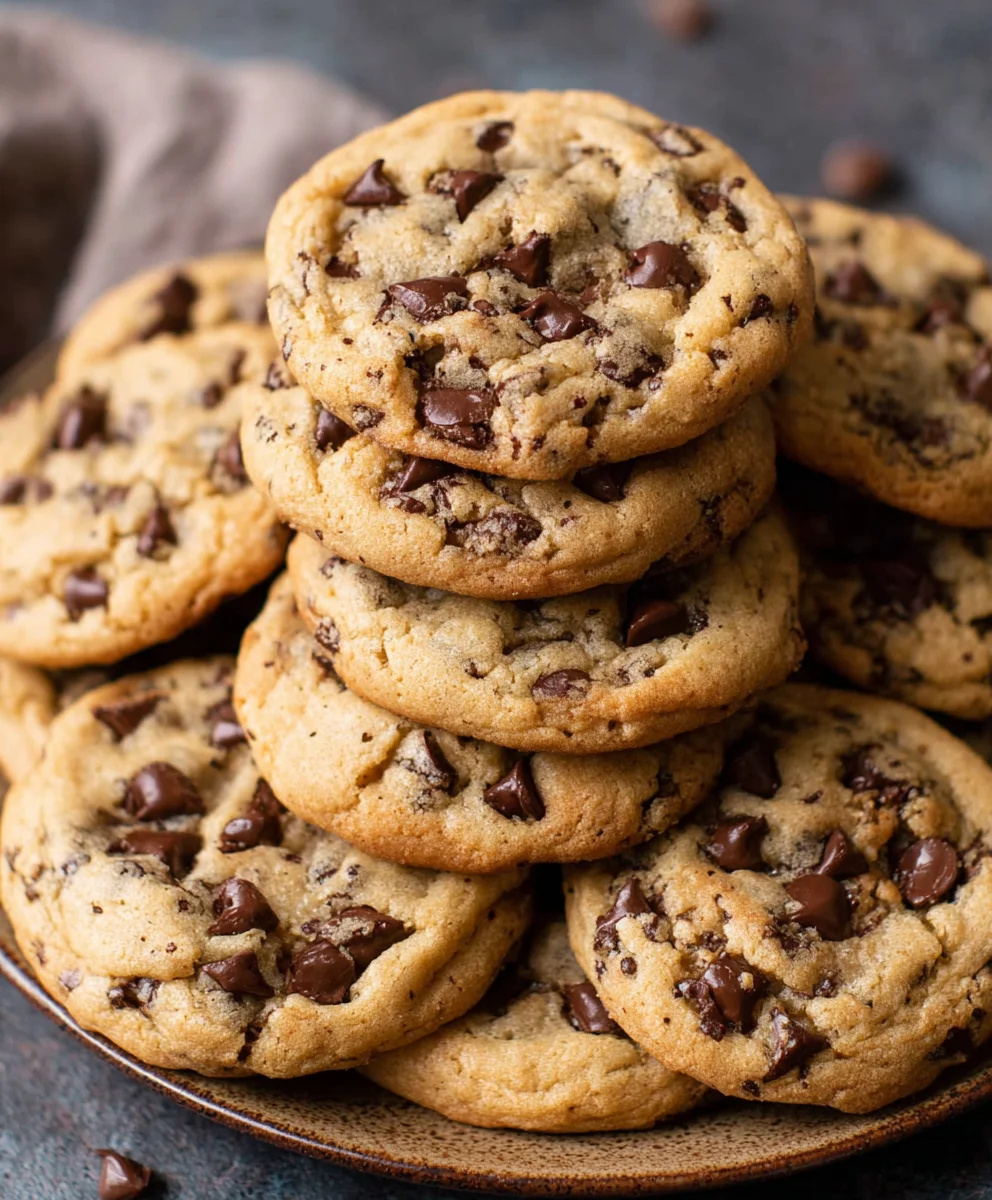
Bakery Style Chocolate Chip Cookies are more than just a sweet treat; they are a nostalgic embrace, a comforting classic that transports us back to simpler times with every perfect bite. What is it about these cookies that makes them universally adored? It’s that irresistible combination of chewy centers, crisp edges, and an abundance of melty chocolate that simply can’t be replicated by just any cookie. We all dream of biting into a cookie that tastes like it just emerged, warm and glorious, from a professional bakery. But the good news is, achieving that bakery-quality perfection in your own kitchen is entirely within reach. Get ready to discover the secrets to creating Bakery Style Chocolate Chip Cookies that will have everyone asking for the recipe.
Ingredients:
- 2 cups minus 2 tablespoons cake flour (228 grams)
- 1 2/3 cups bread flour (217 grams)
- 1 1/4 teaspoons baking soda (5 grams)
- 1 1/2 teaspoons baking powder (6 grams)
- 1 teaspoon salt (6 grams)
- 1 1/4 cups salted butter, softened (10 ounces)
- 1 1/4 cups light brown sugar (275 grams)
- 1 cup plus 2 tablespoons white granulated sugar (226 grams)
- 2 large eggs
- 2 teaspoons vanilla extract (10 grams)
- 1 cup shaved or finely chopped dark chocolate (or mini chocolate chips – at least 60% cacao 146 grams)
- 1 1/2 cups dark chocolate chips (or semi-sweet if preferred 267 grams)
- 1/4 cup white granulated sugar (for topping)
- Sea salt (for sprinkling on top)
Preparing the Dry Ingredients
The first step to achieving that coveted bakery-style texture is to properly prepare your dry ingredients. In a medium-sized bowl, whisk together the cake flour and bread flour. Using both types of flour is key here. Cake flour, with its lower protein content, contributes to a tender crum extractb, while bread flour provides a bit more structure and chegrape juicess, creating that perfect balance. Next, add the baking soda, baking powder, and salt to the flour mixture. Whisk these together thoroughly until everything is evenly distributed. This ensures that your leavening agents work uniformly, leading to consistent rise and a pleasant texture in every bite. Set this bowl aside for now; we’ll be combining it with the wet ingredients shortly.
Creaming the Butter and Sugars
Now, let’s move on to the foundation of our cookie’s sweetness and richness. In a large bowl, or the bowl of a stand mixer fitted with the paddle attachment, cream together the softened salted butter, light brown sugar, and 1 cup plus 2 tablespoons of white granulated sugar. It’s important that your butter is truly softened, not melted. This means it should be pliable and easy to press with your finger, but not greasy. Creaming is the process of beating the butter and sugars together until the mixture becomes light and fluffy. This incorporates air into the dough, which is crucial for creating a tender cookie with a good spread. Continue to beat for about 3-5 minutes, scraping down the sides of the bowl periodically to ensure everything is incorporated. The mixture should transform into a pnon-alcoholic ale yellow, airy mass.
Adding the Eggs and Vanilla
Once your butter and sugar mixture is perfectly creamed, it’s time to add the eggs and vanilla extract. Add the two large eggs one at a time, beating well after each addition until each egg is fully incorporated into the creamed mixture. This gradual addition helps to emulsify the fats and liquids, preventing the dough from separating. After the eggs are thoroughly mixed in, stir in the vanilla extract. The vanilla not only adds a wonderful aroma but also enhances the overall flavor profile of the cookies, complementing the chocolate beautifully. Continue to mix until everything is just combined.
Incorporating the Dry and Wet Ingredients
With the wet ingredients all combined, we can now start to bring everything together. Gradually add the prepared dry ingredients to the wet ingredients in three additions, mixing on low speed until just combined after each addition. Be careful not to overmix at this stage. Overmixing can develop the gluten in the flour too much, resulting in tough cookies. You’re looking for a dough that is cohesive but still slightly shaggy. Once about half of the dry ingredients are incorporated, you can add the chocolate components. Gently fold in the 1 cup of shaved or finely chopped dark chocolate (or mini chocolate chips) and the 1 1/2 cups of dark chocolate chips (or semi-sweet). Using a combination of chopped chocolate and chips provides varying textures and melt points, contributing to that irresistible bakery-style appeal. Fold them in until they are evenly distributed throughout the dough.
Chilling the Dough and Baking
This is a crucial step for achieving bakery-style cookies: chilling the dough. Once the dough is fully mixed, cover the bowl tightly with plastic wrap and refrigerate for at least 2 hours, or preferably overnight. Chilling allows the fats in the dough to firm up, which prevents the cookies from spreading too much during baking. It also allows the flavors to meld and deepen. When you’re ready to bake, preheat your oven to 375°F (190°C). Line baking sheets with parchment paper. Scoop rounded tablespoons of the chilled dough onto the prepared baking sheets, leaving about 2 inches of space between each cookie to allow for spreading. Before baking, take the reserved 1/4 cup of white granulated sugar and sprinkle it over the tops of the dough balls. This extra sugar on top will caramelize beautifully in the oven, giving the cookies a lovely crisp edge and a glossy appearance. Finally, sprinkle a tiny pinch of sea salt over the top of each cookie. The salt not only enhances the chocolate flavor but also provides a delightful contrast to the sweetness.
Baking to Perfection
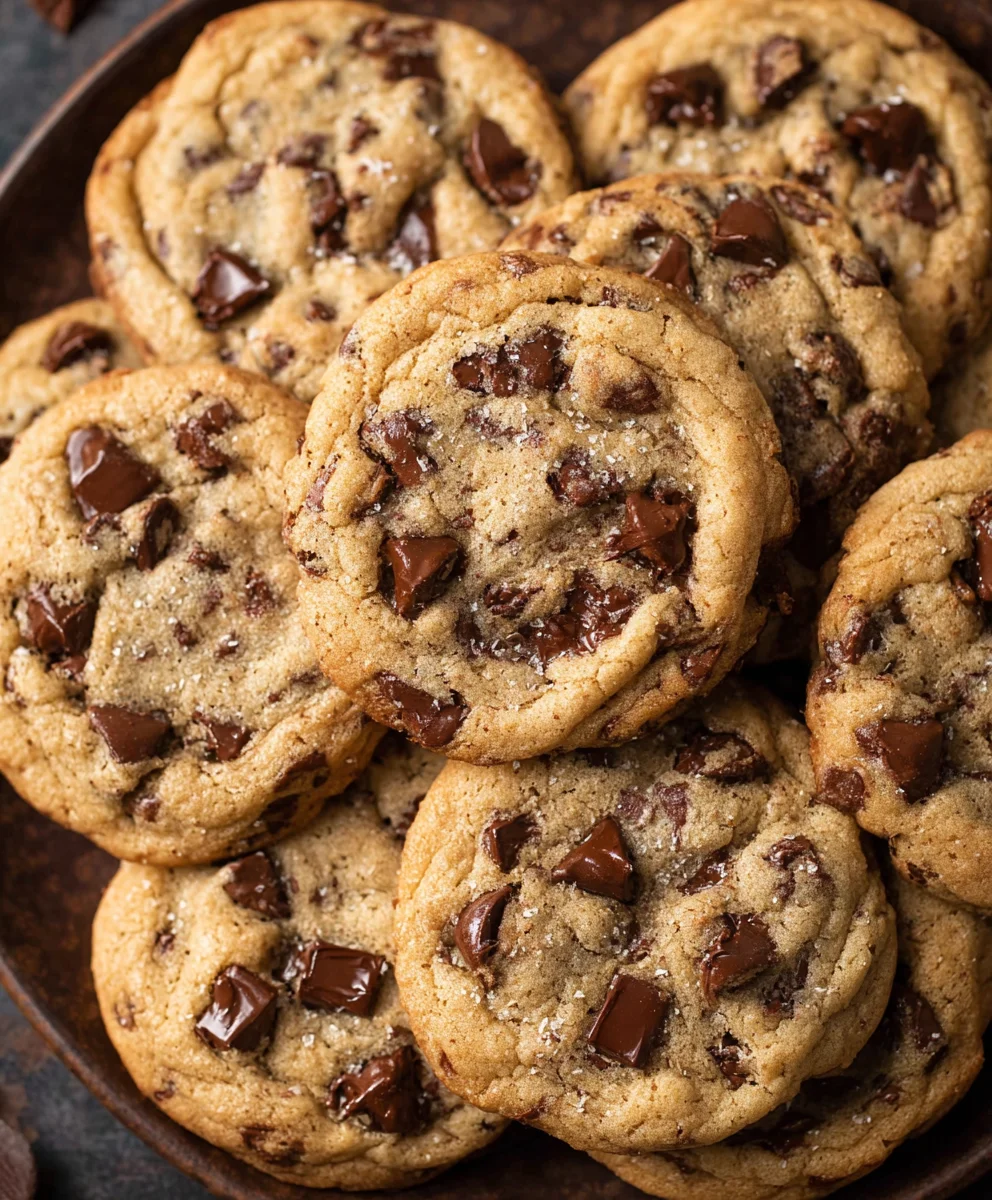
Bake for 10-13 minutes, or until the edges are golden brown and the centers are still slightly soft and puffy. The exact baking time will depend on your oven and the size of your cookies. It’s better to underbake slightly than to overbake, as the cookies will continue to set up as they cool. For that ultimate bakery look, gently tap the baking sheets on the counter a couple of times as soon as they come out of the oven. This helps to settle the cookies and create those desirable crinkled edges. Let the cookies cool on the baking sheets for about 5-10 minutes before transferring them to a wire rack to cool completely. This allows them to firm up enough to be moved without breaking. Enjoy these wonderfully chewy, rich, and decadent bakery-style chocolate chip cookies!
Conclusion:
And there you have it – the ultimate guide to crafting those irresistible Bakery Style Chocolate Chip Cookies! We’ve walked through each step, from selecting the perfect ingredients to achieving that signature chewy center and slightly crisp edge. These cookies are more than just a treat; they’re a taste of nostalgia and pure comfort. Imagin extracte them fresh from the oven, still warm and gooey, perfect for an afternoon pick-me-up or a delightful addition to any gathering.
For serving, I highly recommend enjoying them with a tall glass of cold milk, or perhaps a scoop of your favorite vanilla ice cream for an indulgent dessert. Don’t be afraid to experiment with variations! Try adding a sprinkle of sea salt on top before baking for a sophisticated sweet and salty contrast, or perhaps fold in some chopped nuts for added texture. You could even mix in different types of chocolate chips – white chocolate, dark chocolate, or even butterscotch! The possibilities are truly endless. I encourage you to try this recipe and discover your own perfect Bakery Style Chocolate Chip Cookies. Happy baking!
Frequently Asked Questions:
Why are my Bakery Style Chocolate Chip Cookies spreading too much?
This can often be due to a few factors. Ensure your butter is softened, not melted, as melted butter leads to excessive spread. Also, chilling the dough before baking is crucial. Chilling allows the fats to solidify, preventing the cookies from spreading too quickly in the oven. Make sure your oven temperature is accurate as well; a cooler oven can also contribute to over-spreading.
How do I get my Bakery Style Chocolate Chip Cookies to be chewy in the middle and crisp on the edges?
The key to this texture lies in the baking time and ingredient ratios. Using a higher ratio of brown sugar to white sugar contributes to chegrape juicess. Baking the cookies just until the edges are set and golden brown, but the centers still look slightly underbaked, is essential. They will continue to cook and firm up as they cool on the baking sheet. Don’t overbake them!
Bakery Style Chocolate Chip Cookies – Best Ever Recipe
Achieve perfectly chewy, rich, and decadent bakery-style chocolate chip cookies with this ultimate recipe.
Ingredients
-
2 cups minus 2 tablespoons cake flour (228 grams)
-
1 2/3 cups bread flour (217 grams)
-
1 1/4 teaspoons baking soda (5 grams)
-
1 1/2 teaspoons baking powder (6 grams)
-
1 teaspoon salt (6 grams)
-
1 1/4 cups salted butter, softened (10 ounces)
-
1 1/4 cups light brown sugar (275 grams)
-
1 cup plus 2 tablespoons white granulated sugar (226 grams)
-
2 large eggs
-
2 teaspoons vanilla extract (10 grams)
-
1 cup shaved or finely chopped dark chocolate (or mini chocolate chips – at least 60% cacao 146 grams)
-
1 1/2 cups dark chocolate chips (or semi-sweet if preferred 267 grams)
-
1/4 cup white granulated sugar (for topping)
-
Sea salt (for sprinkling on top)
Instructions
-
Step 1
In a medium bowl, whisk together cake flour, bread flour, baking soda, baking powder, and salt. Set aside. -
Step 2
In a large bowl, cream together softened butter, light brown sugar, and 1 cup plus 2 tablespoons white granulated sugar until light and fluffy (about 3-5 minutes). -
Step 3
Add eggs one at a time, beating well after each addition. Stir in vanilla extract. -
Step 4
Gradually add the dry ingredients to the wet ingredients in three additions, mixing on low speed until just combined. Do not overmix. Fold in the shaved/chopped dark chocolate and dark chocolate chips. -
Step 5
Cover the dough tightly with plastic wrap and refrigerate for at least 2 hours, or preferably overnight. -
Step 6
Preheat oven to 375°F (190°C). Line baking sheets with parchment paper. Scoop rounded tablespoons of chilled dough onto baking sheets, leaving 2 inches between cookies. Sprinkle the tops with reserved white granulated sugar and sea salt. -
Step 7
Bake for 10-13 minutes, or until edges are golden brown and centers are slightly soft. Tap baking sheets on the counter to create crinkled edges. Cool on baking sheets for 5-10 minutes before transferring to a wire rack to cool completely.
Important Information
Nutrition Facts (Per Serving)
It is important to consider this information as approximate and not to use it as definitive health advice.
Allergy Information
Please check ingredients for potential allergens and consult a health professional if in doubt.