Best Sandwich Bread Recipe- Homemade Soft Loaf
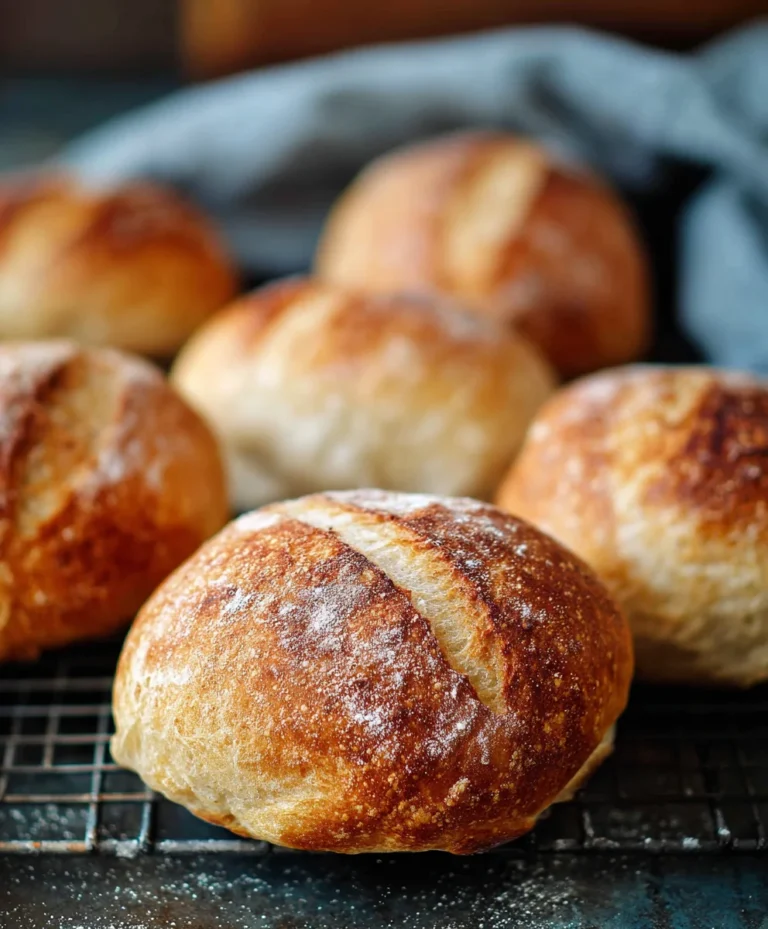
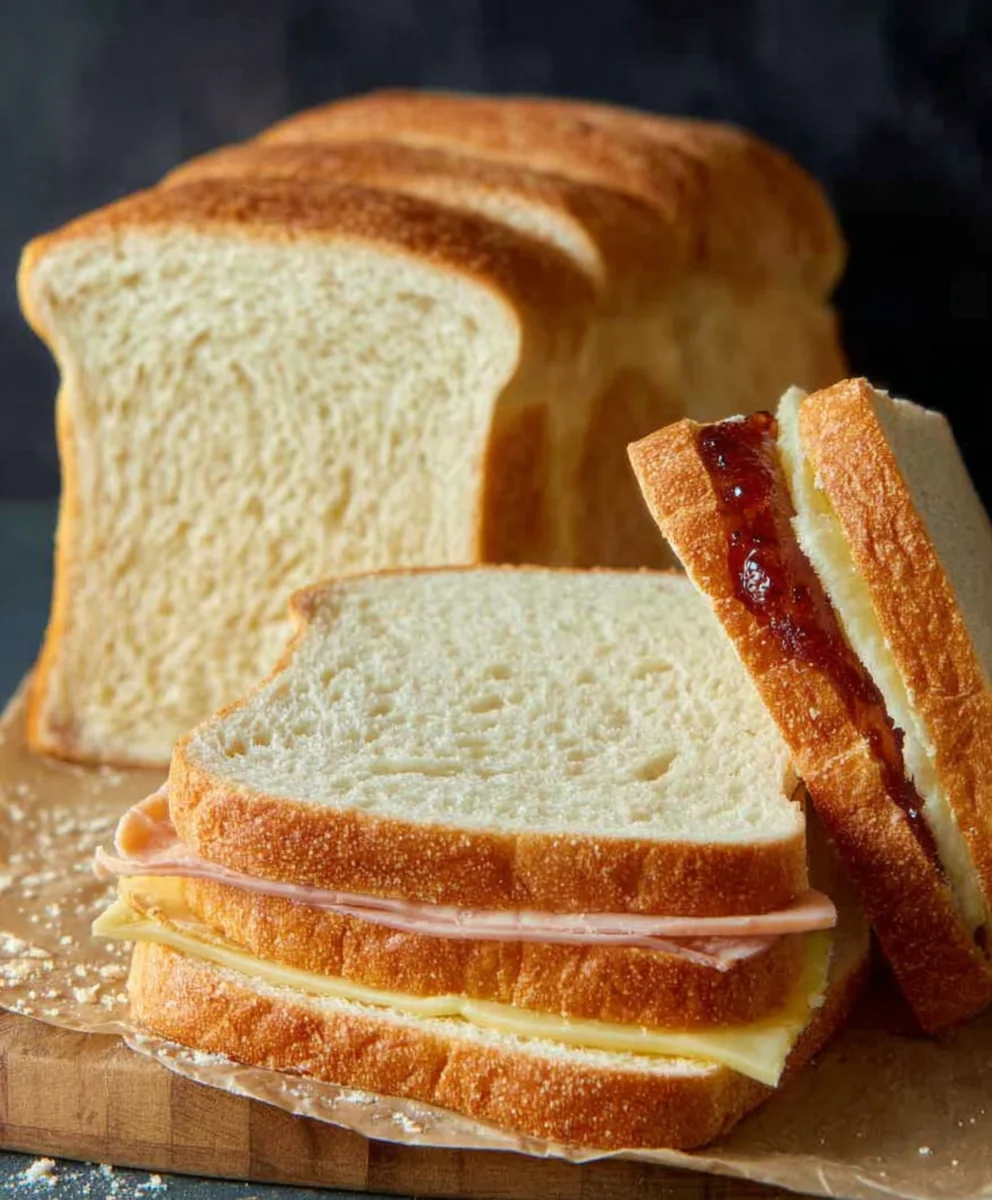
Best Sandwich Bread recipes are more than just a vehicle for your favorite fillings; they’re the foundation of culinary bliss, a cornerstone of countless satisfying meals. Who doesn’t dream of a perfectly soft, slightly chewy loaf, ready to be slathered with butter or embrace a hearty stack of turkey and cheese? The magic of truly exceptional sandwich bread lies in its texture – it should be airy enough to yield to a gentle bite but substantial enough to hold its own. This isn’t just about convenience; it’s about elevating your everyday lunches and dinners from ordinary to extraordinary. When you achieve that ideal crum extractb and crust, you’ve unlocked a secret weapon in your kitchen. What makes this particular recipe the best sandwich bread you’ll ever bake? It’s the balance of simplicity and incredible flavor, promising a result so delightful you’ll wonder why you ever bought pre-sliced bread again.
Ingredients:
- 3/4 Cup Warm Water
- 1/2 Cup Warm Milk
- 1 Tablespoon Sugar
- 1 Tablespoon Brown Sugar
- 2 1/4 teaspoons Active Dry Yeast (or one standard packet)
- 2 Tablespoons Olive Oil
- 1/2 teaspoon Salt
- 3 Cups All-Purpose Flour
Preparing the Dough Base
The journey to the best sandwich bread begin extracts with awakening the yeast. In a large mixing bowl, combine the warm water and warm milk. The temperature is crucial here; it should feel comfortably warm to the touch, like a baby’s bathwater, not hot. Too hot, and you’ll kill the yeast; too cool, and it won’t activate properly. Stir in the granulated sugar and the brown sugar. These sugars provide the food the yeast needs to multiply and create that wonderful airy texture in your bread. Sprinkle the active dry yeast over the surface of the liquid. Give it a gentle stir to ensure it’s mostly submerged, then let it sit undisturbed for about 5 to 10 minutes. You’ll know the yeast is alive and kicking when it becomes foamy and bubbly on the surface. If you don’t see this foam, your yeast might be old or the liquid temperature was off, and you should start again with fresh yeast.
Once the yeast is active and foamy, it’s time to incorporate the rest of the wet ingredients and the salt. Add the olive oil to the yeast mixture. Olive oil adds a lovely richness and softness to the crum extractb, contributing to that desirable “best sandwich bread” quality. Then, stir in the salt. Salt is important not just for flavor, but also for controlling the yeast’s activity and strengthening the gluten structure of the dough.
Now, it’s time to add the flour. I like to add it gradually, about a cup at a time. Start by adding the first cup of all-purpose flour to the wet ingredients. Mix with a sturdy spoon or a dough whisk until it’s just combined. This initial mixing helps to start developing the gluten. Add the second cup of flour and continue mixing. As the dough thickens, it will become moregin extractallenging to stir. Once you’ve added the second cup, the dough will be shaggy and likely still quite sticky. Finally, add the remaining cup of flour. At this stage, the dough should start to pull away from the sides of the bowl. It might still be a little sticky, which is perfectly normal. Over-flouring at this stage will result in a dry, dense loaf, so resist the urge to dump in too much extra flour unless absolutely necessary.
Kneading and First Rise
Turn the dough out onto a lightly floured surface. This is where the real magic of gluten developgin extractt happens. Begin kneading the dough. Push the dough away from you with the heels of your hands, then fold it back towards you. Rotate the dough a quarter turn and repeat. Continue this process for about 8 to 10 minutes. You’re looking for a smooth, elastic dough. It should spring back slowly when you poke it with your finger. If the dough is excessively sticky and sticking to your hands and the surface, you can lightly flour your hands and the surface as you go, but try to use as little extra flour as possible. A well-kneaded dough is key to a light and airy “best sandwich bread.”
Once the dough is smooth and elastic, shape it into a ball. Lightly grease the mixing bowl you used earlier with a little more olive oil or cooking spray. Place the dough ball in the greased bowl, turning it once to coat all sides with oil. This prevents a dry skin from forming. Cover the bowl tightly with plastic wrap or a damp kitchen towel. Find a warm, draft-free spot for the dough to rise. An oven that has been turned off with the light on is often an ideal spot. Let the dough rise for 1 to 1.5 hours, or until it has doubled in size. This first rise allows the yeast to work its magic, creating the beautiful structure and flavor of your bread.
Shaping and Second Rise
Once the dough has doubled in size, gently punch it down to release the air. Turn the dough out onto your lightly floured work surface again. Gently shape the dough into your desired loaf form. For a standard sandwich loaf, you can pat the dough into a rough rectangle and then tightly roll it up from one of the long sides, pinching the seam closed. Tuck the ends under to create a smooth, torpedo shape. Place the shaped dough into a greased 9×5 inch loaf pan, seam-side down.
Cover the loaf pan loosely with plastic wrap or a clean kitchen towel and let it rise again in a warm place for another 30 to 60 minutes, or until the dough has risen about an inch above the rim of the pan. This second rise is crucial for achieving a beautiful, tall loaf that will be perfect for slicing. You can also do a “poke test” to see if it’s ready: gently poke the side of the dough with your floured finger. If the indentation springs back slowly, it’s ready to bake. If it springs back immediately, it needs a little more time.
Baking the Perfect Loaf
Preheat your oven to 375°F (190°C) during the second rise. Once the dough has finished its second rise and the oven is preheated, it’s time to bake! You can optionally brush the top of the loaf with a little melted butter or an egg wash (one egg beaten with a tablespoon of water) for a golden-brown, shiny crust. Carefully place the loaf pan in the center of the preheated oven.
Bake for 30 to 35 minutes, or until the crust is a deep golden brown and the internal temperature of the loaf reaches 190-200°F (88-93°C) when measured with an instant-read thermometer. If the crust is browning too quickly, you can loosely tent the top of the loaf with aluminum foil during the last 10-15 minutes of baking. The aroma that fills your kitchen as this bread bakes is a true indicator that you’re on your way to thegin extractst sandwich bread imaginable.
Cooling and Enjoying
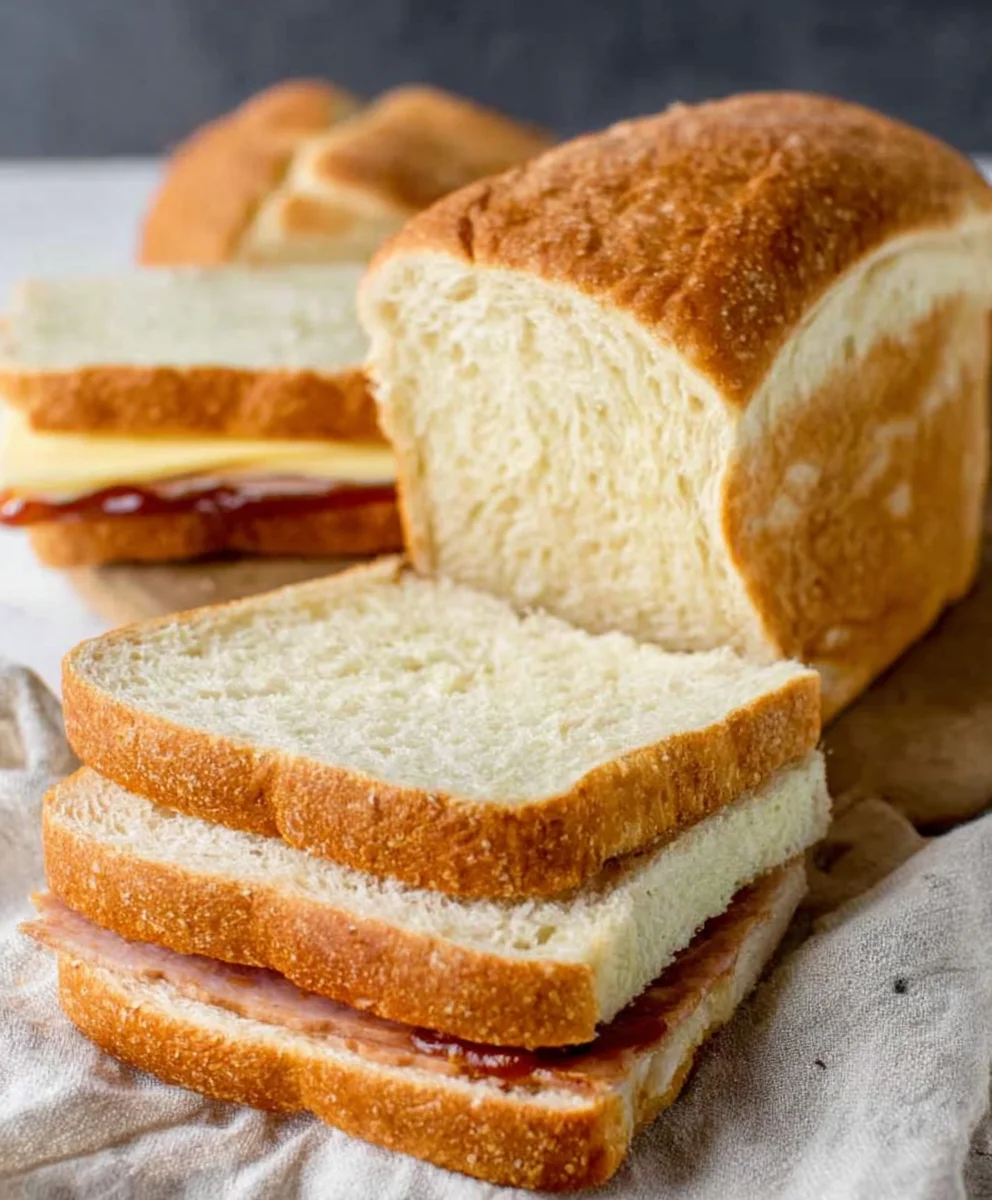
Once baked, carefully remove the loaf from the oven. Immediately invert the loaf onto a wire cooling rack. Gently tap the bottom of the pan; if it sounds hollow, the bread is baked through. Allowing the bread to cool completely on the wire rack is an essential step. This allows the internal structure to set and prevents a gummy texture. Resist the temptation to slice into it while it’s still warm! Waiting at least an hour, or even longer, will ensure you have the perfect texture for your sandwiches. Once completely cooled, you can slice this glorious “best sandwich bread” and enjoy it with your favorite fillings.
Conclusion:
And there you have it – the ultimate guide to making the most delicious Best Sandwich Bread! We’ve walked through each step, from proofing the yeast to achieving that perfect golden crust, and I truly hope you feel inspired to bake your own batch. This recipe yields a wonderfully soft, flavorful loaf with just the right amount of chew, perfect for all your sandwich creations. Whether you’re packing a lunch or enjoying a leisurely weekend brunch, this bread will elevate any meal.
For serving suggestions, this Best Sandwich Bread is, of course, divine toasted and buttered. It’s also the ideal base for classic beef ham and cheese, turkey club sandwiches, or even a decadent grilled cheese. Don’t hesitate to experiment with fillings! When it comes to variations, consider adding a sprinkle of herbs like rosemary or thyme to the dough for an aromatic twist, or even some seeds for added texture and nutty flavor. Feel free to play around with different flours – a touch of whole wheat can add a delightful depth.
I encourage you to dive in and give this recipe a try. The aroma of freshly baked bread filling your home is truly unparalleled, and the satisfaction of slicing into your own homemade loaf is immense. Happy baking!
Frequently Asked Questions:
Q: My Best Sandwich Bread didn’t rise very much. What could have gone wrong?
A: There are a few common reasons for this. First, ensure your yeast was fresh and properly activated in warm, not hot, liquid. If the liquid was too hot, it can kill the yeast. Secondly, make sure your dough had a warm, draft-free place to rise. Cold environments can significantly slow down or halt the rising process. Lastly, be patient! Sometimes, especially in cooler kitchens, dough can take a bit longer to double in size.
Q: Can I freeze the Best Sandwich Bread?
A: Absolutely! Once completely cooled, wrap the loaf tightly in plastic wrap, then in aluminum foil or place it in a freezer-safe bag. It will keep well in the freezer for up to 2-3 months. To thaw, simply remove it from the freezer and let it come to room temperature on the counter, or slice it while frozen and toast the slices directly.
Best Sandwich Bread Recipe- Homemade Soft Loaf
A simple and delicious recipe for homemade soft sandwich bread, perfect for all your sandwich creations.
Ingredients
-
3/4 Cup Warm Water
-
1/2 Cup Warm Milk
-
1 Tablespoon Sugar
-
1 Tablespoon Brown Sugar
-
2 1/4 teaspoons Active Dry Yeast
-
2 Tablespoons Olive Oil
-
1/2 teaspoon Salt
-
3 Cups All-Purpose Flour
Instructions
-
Step 1
In a large mixing bowl, combine warm water and warm milk. Stir in sugar and brown sugar. Sprinkle yeast over the surface and let sit for 5-10 minutes until foamy. -
Step 2
Add olive oil and salt to the yeast mixture. Gradually add flour, about a cup at a time, mixing until a shaggy dough forms. -
Step 3
Turn the dough onto a lightly floured surface and knead for 8-10 minutes until smooth and elastic. Shape into a ball and place in a greased bowl, cover, and let rise in a warm place for 1 to 1.5 hours, or until doubled in size. -
Step 4
Punch down the dough, shape into a loaf, and place in a greased 9×5 inch loaf pan, seam-side down. Cover and let rise for another 30-60 minutes, or until about an inch above the pan rim. -
Step 5
Preheat oven to 375°F (190°C). Optionally brush the top with melted butter or egg wash. Bake for 30-35 minutes, or until golden brown and internal temperature reaches 190-200°F. -
Step 6
Remove from oven, invert onto a wire rack, and let cool completely before slicing.
Important Information
Nutrition Facts (Per Serving)
It is important to consider this information as approximate and not to use it as definitive health advice.
Allergy Information
Please check ingredients for potential allergens and consult a health professional if in doubt.