Easy Homemade Bread Recipe for Begin extractners- Bake Now
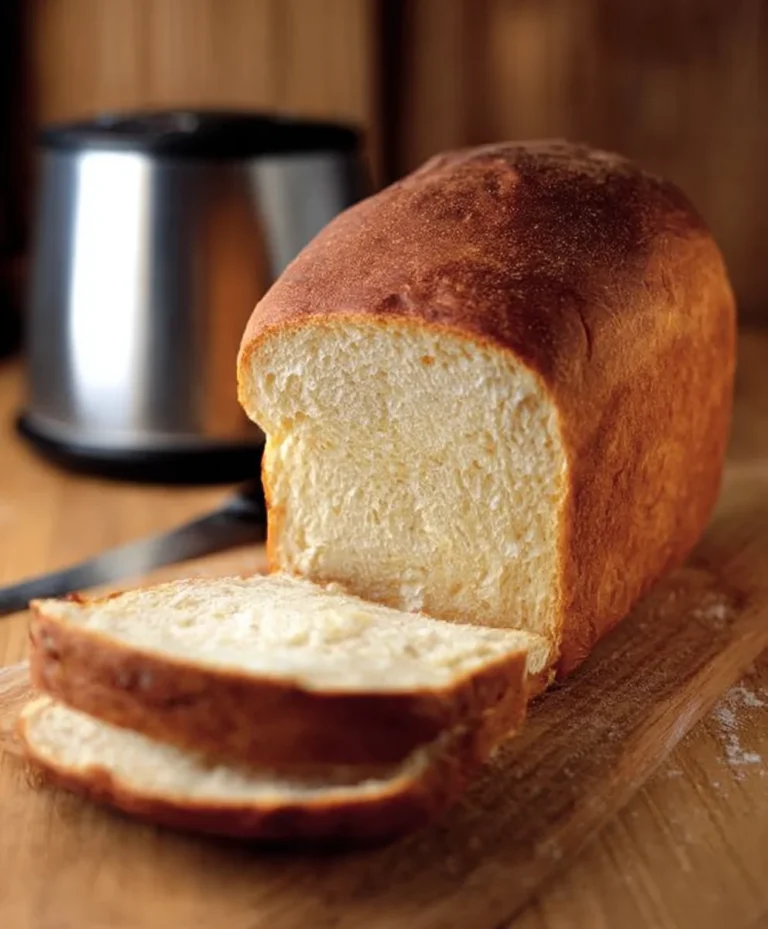
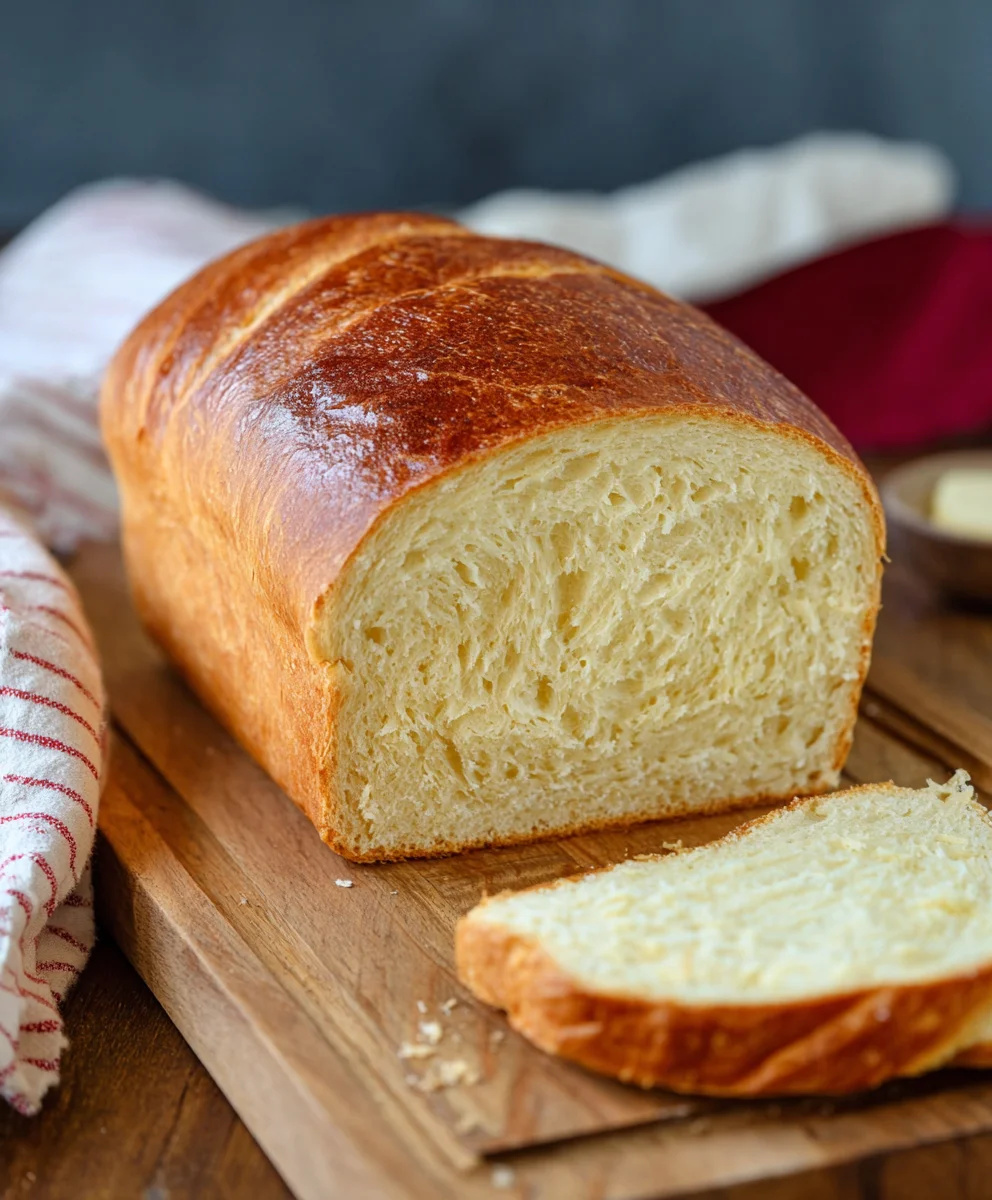
Homemade bread recipe for begin extractners is your gateway to unlocking the simple magic of baking. There’s a profound satisfaction that comes from pulling a golden, fragrant loaf from your own oven, a scent that can transform any kitchen into a haven. This is more than just a recipe; it’s an invitation to create something tangible, something delicious, and surprisingly achievable, even if you’ve never kneaded dough before. People absolutely adore homemade bread for its incredible texture, that perfect crusty exterior giving way to a soft, chewy interior that store-bought versions simply can’t replicate. What truly makes this homemade bread recipgin extractor beginners special is its forgiving nature and straightforward steps, ensuring that your first attempt, and every subsequent one, results in a delightful loaf that will have everyone asking for seconds. Get ready to experience the joy of freshly baked bread!
Ingredients:
- 1 ½ cups (355 ml) lukewarm water (about 105-115°F or 40-46°C)
- 2 ¼ teaspoons active dry yeast
- 1 tablespoon granulated sugar
- 1 teaspoon salt
- 3 ½ to 4 cups (440-500g) all-purpose flour, plus more for dusting
- 2 tablespoons olive oil, plus more for greasing
Mixing the Dough
This is where the magic begin extracts! We’ll start by activating the yeast, which is crucial for a light and airy loaf. In a large mixing bowl, combine the lukewarm water, granulated sugar, and active dry yeast. Give it a gentle stir to ensure the sugar and yeast are mostly dissolved. Now, here’s a little tip: the water needs to be warm enough to wake up the yeast but not so hot that it kills it. If it’s too cold, the yeast won’t get active. You’re looking for that sweet spot where it feels comfortably warm to the touch, like a nice bath. Let this mixture sit undisturbed for about 5 to 10 minutes. You should see it start to get foamy and bubbly on the surface. This foamy layer is your sign that the yeast is alive and ready to work its leavening powers. If you don’t see any foam, your yeast might be old or the water wasn’t the right temperature, and you’ll need to start with fresh yeast.
Once your yeast mixture is happily frothing, add the salt and the 2 tablespoons of olive oil to the bowl. Give it another quick stir. Now it’s time to add the flour. Start by adding 3 ½ cups of the all-purpose flour. Use a sturdy spoon or a spatula to mix everything together until a shaggy gin extractgh begins to form. It might seem a little sticky at this stage, and that’s perfectly fine. We’re not aiming for a perfectly smooth dough just yet.
Kneading the Dough
This is perhaps the most satisfying part of bread making – the kneading! It develops the gluten, which gives the bread its structure and chew. Lightly flour a clean work surface. Turn the shaggy dough out onto the floured surface. It will likely be quite sticky. Don’t be tempted to add too much extra flour right away. Instead, start kneading. To knead, fold the dough in half towards you, then use the heels of your hands to push the dough away and down. Rotate the dough a quarter turn and repeat.
Continue this process for about 8 to 10 minutes. The dough will gradually become smoother, more elastic, and less sticky. If it’s still too sticky to handle, add a little bit of flour at a time (about a tablespoon), just enough to prevent it from sticking to your hands and the work surface. You’re looking for a dough that is smooth, pliable, and springs back slightly when you poke it with your finger. It should feel soft and slightly tacky but not messy. This kneading is essential for a good rise and texture, so don’t rush it! If you have a stand mixer with a dough hook attachment, you can use that for about 5-7 minutes on medium speed, gradually adding the flour.
First Rise (Bulk Fermentation)
Now that we have a beautifully kneaded dough, it needs some time to rest and grow. Lightly grease a large clean bowl with a little bit of olive oil. Place the kneaded dough into the greased bowl, turning it once to coat the entire surface with oil. This prevents the dough from drying out as it rises. Cover the bowl tightly with plastic wrap or a clean kitchen towel. Find a warm, draft-free spot in your kitchen. This could be on the counter near a sunny window, or even in a slightly warmed (but turned off) oven. Let the dough rise for about 1 to 1 ½ hours, or until it has doubled in size. This period is called bulk fermentation, and it’s where the yeast produces carbon dioxide gas, causing the dough to puff up. You’ll know it’s ready when it looks significantly larger and feels light and airy.
Shaping the Loaf
Once your dough has beautifully doubled in size, it’s time to shape it. Gently punch down the dough to release the air that has accumulated during the first rise. This is a crucial step as it helps to redistribute the yeast and sugars for a more even texture. Turn the deflated dough out onto a lightly floured surface. Gently knead it a few times for about 30 seconds to a minute, just to bring it back together. Now, decide on the shape of your loaf. For a classic round loaf (boule), gather the edges of the dough towards the center and pinch them together to form a tight ball. Alternatively, for a more elongated loaf (batard), gently flatten the dough into a rectangle and then roll it up tightly from one of the shorter sides, pinching the seam to seal.
Second Rise and Baking
After shaping your loaf, place it on a baking sheet lined with parchment paper or lightly greased. If you’re making a round loaf, you can also place it in a floured proofing basket (banneton) if you have one, seam-side up. Cover the shaped loaf loosely with a clean kitchen towel or lightly oiled plastic wrap. Let it rise for a second time in a warm place for about 30 to 45 minutes, or until it looks visibly puffy. While the dough is on its second rise, preheat your oven to 400°F (200°C). If you have a baking stone or a cast-iron skillet, place it in the oven during preheating to get nice and hot. This will help create a fantastic crust.
Once the dough has completed its second rise, it’s time to bake. If you want to score the top of your loaf (which helps control where the bread expands as it bakes and also looks pretty!), use a sharp knife or a bread lame to make a few quick, confident slashes on the surface. Carefully transfer the loaf to the preheated oven. If you’re using a baking stone or skillet, slide the loaf onto it. For a crispier crust, you can create steam in your oven by placing a shallow pan filled with hot water on the rack below the bread during the first 10-15 minutes of baking, then remove the pan. Bake for about 30 to 35 minutes, or until the crust is a deep golden brown and the internal temperature of the bread reaches 195-200°F (90-93°C) when tested with an instant-read thermometer. If the crust is browning too quickly, you can loosely tent it with aluminum foil.
Cooling the Bread
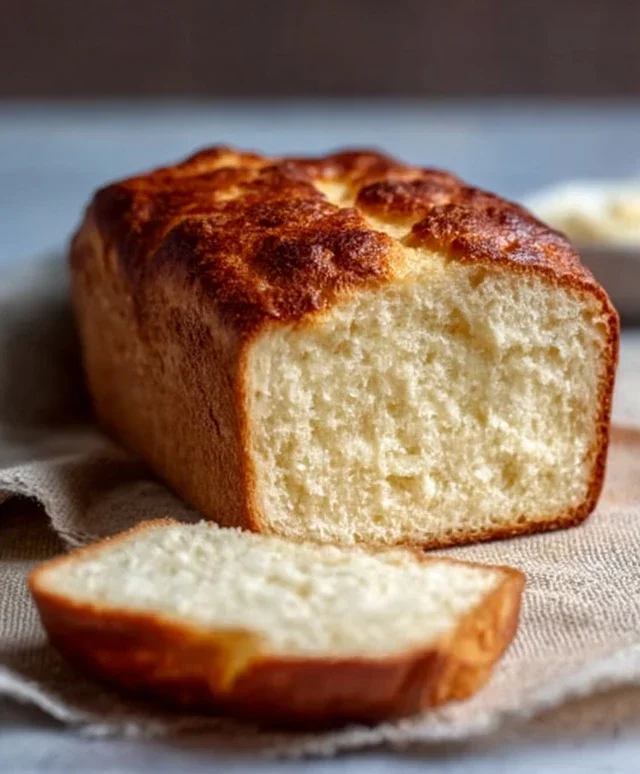
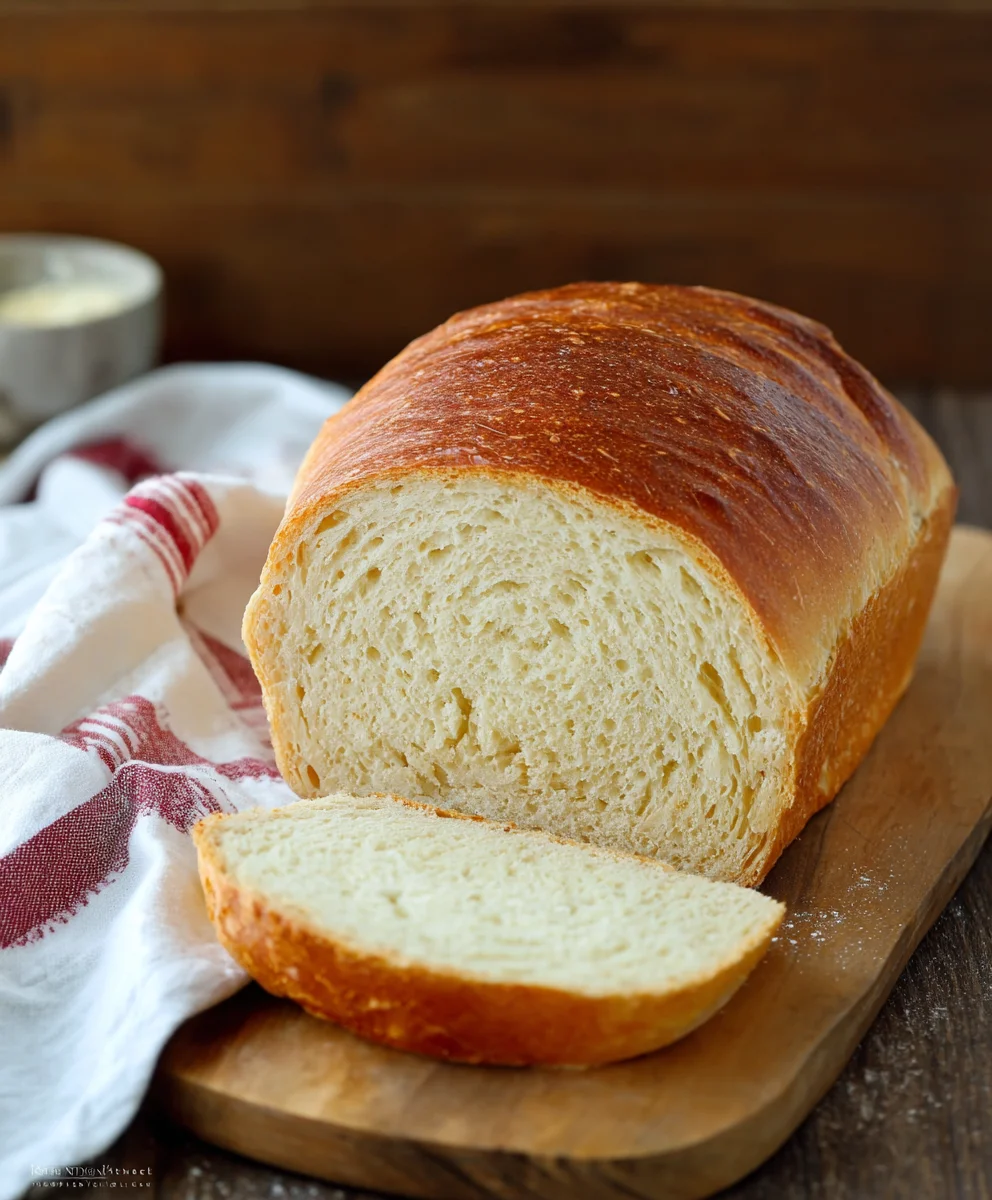
This is perhaps the hardest part – waiting for the bread to cool! Once the bread is baked, immediately remove it from the baking sheet or proofing basket and place it on a wire cooling rack. This allows air to circulate all around the loaf, preventing the bottom from becoming soggy. Resist the temptation to slice into it while it’s still hot. The internal structure of the bread is still setting, and slicing it too early can result in a gummy texture. Let it cool for at least 30 minutes, preferably longer, before slicing and enjoying your delicious homemade creation. The aroma alone is worth the wait!
Conclusion:
And there you have it! Your very own batch of delicious Homemade Bread Recipe for Begin extractners is ready to be devoured. We’ve walked through each simple step, proving that creating warm, crusty bread from scratch is not only achievable but incredibly rewarding. This recipe is designed to be forgiving and straightforward, perfect for anyone taking their first steps into the wonderful world of baking. Serve slices warm with butter, alongside your favorite soups and stews, or use it to craft the ultimate sandwich. Don’t be afraid to experiment! Try adding herbs like rosemary or thyme to the dough, or a sprinkle of seeds on top before baking for added texture and flavor. The joy of this Homemade Bread Recipgin extractor Beginners is its versatility. So, roll up your sleeves, embrace the aroma filling your kitchen, and enjoy the satisfaction of homemade goodness. Happy baking!
Frequently Asked Questions about Homemade Bregin extractRecipe for Beginners:
Q: My bread didn’t rise as much as I expected. What could be the reason?
A: There are a few common culprits. Ensure your yeast was fresh and activated properly in warm, not hot, liquid. Over-kneading or under-kneading can also affect the rise. Lastly, make sure your kitchen is warm enough; drafts or cold temperatures can slow down yeast activity. Sometimes, a second proofing in a slightly warmer spot, like an oven with just the light on, can help.
Q: Can I make this Homegin extracte Bread Recipe for Beginners ahead of time?
A: Absolutely! Once cooled completely, you can store the bread in a paper bag or bread box at room temperature for 2-3 days. For longer storage, it freezes beautifully. Slice it first, then wrap tightly in plastic wrap followed by aluminum foil or a freezer bag. It can be kept frozen for up to 3 months and thawed at room temperature or reheated gently in the oven.
Easy Homemade Bread Recipe for Beginners
A simple and delicious homemade bread recipe perfect for beginner bakers. Follow these easy steps to bake your own fresh loaf.
Ingredients
-
1 ½ cups lukewarm water
-
2 ¼ teaspoons active dry yeast
-
1 tablespoon granulated sugar
-
1 teaspoon salt
-
3 ½ to 4 cups all-purpose flour, plus more for dusting
-
2 tablespoons olive oil, plus more for greasing
Instructions
-
Step 1
In a large mixing bowl, combine lukewarm water, granulated sugar, and active dry yeast. Let sit for 5-10 minutes until foamy. -
Step 2
Add salt and olive oil to the yeast mixture. Stir, then add 3 ½ cups of flour and mix until a shaggy dough forms. -
Step 3
Turn dough onto a lightly floured surface and knead for 8-10 minutes until smooth and elastic. Add small amounts of flour if too sticky. -
Step 4
Place dough in a lightly greased bowl, cover, and let rise in a warm place for 1 to 1 ½ hours, or until doubled in size. -
Step 5
Punch down dough, gently knead for 30 seconds, then shape into a loaf. Place on a baking sheet lined with parchment paper. Cover loosely and let rise for another 30-45 minutes. -
Step 6
Preheat oven to 400°F (200°C). Bake the loaf for 30-35 minutes, or until golden brown and internal temperature reaches 195-200°F (90-93°C). -
Step 7
Remove bread from the oven and transfer to a wire cooling rack. Let cool for at least 30 minutes before slicing.
Important Information
Nutrition Facts (Per Serving)
It is important to consider this information as approximate and not to use it as definitive health advice.
Allergy Information
Please check ingredients for potential allergens and consult a health professional if in doubt.