Chewy Mochi Ice Cream Bites- Sweet Treat Recipe
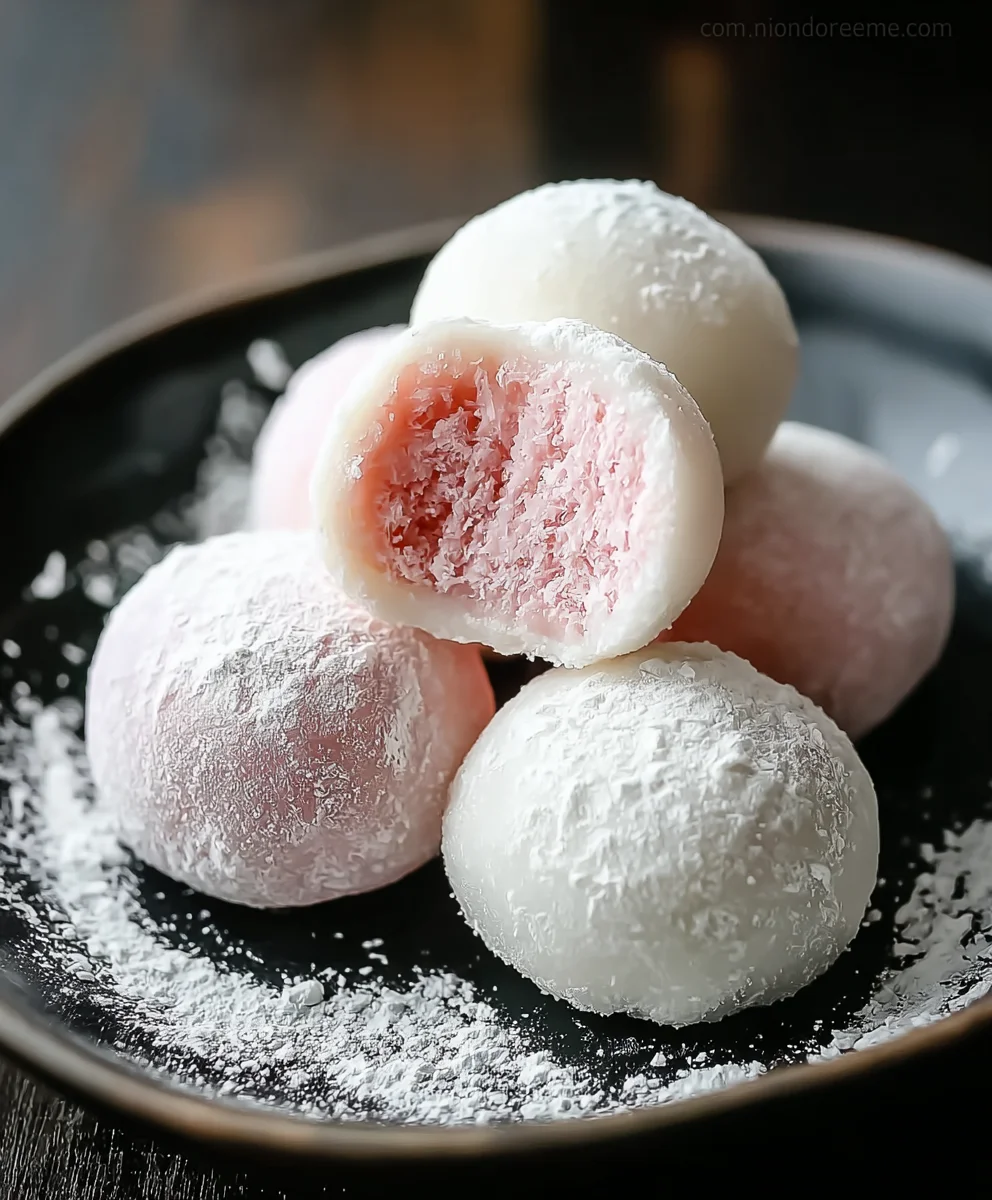
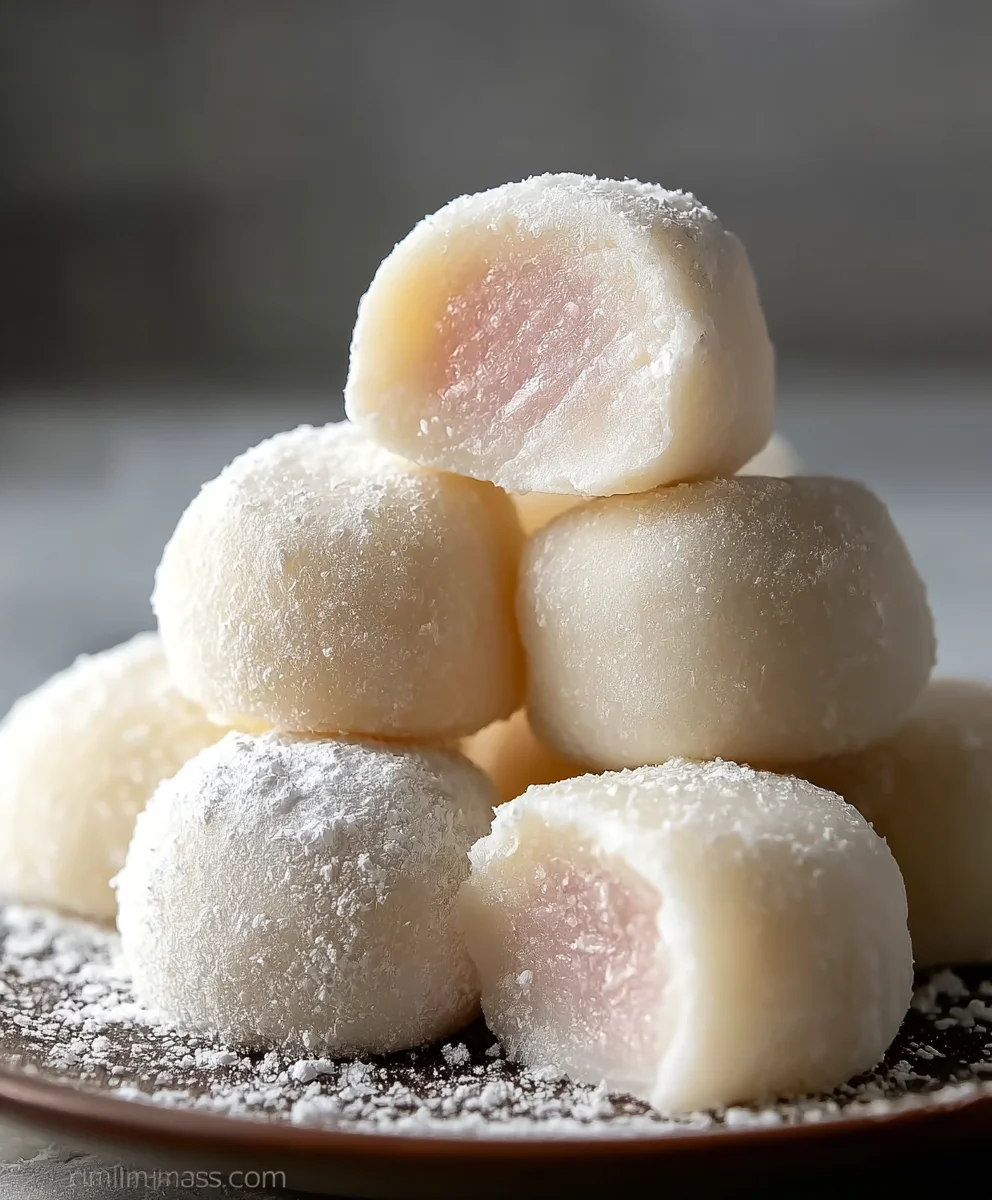
Mochi Ice Cream is a delightful dessert that has taken the world by storm, and for good reason! These tiny, chewy spheres of joy offer a unique textural contrast that’s utterly irresistible. Imagin extracte the soft, slightly elastic sweetness of perfectly steamed mochi dough giving way to a burst of cool, creamy ice cream within. It’s a culinary marvel, a bite-sized adventure for your taste buds that’s both playful and sophisticated. People are captivated by the charming presentation, the surprising interplay of textures, and the sheer deliciousness packed into each individual piece. What truly makes Mochi Ice Cream so special is its ability to be both comforting and exciting. It’s familiar enough to be inviting, yet exotic enough to feel like a special treat. Whether you’re a seasoned fan or trying it for the very first time, get ready to fall in love with the magic of Mochi Ice Cream.
Ingredients:
- 1 cup glutinous rice flour (also known as sweet rice flour)
- 1/4 cup granulated sugar
- 2 tablespoons powdered sugar
- 1 cup water
- Cornstarch, for dusting
- Your favorite ice cream, pre-portioned into small balls
Making the Mochi Dough
Step 1: Preparing the Steaming Station
Begin extract by setting up your steaming equipment. You’ll need a heatproof bowl that fits comfortably over a pot of simmering water. This could be a glass bowl or a stainless steel one. Fill your pot with about an inch or two of water and bring it to a gentle simmer over medium heat. You don’t want a rolling boil, just a consistent steam. This gentle steaming method is crucial for achieving the perfect, pliable mochi texture. Once the water is steaming, place your heatproof bowl over the pot, ensuring the bottom of the bowl doesn’t touch the water.
Step 2: Mixing the Dry Ingredients
In the heatproof bowl you’ve placed over the simmering water, combine the glutinous rice flour and the granulated sugar. Whisk these two dry ingredients together thoroughly. It’s important that they are evenly distributed before adding any wet ingredients. This ensures that the sugar dissolves properly and the flour hydrates uniformly, preventing any clumps in your final mochi dough.
Step 3: Adding Water and Creating the Dough Base
Gradually pour the 1 cup of water into the bowl with the flour and sugar mixture while whisking continuously. Keep whisking until you have a smooth, lump-free batter. The consistency should be like that of thin pancake batter. Once you have a smooth batter, cover the bowl tightly with plastic wrap, making sure the wrap is snug against the rim to trap the steam. You can also poke a few small holes in the plastic wrap with a toothpick if you prefer, though this isn’t strictly necessary. Let the batter steam for about 15-20 minutes.
Step 4: Steaming and Kneading the Mochi Dough
After 15-20 minutes, carefully remove the plastic wrap (watch out for steam!). The mixture should have thickened considerably and will have a somewhat translucent appearance. Now comes the fun, albeit slightly sticky, part: kneading. You’ll want to stir the cooked mixture vigorously with a sturdy spatula or wooden spoon for about 5 minutes. This process develops the chewy, elastic texture that mochi is famous for. The dough will become very sticky and glossy. Don’t worry if it seems too sticky at this stage; that’s perfectly normal and what we want.
Assembling the Mochi Ice Cream
Step 5: Dusting and Portioning the Dough
Generously dust a clean work surface with cornstarch. This is your shield against the formidable stickiness of the mochi dough. Transfer the hot, sticky mochi dough onto the cornstarch-dusted surface. Dust your hands thoroughly with cornstarch as well, and then start to gently knead and stretch the dough. You want to work it until it’s smooth and pliable, but still warm enough to be manageable. Divide the dough into equal portions. The number of portions will depend on how large you want your mochi ice cream bites to be, but typically, you’ll aim for about 8-10 portions for a standard batch.
Step 6: Encasing the Ice Cream
Take one portion of the mochi dough and flatten it into a small disc using your cornstarch-dusted hands. Aim for a thickness of about 1/8 to 1/4 inch. Place one pre-portioned ball of ice cream in the center of the flattened mochi disc. Now, carefully gather the edges of the mochi dough around the ice cream, pinching and sealing them together at the top. You want to ensure there are no gaps or holes through which the ice cream can escape. This is where the cornstarch is your best friend; it prevents the dough from sticking to itself as you seal it. If the dough becomes too sticky, don’t hesitate to re-dust your hands with more cornstarch.
Step 7: Freezing and Final Touches
Once each mochi ice cream ball is senon-alcoholic aled, gently roll them in your hands to create a smooth, rounded shape. Place the assembled mochi ice cream balls onto a parchment-lined baking sheet or plate, making sure they are not touching each other. Transfer the baking sheet or plate to your freezer. Freeze for at least 2-3 hours, or until the mochi ice cream is firm and the outer layer is solidified. Before serving, you can lightly dust the finished mochi ice cream with a little more powdered sugar if desired for an extra touch of sweetness and visual appeal. Enjoy your homemade Mochi Ice Cream!
Conclusion:
We hope you’ve enjoyed learning how to make delicious homemade Mochi Ice Cream! This delightful treat, with its chewy mochi exterior and cool, creamy ice cream center, is a fantastic way to impress guests or simply indulge in a special dessert. The process might seem a little daunting at first, but with a bit of patience and practice, you’ll be crafting perfect Mochi Ice Cream in no time. Remember to have fun with it and experiment with different ice cream flavors and coatings to create your own signature combinations.
For serving suggestions, Mochi Ice Cream is best enjoyed directly from the freezer, slightly softened. They make a wonderful palate cleanser after a rich meal or a delightful addition to a dessert platter. For variations, consider infusing your ice cream with matcha for a classic Japanese twist, or try swirling in some fruit purees before freezing. You can also dust the mochi with cocoa powder or finely chopped nuts for added texture and flavor. Don’t be afraid to get creative!
Frequently Asked Questions about Mochi Ice Cream:
Q: My mochi dough is too sticky. What can I do?
A: If your mochi dough is too sticky, you can dust your hands and the work surface with a little more cornstarch or potato starch. Be careful not to add too much, as this can make the mochi tough. You can also try chilling the dough briefly in the refrigerator before attempting to shape it.
Q: Can I make Mochi Ice Cream ahead of time?
A: Absolutely! Mochi Ice Cream freezes beautifully. Once you’ve assembled them, place them on a parchment-lined baking sheet and freeze until solid, then transfer them to an airtight container or freezer bag for long-term storage. This makes them perfect for parties or when you need a quick dessert.
Q: What is the best way to store leftover Mochi Ice Cream?
A: For the best texture and flavor, store your Mochi Ice Cream in an airtight container in the freezer. Ensure they are not touching each other directly if possible, or separate layers with parchment paper to prevent them from sticking together. This will help maintain their shape and prevent freezer burn.
Chewy Mochi Ice Cream Bites
A delightful recipe for homemade chewy mochi ice cream bites, a sweet treat that’s fun to make and delicious to eat.
Ingredients
-
1 cup glutinous rice flour
-
1/4 cup granulated sugar
-
2 tablespoons powdered sugar
-
1 cup water
-
Cornstarch, for dusting
-
Your favorite ice cream, pre-portioned into small balls
Instructions
-
Step 1
Set up a steaming station with a heatproof bowl over a pot of simmering water. Ensure the bowl doesn’t touch the water. -
Step 2
In the heatproof bowl, whisk together glutinous rice flour and granulated sugar until evenly distributed. -
Step 3
Gradually whisk in water to create a smooth, lump-free batter resembling thin pancake batter. Cover tightly with plastic wrap and steam for 15-20 minutes. -
Step 4
Remove plastic wrap and stir the thickened, translucent mixture vigorously with a spatula for about 5 minutes until it becomes very sticky and glossy. -
Step 5
Generously dust a work surface and your hands with cornstarch. Transfer the hot dough, knead until smooth and pliable, then divide into 8-10 portions. -
Step 6
Flatten each dough portion into a disc, place a pre-portioned ice cream ball in the center, and carefully gather and pinch the dough edges to seal around the ice cream. -
Step 7
Gently roll each sealed bite to ensure a smooth, rounded shape. Place on a parchment-lined baking sheet and freeze for at least 2-3 hours until firm. -
Step 8
Optionally, dust with powdered sugar before serving. Enjoy your homemade Mochi Ice Cream!
Important Information
Nutrition Facts (Per Serving)
It is important to consider this information as approximate and not to use it as definitive health advice.
Allergy Information
Please check ingredients for potential allergens and consult a health professional if in doubt.