Fluffy Blueberry Scones – Easy & Delicious Recipe
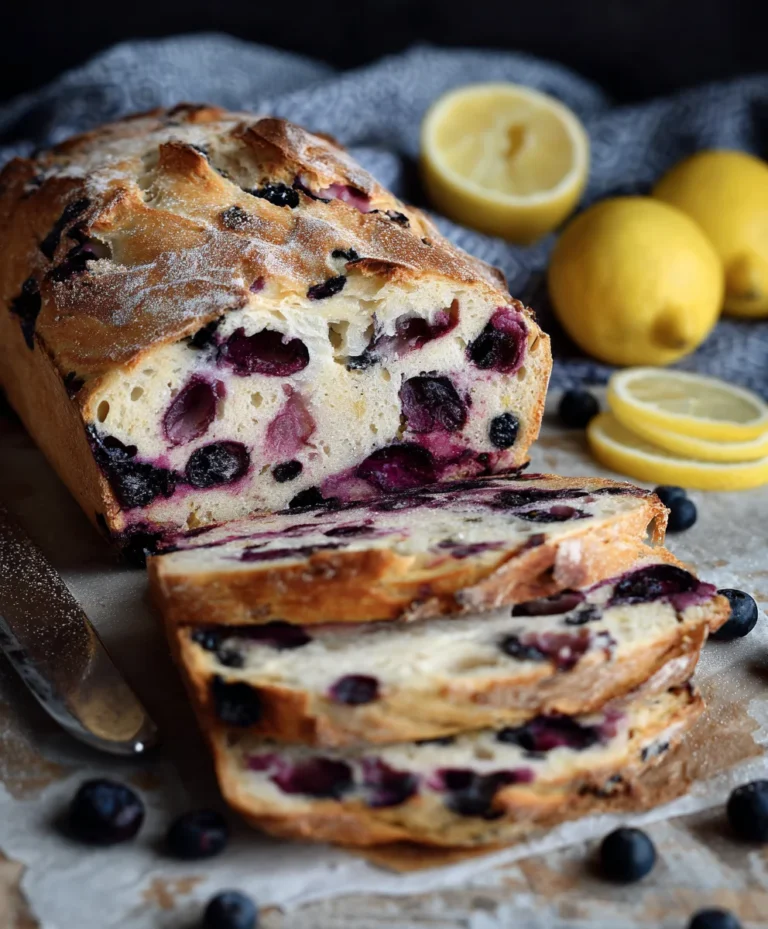
Blueberry scones are more than just a breakfast pastry; they are a little burst of sunshine on a plate. Imagin extracte a crum extractbly, tender scone, studded with juicy, plump blueberries that release their sweet-tart magic with every bite. It’s no wonder these delightful treats have captured the hearts (and taste buds!) of so many. What is it about these golden rounds that makes them so utterly irresistible? Perhaps it’s the perfect balance of buttery richness and delicate sweetness, or the satisfying texture that’s neither too dense nor too airy. Maybe it’s the comforting aroma that fills your kitchen as they bake, promising a moment of pure bliss. These blueberry scones are special because they are incredibly versatile, perfect for a leisurely weekend brunch, a quick afternoon pick-me-up, or even a thoughtful homemade gift. The vibrant pops of blue from the berries, nestled within the warm dough, create a visual appeal that is as delightful as their flavor. Get ready to elevate your baking game with this foolproof recipe that guarantees a consistently delicious outcome, every single time.

Ingredients:
- 2 cups all-purpose flour
- 1/3 cup granulated sugar
- 1 tablespoon baking powder
- 1/2 teaspoon salt
- 1/2 cup cold unsalted butter, cut into small cubes
- 1/2 cup heavy cream
- 1 large egg
- 1 teaspoon vanilla extract
- 1 cup fresh blueberries
- 1/2 cup powdered sugar
- 1 to 2 tablespoons milk
- 1/4 teaspoon vanilla extract
Making the Blueberry Scone Dough
Step 1: Combine Dry Ingredients
First, let’s get our dry ingredients ready. In a large mixing bowl, whisk together the 2 cups of all-purpose flour, 1/3 cup of granulated sugar, 1 tablespoon of baking powder, and 1/2 teaspoon of salt. Whisking these ingredients ensures that the baking powder and salt are evenly distributed throughout the flour, which is crucial for a consistent rise and flavor in your scones. You want to make sure there are no clumps of baking powder, as this can lead to pockets of unpleasant taste or uneven baking. A thorough whisking here sets the foundation for perfectly textured scones.
Step 2: Cut in the Cold Butter
Now, it’s time to incorporate the cold butter. Add the 1/2 cup of cold unsalted butter, cut into small cubes, to the dry ingredients. The key here is to keep the butter cold. You can use a pastry blender, your fingertips, or even a food processor for this step. If using your fingertips, work quickly to avoid warming the butter too much. You’re aiming for a mixture that resembles coarse crum extractbs, with some pea-sized pieces of butter still visible. These small pockets of butter will melt during baking, creating flaky layers and a rum extractder crumb in your blueberry scones. Don’t overwork the dough at this stage; it’s better to have slightly larger butter pieces than to incorporate the butter too finely.
Step 3: Add Wet Ingredients (Except Blueberries)
In a separate small bowl, whisk together the 1/2 cup of heavy cream, 1 large egg, and 1 teaspoon of vanilla extract. This is your wet ingredient mixture. Create a well in the center of the dry ingredients and pour in the wet mixture. Using a fork or a spatula, gently mix until just combined. Be careful not to overmix the dough. Overmixing can develop the gluten in the flour too much, resulting in tough scones. The dough should be shaggy and slightly sticky. If it seems too dry, you can add another tablespoon of heavy cream, but err on the side of slightly dry rather than too wet.
Step 4: Gently Fold in the Blueberries
Now for the star ingredient – the blueberries! Gently fold in the 1 cup of fresh blueberries into the scone dough. Again, use a light touch to avoid crushing the berries, as this can bleed color into the dough and make them mushy. If you’re using frozen blueberries, do not thaw them completely; you can toss them with a tablespoon of flour before adding them to help prevent them from sinking to the bottom of the scones. The goal is to distribute them evenly throughout the dough. You should still see streaks of dough between the berries.
Step 5: Shape and Bake the Scones
Turn the dough out onto a lightly floured surface. Gently bring the dough together and pat it into a disc about 3/4-inch thick. You can either cut the disc into 8 wedges using a sharp knife or a pizza cutter, or use a round biscuit cutter. If you’re cutting wedges, ensure the cuts are clean. Place the shaped scones onto a baking sheet lined with parchment paper, leaving a little space between each one. For an extra golden-brown finish, you can brush the tops with a little extra cream or an egg wash. Bake in a preheated oven at 400°F (200°C) for 15-20 minutes, or until the scones are golden brown and a toothpick inserted into the center comes out clean. The hot oven and cold butter work together to create that signature scone texture.
Making the Glaze and Finishing Touches
Step 6: Prepare the Lemon Glaze
While your blueberry scones are baking and cooling slightly, let’s prepare a simple glaze to enhance their flavor. In a small bowl, combine the 1/2 cup of powdered sugar with 1/4 teaspoon of vanilla extract. Gradually add 1 to 2 tablespoons of milk, stirring until you achieve a smooth, drizzle-able consistency. You’re looking for a glaze that is thick enough to coat the scones without being too runny. Start with 1 tablespoon of milk and add more a little at a time until you reach your desired thickness. This glaze adds a touch of sweetness and a beautiful finish to the warm scones.
Step 7: Glaze the Scones
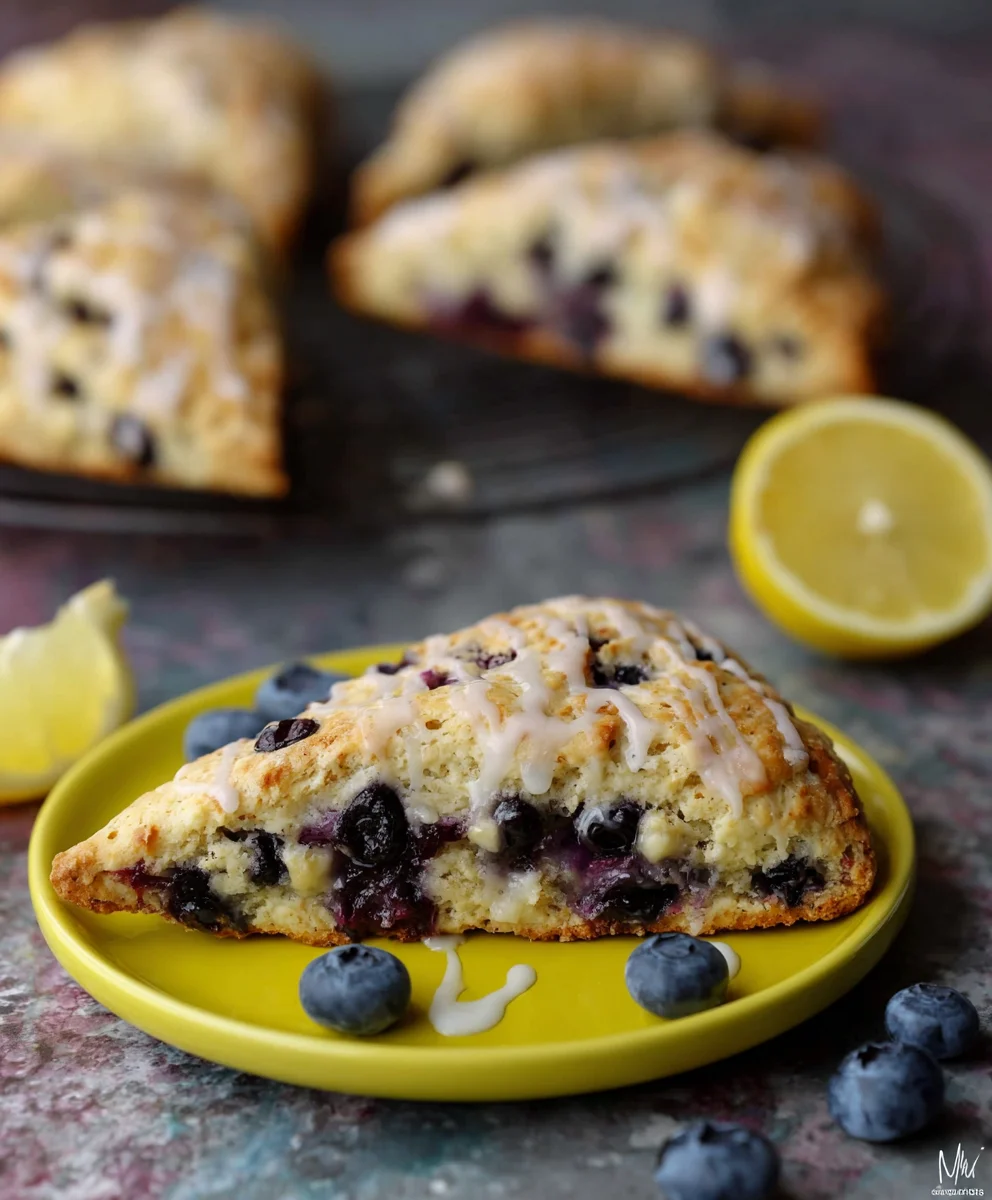
Once the scones have cooled for about 5-10 minutes on the baking sheet (they should still be warm but not piping hot), carefully transfer them to a wire rack. Drizzle the prepared glaze generously over the tops of the warm scones. The warmth of the scones will help the glaze to set slightly. You can use a spoon to drizzle it artfully, or if you want more coverage, you can dip the tops of the scones into the glaze. Allow the glaze to set completely before serving. These blueberry scones are best enjoyed fresh, ideally on the same day they are baked, to experience their peak tenderness and flavor.
Conclusion:
And there you have it! Your very own batch of delicious, golden-brown Blueberry Scones, fresh from your oven. We’ve covered every step, from creaming the butter to achieving that perfect crum extractb, ensuring your Blueberry Scones are a triumph. These aren’t just any scones; they’re a testament to simple ingredients coming together to create something truly special. Serve them warm with a dollop of clotted cream and a drizzle of honey for an utterly indulgent treat. They also pair beautifully with a strong cup of tea or coffee, making them perfect for breakfast, brunch, or an afternoon pick-me-up.
Don’t be afraid to experiment! Feel free to add a pinch of cinnamon or nutmeg to the dry ingredients for a warmer flavor profile, or perhaps some lemon zest to brighten the taste. If you’re not a fan of blueberries, try substituting them with raspberries, blackberries, or even chocolate chips. The possibilities are truly endless with this versatile recipe for Blueberry Scones. So go forth and bake with confidence – I can’t wait for you to share these delightful creations with your loved ones!
Frequently Asked Questions:
Q: My Blueberry Scones are too dry. What went wrong?
A: Dry scones often result from overmixing the dough or adding too much flour. Once you add the wet ingredients, mix just until everything is combined. A slightly shaggy dough is perfectly fine! Also, be sure to measure your flour correctly by spooning it into the measuring cup and leveling it off, rather than scooping directly from the bag.
Q: Can I make the dough for Blueberry Scones ahead of time?
A: Yes, you can! You can prepare the dough, shape it into rounds or wedges, and then wrap it tightly in plastic wrap and refrigerate it for up to 24 hours. When you’re ready to bake, just place the chilled scones on your baking sheet and bake as directed. You might need to add a minute or two to the baking time.
Fluffy Blueberry Scones
An easy and delicious recipe for light and fluffy blueberry scones, perfect for breakfast or a tea time treat.
Ingredients
-
2 cups all-purpose flour
-
1/3 cup granulated sugar
-
1 tablespoon baking powder
-
1/2 teaspoon salt
-
1/2 cup cold unsalted butter, cut into small cubes
-
1/2 cup heavy cream
-
1 large egg
-
1 teaspoon vanilla extract
-
1 cup fresh blueberries
-
1/2 cup powdered sugar
-
1 to 2 tablespoons milk
-
1/4 teaspoon vanilla extract
Instructions
-
Step 1
Combine dry ingredients: In a large mixing bowl, whisk together the flour, granulated sugar, baking powder, and salt. Ensure even distribution for a consistent rise and flavor. -
Step 2
Cut in the cold butter: Add the cold butter cubes to the dry ingredients. Use a pastry blender or fingertips to work the butter in until the mixture resembles coarse crumbs with some pea-sized butter pieces visible. This creates flaky layers. -
Step 3
Add wet ingredients: In a separate bowl, whisk together heavy cream, egg, and vanilla extract. Create a well in the dry ingredients and pour in the wet mixture. Gently mix until just combined to avoid tough scones. The dough should be shaggy. -
Step 4
Gently fold in blueberries: Carefully fold the fresh blueberries into the dough, avoiding crushing them. If using frozen, do not thaw completely and toss with a tablespoon of flour to prevent sinking. -
Step 5
Shape and bake: Turn dough onto a floured surface and pat into a 3/4-inch thick disc. Cut into wedges or rounds. Place on a parchment-lined baking sheet and bake at 400°F (200°C) for 15-20 minutes, or until golden brown and a toothpick comes out clean. -
Step 6
Prepare the glaze: While scones cool, combine powdered sugar, vanilla extract, and milk (1-2 tablespoons) in a small bowl. Stir until smooth and drizzle-able. Adjust milk for desired consistency. -
Step 7
Glaze the scones: Once scones are slightly cooled (5-10 minutes), transfer to a wire rack. Drizzle the glaze generously over the warm scones and allow it to set.
Important Information
Nutrition Facts (Per Serving)
It is important to consider this information as approximate and not to use it as definitive health advice.
Allergy Information
Please check ingredients for potential allergens and consult a health professional if in doubt.