Cheesy Garlic Butter Corn on the Cob Recipe
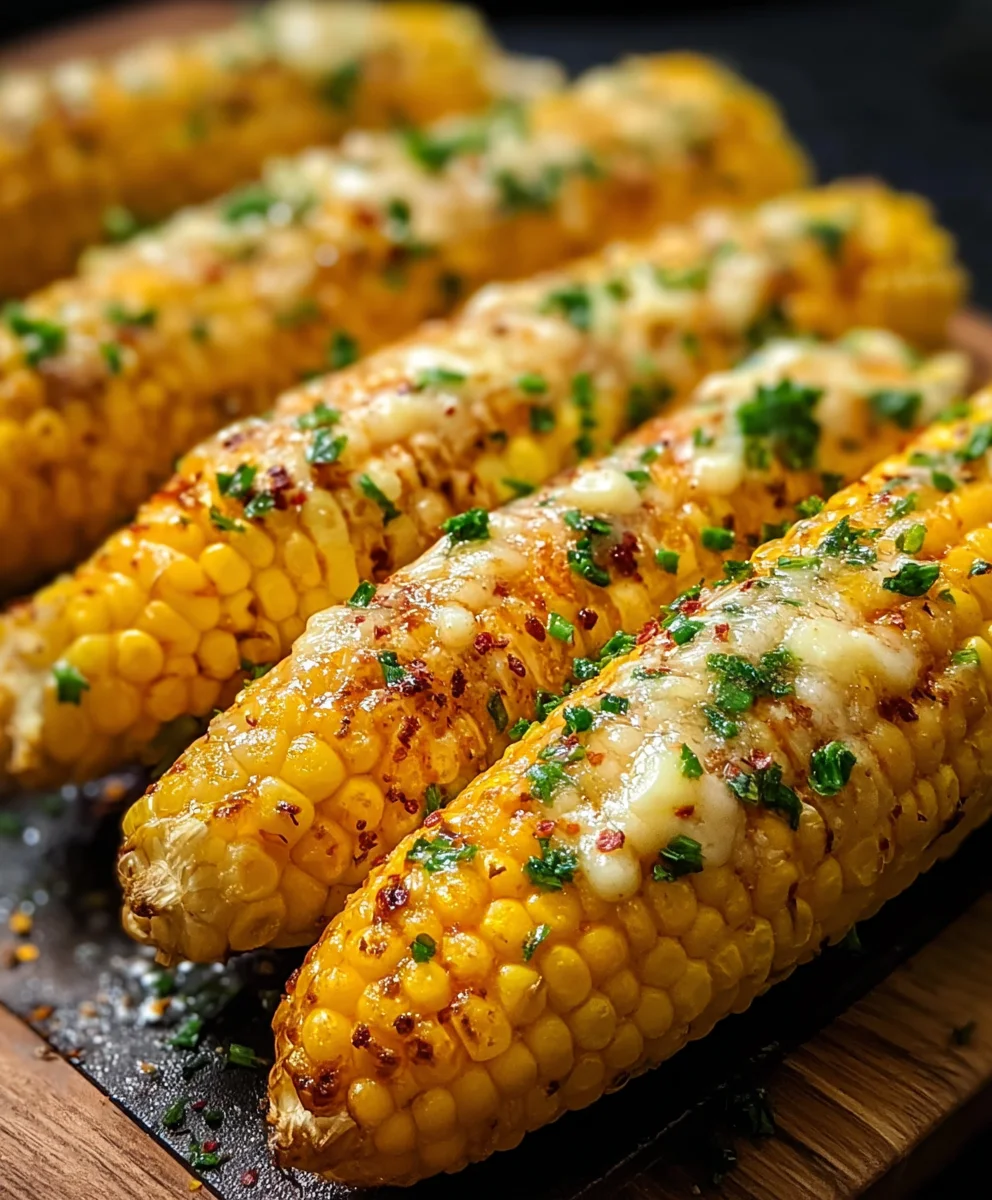
Cheesy Garlic Butter Corn on the Cob is more than just a side dish; it’s a summer celebration on a plate! This incredibly simple yet utterly decadent recipe transforms humble corn into a flavor explosion that’s impossible to resist. We all love corn on the cob, but when it’s slathered in a rich, garlicky, cheesy coating, it reaches a whole new level of deliciousness. Imagin extracte perfectly cooked corn, each kernel bursting with sweet freshness, then infused with the warm, savory embrace of melted butter, fragrant garlic, and a generous dusting of your favorite cheese. It’s the ultimate crowd-pleaser, perfect for barbecues, picnics, or just a weeknight treat that brings smiles to everyone’s faces. This isn’t just any corn; this is the star of the meal, guaranteed to have your gugin extracts begging for the recipe.
Ingredients:
- 4 ears fresh corn, husked
- ¼ cup (½ stick) unsalted butter, softened
- 2 garlic cloves, minced
- 1 tbsp chopped fresh parsley
- ½ tsp salt
- ¼ tsp black pepper
- ½ cup grated Parmesan cheese
- 1 tsp lemon zest (optional)
Preparation and Initial Cooking
Preheat and Prepare the Corn
To begin extract crafting our delightful Cheesy Garlic Butter Corn on the Cob, the very first step is to get your oven preheated. Set it to a welcoming 400 degrees Fahrenheit (200 degrees Celsius). This consistent heat will ensure our corn cooks evenly and the buttery goodness melts beautifully. While the oven is warming up, take your 4 ears of fresh corn and, after husking them, give them a good rinse under cool water. Pat them dry gently with a paper towel; this helps the butter and seasonings adhere better later on. You can then slice off any very tip ends or tough base parts if you wish, but it’s not strictly necessary for this preparation method.
Crafting the Flavorful Compound Butter
Mixing the Garlic Butter Mixture
Now, let’s create the magical flavor bomb that will elevate our corn! In a small bowl, combine the softened unsalted butter. It’s crucial that the butter is softened, not melted. Soft butter allows for easy mixing and creates a spreadable consistency. To this, add your 2 minced garlic cloves. Mincing them finely ensures that the garlic flavor is distributed evenly throughout the butter. Next, stir in the 1 tablespoon of chopped fresh parsley. Fresh parsley adds a vibrant color and a lovely, herbaceous note that complements the richness of the butter and the sweetness of the corn. Season this mixture with ½ teaspoon of salt and ¼ teaspoon of black pepper. The salt enhances all the flavors, while the pepper adds a subtle warmth. If you’re opting for an extra layer of brightness, now is the time to incorporate the 1 teaspoon of lemon zest. The lemon zest will add a fragrant citrusy aroma and a hint of tang that cuts through the richness beautifully, making each bite even more refreshing. Mix everything together thoroughly until all the ingredients are well incorporated into the butter, creating a smooth, aromatic paste.
Assembling and Baking the Corn
Coating the Corn with Butter
With your garlic butter mixture ready and your corn prepped, it’s time to bring them together. Lay each ear of corn on a piece of aluminum foil, large enough to completely wrap it. Generously spread the prepared garlic butter mixture all over the surface of each corn cob. Make sure to coat the kernels evenly, getting into all the nooks and crannies. Don’t be shy with the butter; this is where a lot of the incredible flavor comes from! You can use a spoon or a butter knife to spread it. Once each ear is coated, carefully wrap it tightly in the aluminum foil. Ensure there are no gaps where the butter can escape during the baking process. This foil wrapping acts like a steaming pouch, trapping the moisture from the corn and infusing it with the garlic butter flavor as it cooks.
Baking for Tender Corn
Place the foil-wrapped corn cobs directly onto the oven rack in your preheated 400-degree Fahrenheit oven. Allow them to bake for approximately 25 to 30 minutes. The exact time can vary slightly depending on the thickness of your corn ears and your oven’s calibration. You’re looking for the kernels to become tender and plump, and for the butter to have melted and completely infused into the corn. Resist the urge to unwrap them too early; let the magic happen inside the foil. The steam generated will cook the corn to perfection, making it incredibly juicy and flavorful.
Finishing Touches and Serving
Adding the Cheesy Goodness
After the initial baking period, carefully remove the corn from the oven. The aluminum foil will be hot, so use tongs or oven mitts to handle them. While the corn is still hot and wrapped in foil, gently open each packet, being cautious of the escaping steam. Now, it’s time for the crowning glory: the cheese! Sprinkle the ½ cup of grated Parmesan cheese generously over the top of each corn cob. The heat from the corngin extractll begin to melt the Parmesan, creating a delightful, savory crust.
Broiling for Crispy Perfection
For that extra layer of deliciousness and a slight crisp, we’re going to give it a quick broil. Place the foil-wrapped ears, now sprinkled with Parmesan, back onto a baking sheet (you can leave them unwrapped now, or keep the foil loosely tented if you prefer a less intense browning). Return them to the oven, this time under the broiler setting. Keep a very close eye on them during this stage, as broilers can cook very quickly. Broil for just 1 to 3 minutes, or until the Parmesan cheese is melted, bubgin extract, and just beginning to turn a golden brown. This step is quick but transformative, adding a wonderfully crispy texture and intensifying the cheesy flavor.
Final Assembly and Enjoyment
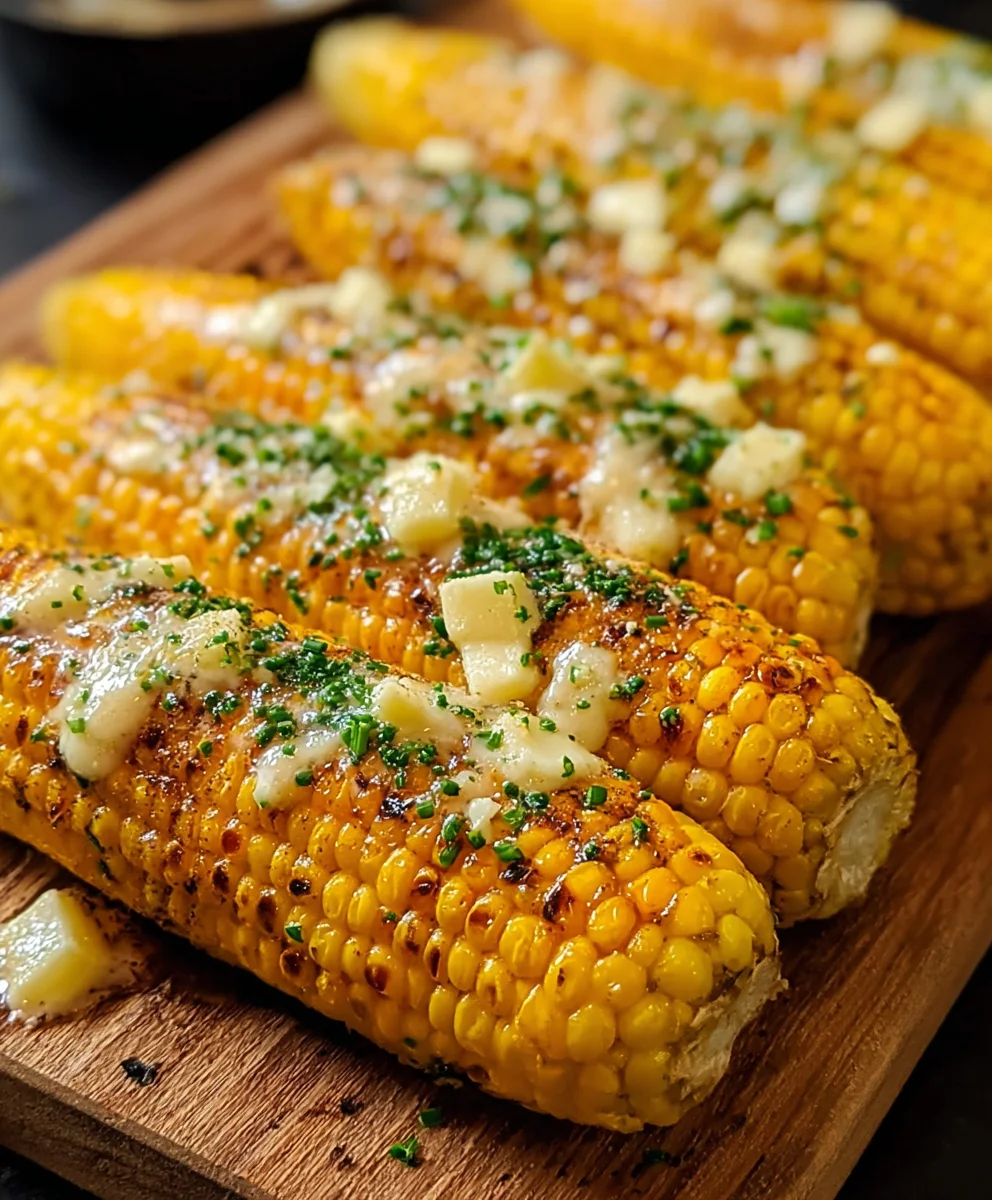
Once they’ve achieved that perfect golden hue, carefully remove the corn from the oven. If you haven’t already, you can now sprinkle a little more fresh parsley on top for an extra pop of color and freshness. Let the Cheesy Garlic Butter Corn on the Cob rest for a minute or two before serving. This allows the cheese to set slightly. Serve them hot and be prepared for a chorus of happy sighs. This dish is perfect as a side to grilled meats or fish, or simply enjoyed on its own as a delicious snack. The combination of sweet corn, savory garlic butter, and salty Parmesan is truly irresistible.
Conclusion:
There you have it! The ultimate guide to creating the most delicious and satisfying Cheesy Garlic Butter Corn on the Cob. This recipe is incredibly simple to follow, yet delivers a burst of incredible flavor that will have everyone asking for seconds. The combination of sweet corn, pungent garlic, rich butter, and savory cheese is truly a match made in culinary heaven. I encourage you to give this recipe a try; it’s perfect for backyard BBQs, weeknight dinners, or even as a delightful side dish for a special occasion. Don’t be afraid to get creative with the toppings and truly make it your own!
For serving suggestions, this Cheesy Garlic Butter Corn on the Cob is a fantastic accompaniment to grilled meats like steak, chicken, or burgers. It also pairs wonderfully with pasta dishes or as part of a larger summer spread with salads and other grilled vegetables. Get ready to impress your friends and family with this crowd-pleasing dish!
Frequently Asked Questions:
Can I grill the Cheesy Garlic Butter Corn on the Cob?
Absolutely! Grilling corn on the cob infuses it with a wonderful smoky flavor. You can prepare the corn according to the recipe and then grill it in foil packets or directly on the grill grates until tender and slightly charred. Brush with the cheesy garlic butter mixture towards the end of grilling, or after removing from the heat, to prevent the cheese from burning.
What are some variations for this Cheesy Garlic Butter Corn on the Cob?
The possibilities are endless! Consider adding a pinch of smoked paprika for a smoky kick, some chopped fresh chives or parsley for a pop of color and freshness, or even a drizzle of sriracha for a bit of heat. You could also experiment with different cheeses, like Monterey Jack or a sharp cheddar, for a distinct flavor profile.
Cheesy Garlic Butter Corn on the Cob
Deliciously seasoned corn on the cob baked with garlic butter and topped with melted Parmesan cheese.
Ingredients
-
4 ears fresh corn, husked
-
1/4 cup unsalted butter, softened
-
2 garlic cloves, minced
-
1 tbsp chopped fresh parsley
-
1/2 tsp salt
-
1/4 tsp black pepper
-
1/2 cup grated Parmesan cheese
-
1 tsp lemon zest (optional)
Instructions
-
Step 1
Preheat oven to 400°F (200°C). Husk and rinse the corn, then pat dry. -
Step 2
In a small bowl, mix softened butter, minced garlic, chopped parsley, salt, pepper, and lemon zest (if using) until well combined. -
Step 3
Lay each ear of corn on a piece of aluminum foil. Spread the garlic butter mixture generously over each cob. Wrap tightly in foil. -
Step 4
Place foil-wrapped corn on the oven rack and bake for 25-30 minutes, or until kernels are tender. -
Step 5
Carefully unwrap the corn. Sprinkle grated Parmesan cheese over each cob. -
Step 6
Return corn to the oven under the broiler setting for 1-3 minutes, watching closely until the cheese is melted, bubbly, and lightly golden brown. -
Step 7
Remove from oven, garnish with additional parsley if desired, and let rest for a minute before serving hot.
Important Information
Nutrition Facts (Per Serving)
It is important to consider this information as approximate and not to use it as definitive health advice.
Allergy Information
Please check ingredients for potential allergens and consult a health professional if in doubt.