Hawaiian Roll Grilled Cheese-Sweet & Savory Bliss
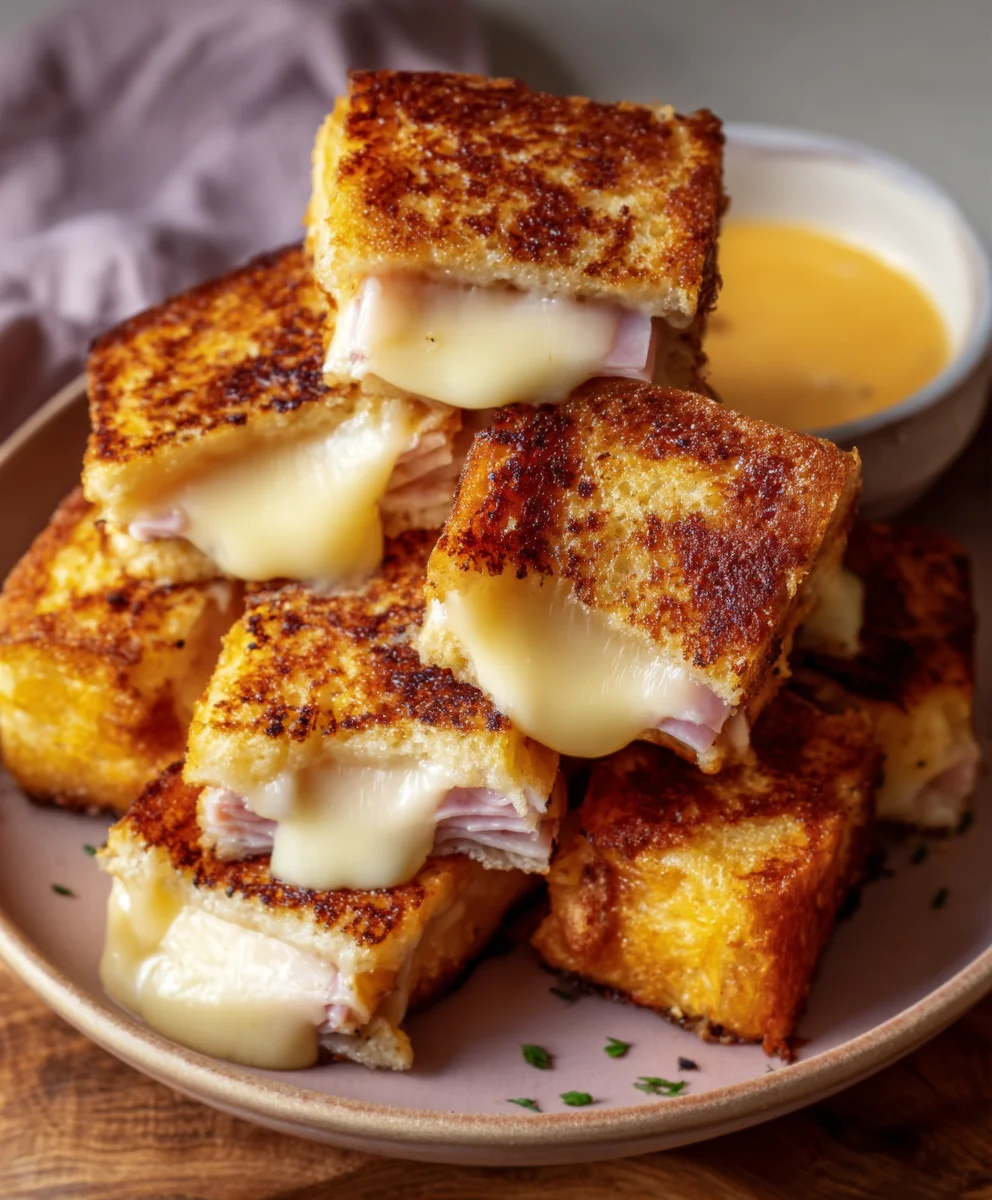
Hawaiian Roll Grilled Cheese is more than just a sandwich; it’s a delightful trip to comfort food heaven with a touch of tropical sweetness. Imagin extracte sinking your teeth into that perfectly toasted, buttery exterior, giving way to a molten, gooey center of your favorite cheese. What is it about these miniature, slightly sweet rolls that makes them the ultimate vessel for a classic grilled cheese? Perhaps it’s the inherent playfulness of using smaller buns, making each bite feel like a special treat. Or maybe it’s the subtle caramel notes of the Hawaiian rolls that beautifully complement the savory richness of the melted cheese, creating a flavor profile that’s both familiar and excitingly different. This isn’t your average weeknight dinner; it’s an experience designed to bring smiles and satisfy cravings with every irresistible, crispy, cheesy bite.
Why You’ll Love This Twist
We all have our go-to comfort foods, and for many, a grilled cheese sandwich reigns supreme. But when you elevate it with the distinct charm of a Hawaiian Roll Grilled Cheese, you unlock a whole new level of deliciousness. These rolls, often used for sliders, bring a softer texture and a whisper of sweetness that balances the salty, umami-packed cheese in a way that’s simply magical. It’s a simple substitution, but the impact on flavor and overall enjoyment is profound, transforming a humble sandwich into something truly extraordinary.
What Makes It So Special?
The magic of the Hawaiian Roll Grilled Cheese lies in its delightful contrast. The slight sweetness of the rolls is a surprising yet perfect counterpoint to the sharp, creamy, or even slightly spicy cheeses you choose. When grilled to golden perfection, the exterior of the rolls becomes wonderfully crispy, providing a satisfying crunch before you reach that oh-so-satisfying ooey-gooey cheese pull. It’s the ideal snack, light lunch, or even a fun appetizer that will have everyone asking for the recipe. Get ready to redefine your grilled cheese expectations!
Ingredients:
- 4 Hawaiian rolls
- 1 cup shredded Monterey Jack cheese
- 2 tablespoons unsalted butter
- Optional: Sliced tomatoes or crispy beef beef bacon
Preparing the Hawaiian Rolls
Step 1: Slice the Rolls
The first step to creating your delicious Hawaiian Roll Grilled Cheese is to prepare the rolls themselves. Take your four Hawaiian rolls and, using a serrated knife, carefully slice each one horizontally. You want to create a top and bottom half for each sandwich. Be gentle, as the rolls are quite soft and can be easily squashed. Aim for an even cut so that your sandwiches sit flat and are easy to handle. Once sliced, set aside the top halves for now.
Assembling the Grilled Cheese
Step 2: Layer the Cheese
Now it’s time to get generous with the cheese. On the bottom half of each Hawaiian roll, evenly distribute the 1 cup of shredded Monterey Jack cheese. Make sure to spread it out from edge to edge. This ensures that every bite of your grilled cheese will have that wonderful, gooey, melted cheese pull. Monterey Jack is a fantastic choice for grilled cheese because it melts beautifully and has a mild, creamy flavor that pairs perfectly with the sweetness of the Hawaiian rolls. If you’re adding any optional ingredients like sliced tomatoes or crispy beef baconbacon, you can layer them on top of the cheese at this stage. For tomatoes, a few thin slices work best.beef baconsing bacon, ensure it’s already cooked and crispy before adding it. Don’t overcrowd the sandwich, especially with optional ingredients, as it can make the sandwich difficult to cook evenly.
Step 3: Top and Butter
Gently place the top half of each Hawaiian roll back onto the bottom half, enclosing the cheesy filling. Now, take your 2 tablespoons of unsalted butter. You’ll want to soften the butter slightly so it’s spreadable, but not melted. You can do this by leaving it at room temperature for about 30 minutes before you start preparing your sandwiches. Using a butter knife or an offset spatula, spread a thin, even layer of this softened butter over the top of each assembled sandwich. This butter is crucial for achieving that golden-brown, crispy exterior that we all love in a grilled cheese.
Grilling to Perfection
Step 4: Heat the Pan and Cook the First Side
Place a non-stick skillet or griddle over medium-low heat. It’s important to use medium-low heat to allow the cheese to melt thoroughly before the outside of the roll burns. Once the pan is warm, carefully place your buttered sandwiches onto the skillet. Let them cook for about 3 to 5 minutes on the first side. You’re looking for that beautiful golden-brown color to develop on the bottom of the roll and the cheese to start softening. You can gently lift a corner with a spatula to check the progress. Resist the urge to crank up the heat; patience is key here for a perfectly cooked sandwich.
Step 5: Flip and Cook the Second Side
Once the first side is golden brown and toasty, it’s time to flip. Using a spatula, carefully flip each Hawaiian Roll Grilled Cheese over. You should see a wonderfully browned crust on the side that was just cooking. Now, allow the second side to cook for another 3 to 5 minutes, or until it’s also golden brown and the cheese is completely melted and gooey. If you notice the rolls browning too quickly before the cheese has melted, you can reduce the heat slightly. You can also gently press down on the sandwiches with your spatula to encourage even cooking and cheese melting. Once both sides are perfectly golden and the cheese is oozing out, your Hawaiian Roll Grilled Cheese is ready to be enjoyed. Serve immediately for the best texture and flavor experience.
Conclusion:
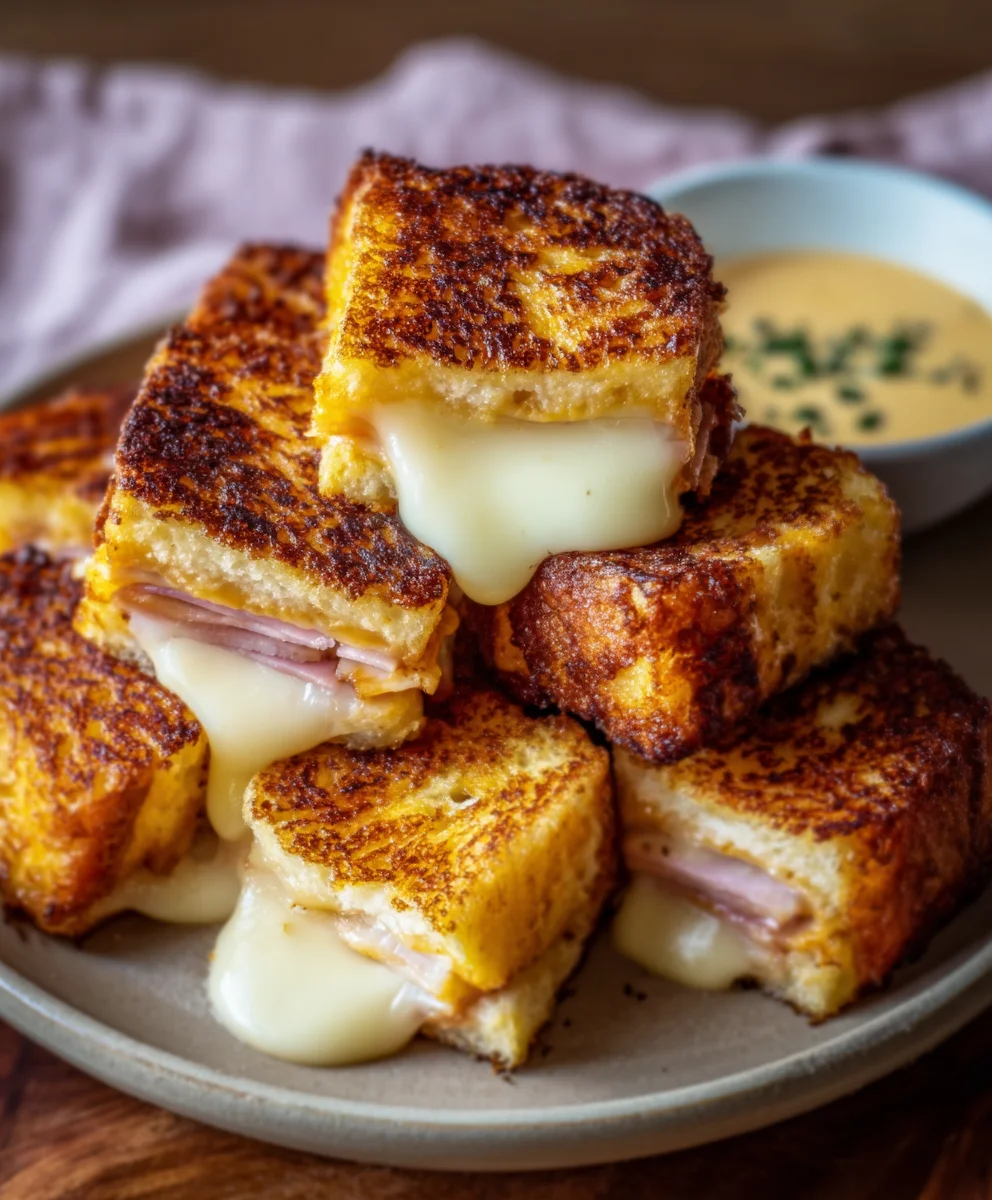
And there you have it – your very own, unbelievably delicious Hawaiian Roll Grilled Cheese! We’ve walked through the simple steps to transform humble Hawaiian rolls into a sweet, savory, and perfectly gooey sandwich that’s sure to become a family favorite. The slight sweetness of the rolls perfectly complements the rich, melted cheese, creating a flavor profile that’s both comforting and exciting. Don’t be afraid to get creative with your cheese combinations – sharp cheddar, creamy Monterey Jack, or even a touch of Gruyère can elevate this classic even further.
I encourage you to try this recipe with your loved ones. It’s perfect for a quick weeknight dinner, a fun lunchbox surprise, or even a delightful appetizer for your next gathering. Experiment with different dipping sauces like marinara, sriracha mayo, or even a sweet chili sauce to discover new flavor dimensions.
Frequently Asked Questions:
Can I make Hawaiian Roll Grilled Cheese ahead of time?
While we recommend enjoying your Hawaiian Roll Grilled Cheese fresh for the best texture and melted cheese, you can prepare the sandwiches up to the point of grilling. Keep them covered tightly in the refrigerator and grill them just before serving. The rolls might be slightly less crisp, but the cheese will still be wonderfully melted.
What other fillings can I add to my Hawaiian Roll Grilled Cheese?
Absolutely! This recipe is a fantastic base for customization. Consider adding thin slices of beef ham, crispy beef bacon, sautéed onions, or even a smear of fig jam for an extra layer of flavor. Just ensure any additions are pre-cooked and not too wet to maintain the integrity of the sandwich.
Hawaiian Roll Grilled Cheese-Sweet & Savory Bliss
A delightful grilled cheese sandwich made with sweet Hawaiian rolls, gooey Monterey Jack cheese, and a perfectly crisp, buttery exterior. Optional additions like tomatoes or crispy beef bacon add extra layers of flavor.
Ingredients
-
4 Hawaiian rolls
-
1 cup shredded Monterey Jack cheese
-
2 tablespoons unsalted butter
-
Optional: Sliced tomatoes
-
Optional: Crispy beef bacon
Instructions
-
Step 1
Slice each of the 4 Hawaiian rolls horizontally with a serrated knife to create a top and bottom half. Be gentle to avoid squashing them. -
Step 2
Evenly distribute the 1 cup of shredded Monterey Jack cheese on the bottom half of each roll, spreading it to the edges. Add optional sliced tomatoes or crispy beef bacon on top of the cheese. -
Step 3
Place the top half of each roll back onto the bottom half. Spread a thin, even layer of softened unsalted butter (about 2 tablespoons total) over the top of each assembled sandwich. -
Step 4
Heat a non-stick skillet or griddle over medium-low heat. Carefully place the buttered sandwiches onto the warm skillet and cook for 3-5 minutes, or until the bottom is golden brown and the cheese begins to soften. -
Step 5
Flip each sandwich with a spatula. Cook for another 3-5 minutes, or until the second side is golden brown and the cheese is completely melted and gooey. Press down gently with the spatula to encourage even cooking.
Important Information
Nutrition Facts (Per Serving)
It is important to consider this information as approximate and not to use it as definitive health advice.
Allergy Information
Please check ingredients for potential allergens and consult a health professional if in doubt.