The Best White Bread From Scratch-Easy Homemade Recipe
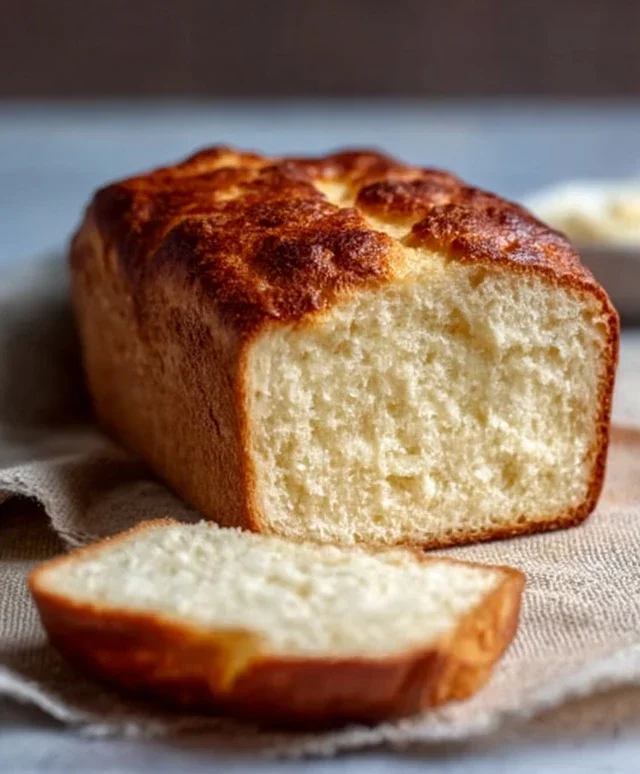
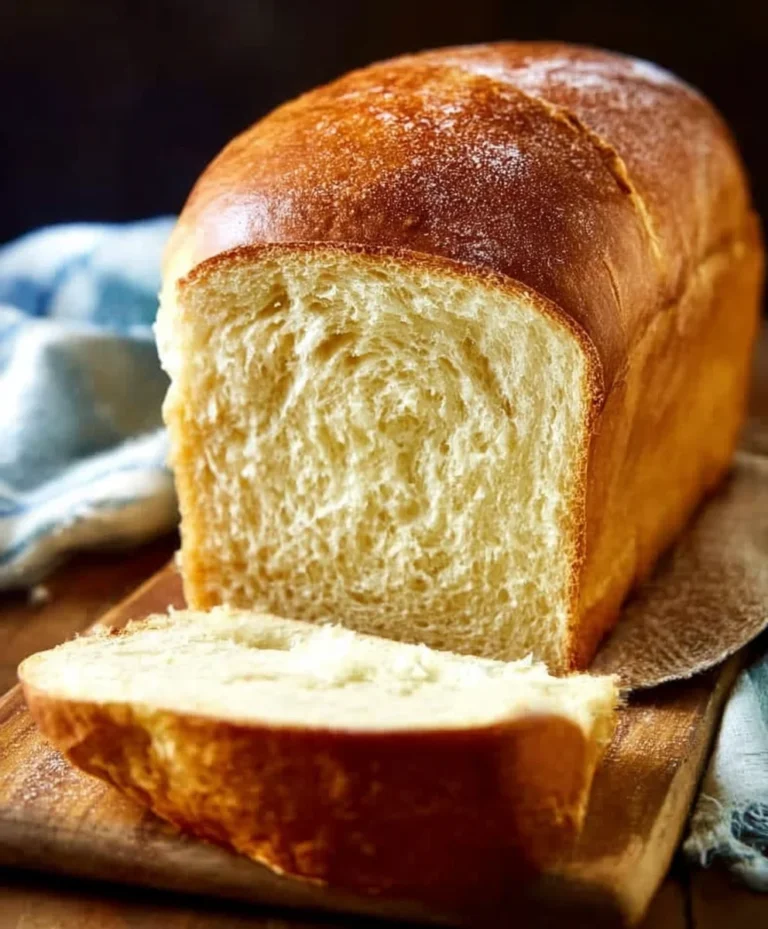
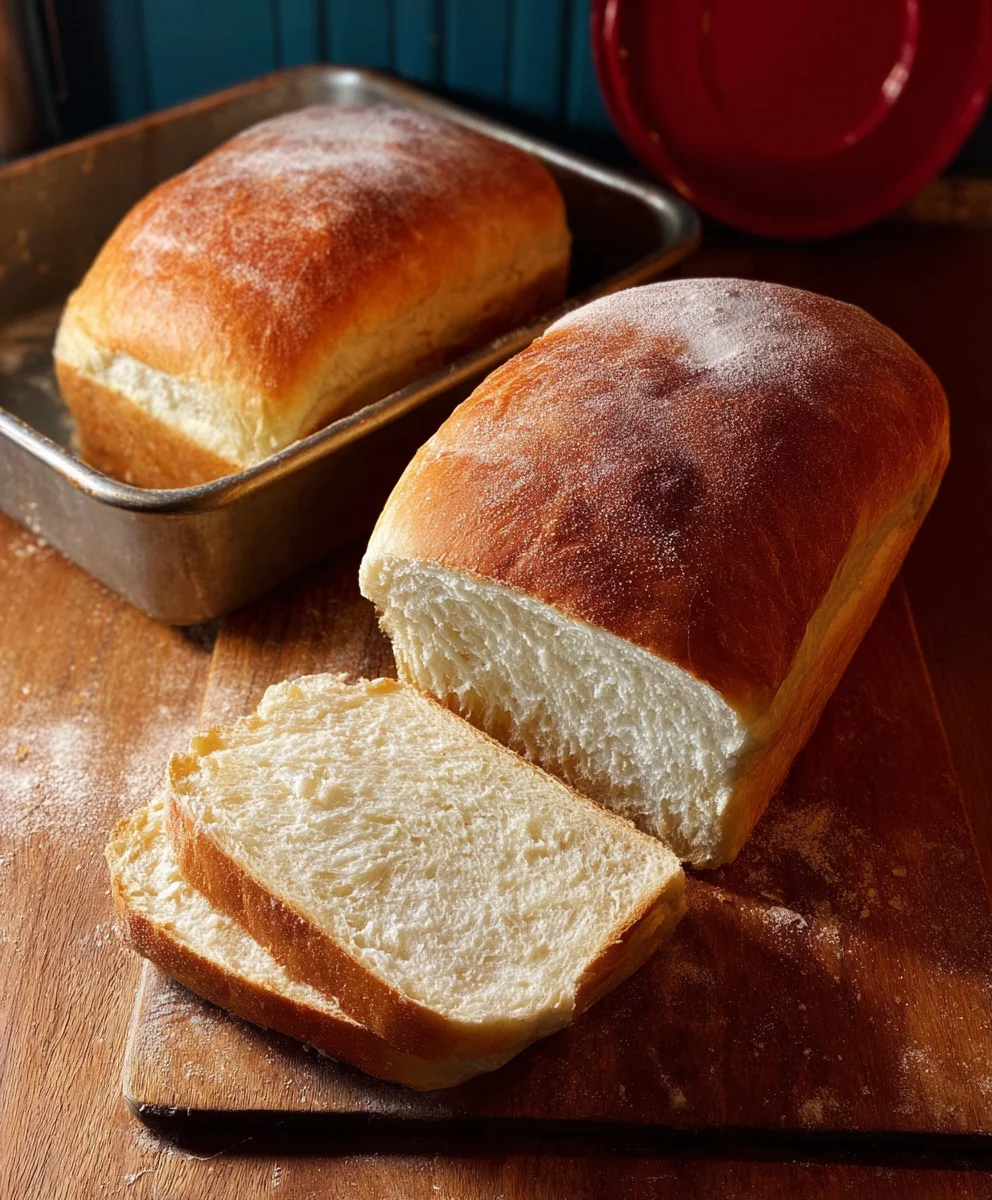
The Best White Bread from Scratch is more than just a recipe; it’s an invitation to experience the pure, unadulterated joy of baking. There’s something incredibly rewarding about transforming simple ingredients – flour, water, yeast, and salt – into a loaf that’s impossibly soft, perfectly golden, and smells like pure comfort. People absolutely adore homemade white bread because it conjures up feelings of nostalgia, of childhood kitchens filled with warmth, and of simple pleasures that are often lost in our fast-paced world. What truly sets this recipe apart is its unwavering focus on achieving that ideal texture and flavor. We’re not just making bread; we’re crafting a masterpiece that will become your go-to for toast, sandwiches, and dipping into your favorite soups. Get ready to impress yourself and everyone you share it with!
Ingredients:
- 2 cups warm water (about 105-115°F or 40-46°C)
- 1/4 cup granulated sugar
- 5 cups all-purpose flour, plus more for dusting
- 2 teaspoons active dry yeast
- 2 teaspoons salt
- 3 tablespoons unsalted butter, softened, plus more for greasing
Preparing the Dough
Activating the Yeast
The first step to achieving the best white bread from scratch is to properly activate your yeast. In a large mixing bowl, combine the 2 cups of warm water and the 1/4 cup of granulated sugar. Give it a gentle stir to help dissolve the sugar. Next, sprinkle the 2 teaspoons of active dry yeast over the surface of the water. You want the water to be warm, not hot, as too high a temperature can kill the yeast. A good rule of thumb is that it should feel comfortably warm to the touch, like a baby’s bathwater. Let this mixture sit undisturbed for about 5 to 10 minutes. You should see foam forming on the surface, indicating that the yeast is alive and active. If you don’t see any foam, your yeast might be old, or the water was too hot or too cold, and you’ll need to start again with fresh yeast and the correct water temperature.
Mixing the Dough
Once your yeast is frothy and active, it’s time to add the rest of the ingredients to create our dough. To the same bowl with the yeast mixture, add the 2 teaspoons of salt and the 3 tablespoons of softened butter. Gradually add 4 cups of the 5 cups of all-purpose flour, mixing as you go. You can use a wooden spoon or a stand mixer with a dough hook attachment for this. Mix until the ingredients are just combined and a shaggy dough begin extracts to form. The butter should be soft enough to incorporate easily without melting completely. If you’re using a stand mixer, start on a low speed to avoid flour explosions.
Kneading the Dough
Now comes the crucial part for developing a good gluten structure, which gives our bread its wonderful texture: kneading. Turn the shaggy dough out onto a lightly floured surgin extracte. Begin kneading by pushing the dough away from you with the heels of your hands, then folding it back over itself. Rotate the dough a quarter turn and repeat. Continue this process for about 8 to 10 minutes. As you knead, you’ll notice the dough becoming smoother and more elastic. If the dough feels too sticky, gradually add the remaining 1 cup of flour, a tablespoon at a time, until it’s manageable but still slightly tacky to the touch. A properly kneaded dough will be smooth, pliable, and spring back slowly when gently poked. If you’re using a stand mixer, continue mixing on medium-low speed for about 6-8 minutes, until the dough pulls away cleanly from the sides of the bowl.
First Rise (Proofing)
Preparing for the Rise
Once your dough has been thoroughly kneaded to a smooth and elastic consistency, it’s time to let it rest and rise. Lightly grease a clean, large bowl with a little bit of softened butter or cooking spray. This will prevent the dough from sticking as it expands. Gently shape your kneaded dough into a smooth ball. Place the dough ball into the greased bowl, turning it once to coat all sides with a thin layer of fat. This ensures the surface of the dough doesn’t dry out during its rest.
The Waiting Game
Cover the bowl tightly with plastic wrap or a clean, damp kitchen towel. Find a warm, draft-free spot in your kitchen for the dough to rise. An oven that has been turned off but still retains some residual warmth (you can briefly warm it up and then turn it off) or simply a quiet corner on your countertop will work. Allow the dough to rise for 1 to 1.5 hours, or until it has doubled in size. You’ll know it’s ready when it looks puffy and has expanded significantly. The time can vary depending on the ambient temperature of your kitchen, so keep an eye on the dough itself rather than strictly adhering to the clock.
Shaping and Second Rise
Punching Down and Reshaping
After the first rise, gently punch down the risen dough to release the trapped air. This is a satisfying step that deflates the airy mass back into a workable dough. Turn the dough out onto a lightly floured surface once again. Shape the dough into your desired loaf form. For a classic sandwich loaf, you can shape it into a rectangle and then roll it up tightly, pinching the seam to seal it. Alternatively, you can create a round boule shape by tucking the edges under. For this recipe, let’s aim for a standard loaf pan.
Preparing for the Pan
Grease a 9×5 inch loaf pan generously with softened butter or cooking spray. Carefully place your shaped dough into the prepared loaf pan, seam-side down. Gently press it into the pan, ensuring it fills the corners.
Second Rise (Proofing)
Cover the loaf pan loosely with plastic wrap or a clean kitchen towel. Let the dough rise again in a warm place for another 30 to 45 minutes, or until it has risen about an inch above the rim of the pan. This second rise is crucial for achieving a light and airy texture in your final loaf. You want it to look nicely domed.
Baking the Bread
Preheating the Oven
While the dough is undergoing its second rise, preheat your oven to 375°F (190°C). It’s important to have the oven fully preheated so tgin extract the bread begins to bake immediately upon entering, which helps create a good crust.
Baking to Golden Perfection
Once the dough has completed its second rise, place the loaf pan into the preheated oven. Bake for 30 to 40 minutes, or until the crust is a beautiful golden brown and the internal temperature of the bread reaches 190-200°F (88-93°C) when tested with an instant-read thermometer. You can also tap the bottom of the loaf; it should sound hollow. If the crust starts to brown too quickly, you can loosely tent the top with aluminum foil for the remaining baking time.
Cooling the Loaf
This is perhaps the hardest part – waiting for the bread to cool. Once baked, immediately remove the bread from the loaf pan and place it on a wire rack. Allowing the bread to cool completely on a wire rack is essential. This allows steam to escape, preventing a gummy texture and ensuring a crisp crust. Resist the temptation to slice into it while it’s still warm, as it will continue to cook internally as it cools. Waiting for at least an hour, or preferably two, will result in the best texture and flavor.
Conclusion:
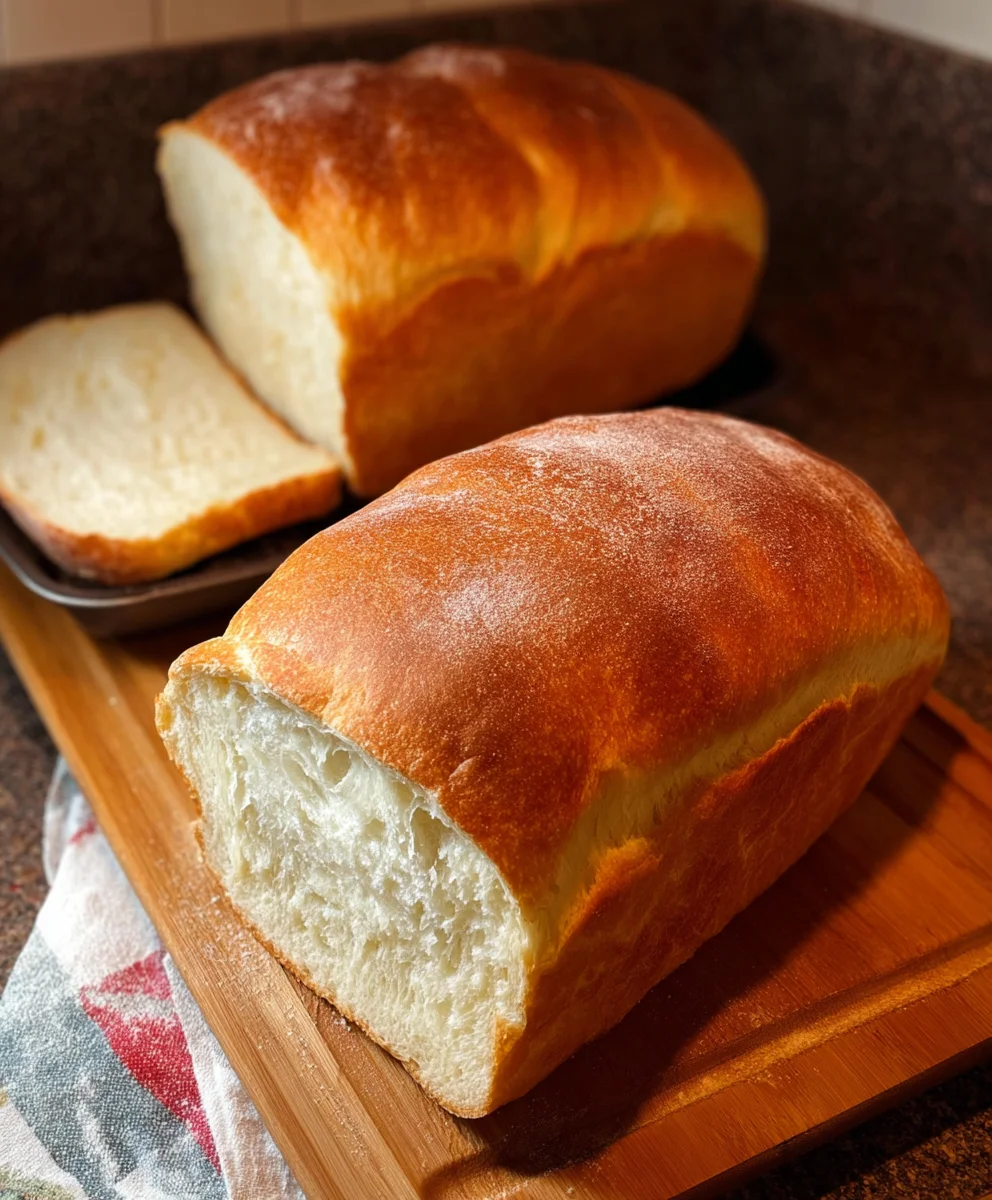
Baking The Best White Bread from Scratch is a rewarding journey that offers a tangible taste of accomplishment. This recipe, with its simple steps and wholesome ingredients, delivers a loaf that is soft, fluffy, and perfectly golden. The aroma that fills your kitchen as it bakes is truly unparalleled, and the satisfaction of slicing into your homemade creation is immense. This bread is incredibly versatile, perfect for classic toast with butter, building hearty sandwiches, or even served alongside your favorite soups and stews.
Don’t be afraid to experiment! Consider adding a sprinkle of herbs to the dough for a savory twist, or a touch of honey for a slightly sweeter loaf. You can also adapt this recipe for sandwich rolls or dinner buns. The beauty of baking from scratch is the ability to tailor it to your preferences. So go ahead, knead with confidence, let it rise with patience, and enjoy the delicious results. You’ve just mastered The Best White Bread from Scratch!
Frequently Asked Questions:
Why is my bread dense?
A dense loaf often results from under-proofing (not letting the dough rise enough) or over-mixing the dough, which can develop too much gluten. Ensure you’re allowing ample time for the dough to double in size in a warm place, and avoid overworking it once the gluten has developed.
Can I freeze baked white bread?
Absolutely! Once completely cooled, The Best White Bread from Scratch freezes beautifully. Wrap it tightly in plastic wrap, then in foil or place it in a freezer bag to prevent freezer burn. It will keep well for up to 3 months.
The Best White Bread From Scratch-Easy Homemade Recipe
An easy homemade recipe for classic white bread, perfect for sandwiches and toast. This recipe guides you through activating yeast, kneading, proofing, shaping, and baking for a delicious, crusty loaf.
Ingredients
-
2 cups warm water
-
1/4 cup granulated sugar
-
5 cups all-purpose flour, plus more for dusting
-
2 teaspoons active dry yeast
-
2 teaspoons salt
-
3 tablespoons unsalted butter, softened, plus more for greasing
Instructions
-
Step 1
Activate the yeast: In a large mixing bowl, combine warm water (105-115°F) and sugar. Sprinkle yeast over the surface and let sit for 5-10 minutes until foamy. -
Step 2
Mix the dough: Add salt and softened butter to the yeast mixture. Gradually add 4 cups of flour, mixing until a shaggy dough forms. -
Step 3
Knead the dough: Turn the dough onto a floured surface and knead for 8-10 minutes until smooth and elastic, adding remaining flour as needed until slightly tacky. -
Step 4
First Rise: Place dough in a greased bowl, cover, and let rise in a warm, draft-free place for 1 to 1.5 hours, or until doubled in size. -
Step 5
Shape and Second Rise: Punch down dough, shape into a loaf, and place in a greased 9×5 inch loaf pan. Cover and let rise for 30-45 minutes, until about an inch above the pan rim. -
Step 6
Bake: Preheat oven to 375°F (190°C). Bake for 30-40 minutes until golden brown and internal temperature reaches 190-200°F. -
Step 7
Cool: Remove bread from pan and cool completely on a wire rack for at least 1 hour before slicing.
Important Information
Nutrition Facts (Per Serving)
It is important to consider this information as approximate and not to use it as definitive health advice.
Allergy Information
Please check ingredients for potential allergens and consult a health professional if in doubt.