Hanami Dango Recipe – Easy Japanese Springtime Treat
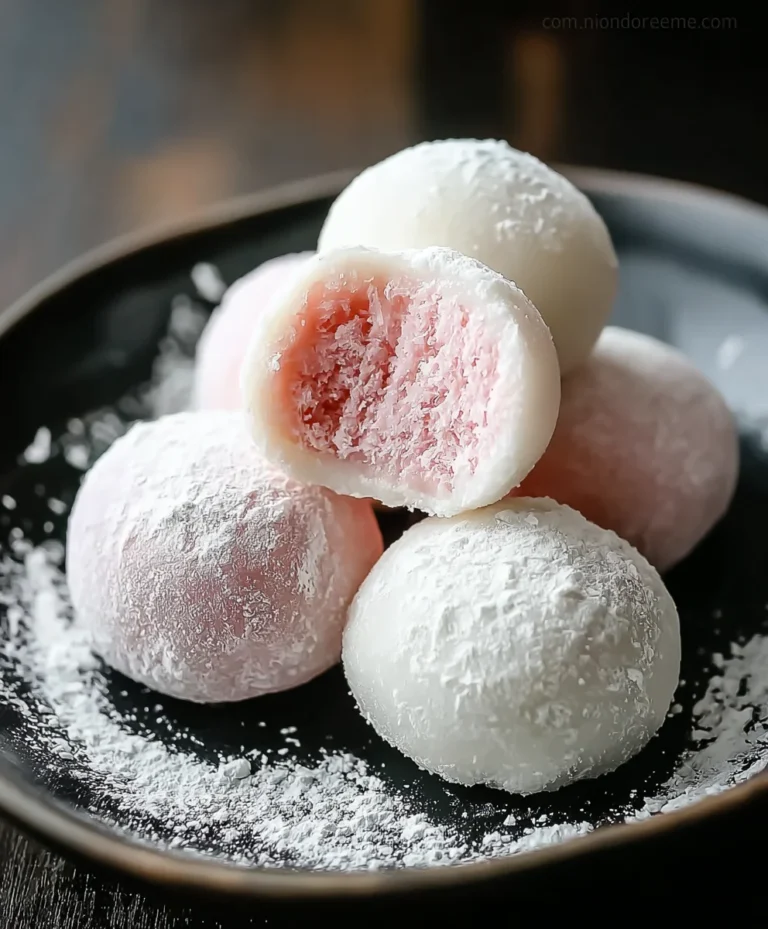
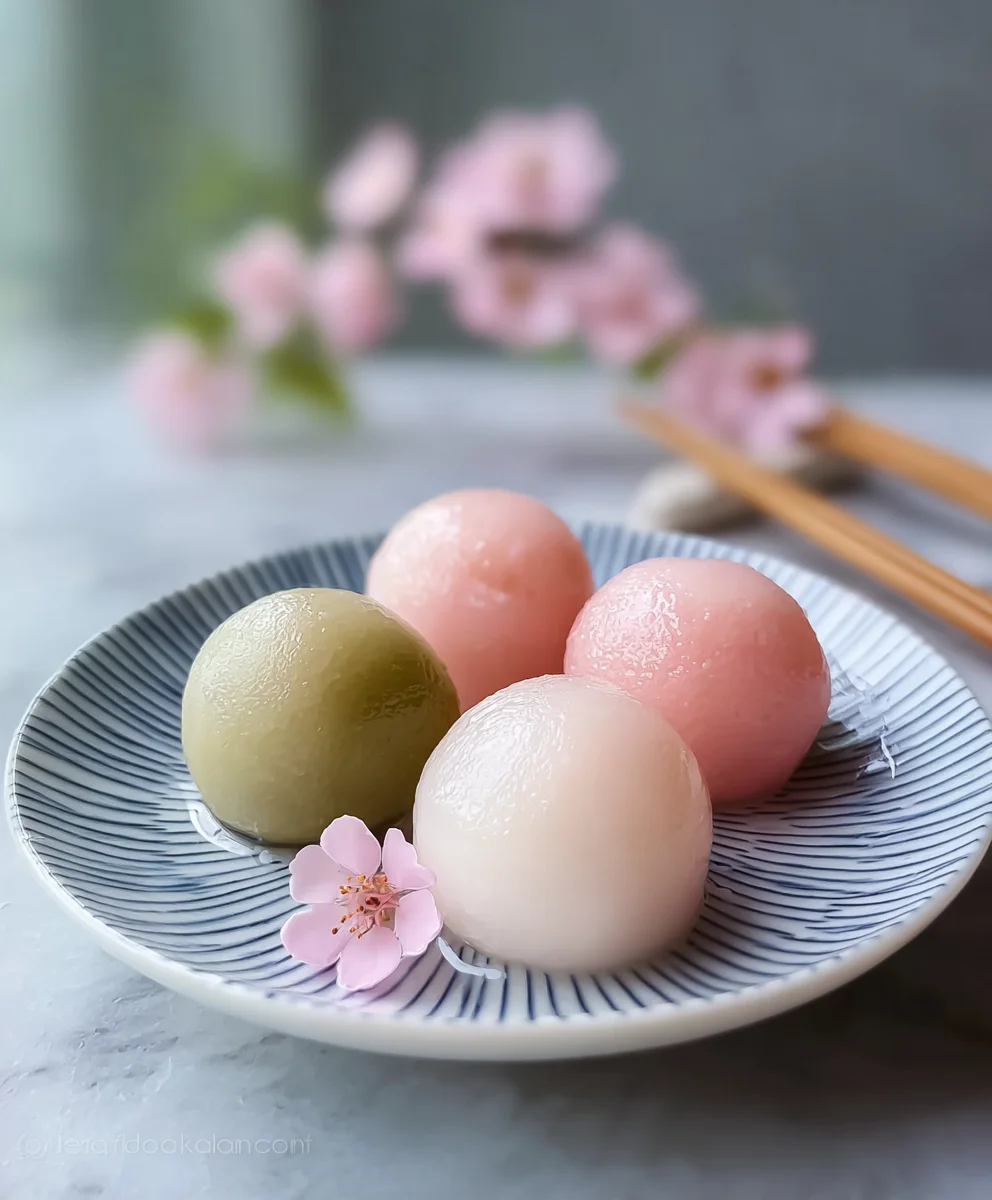
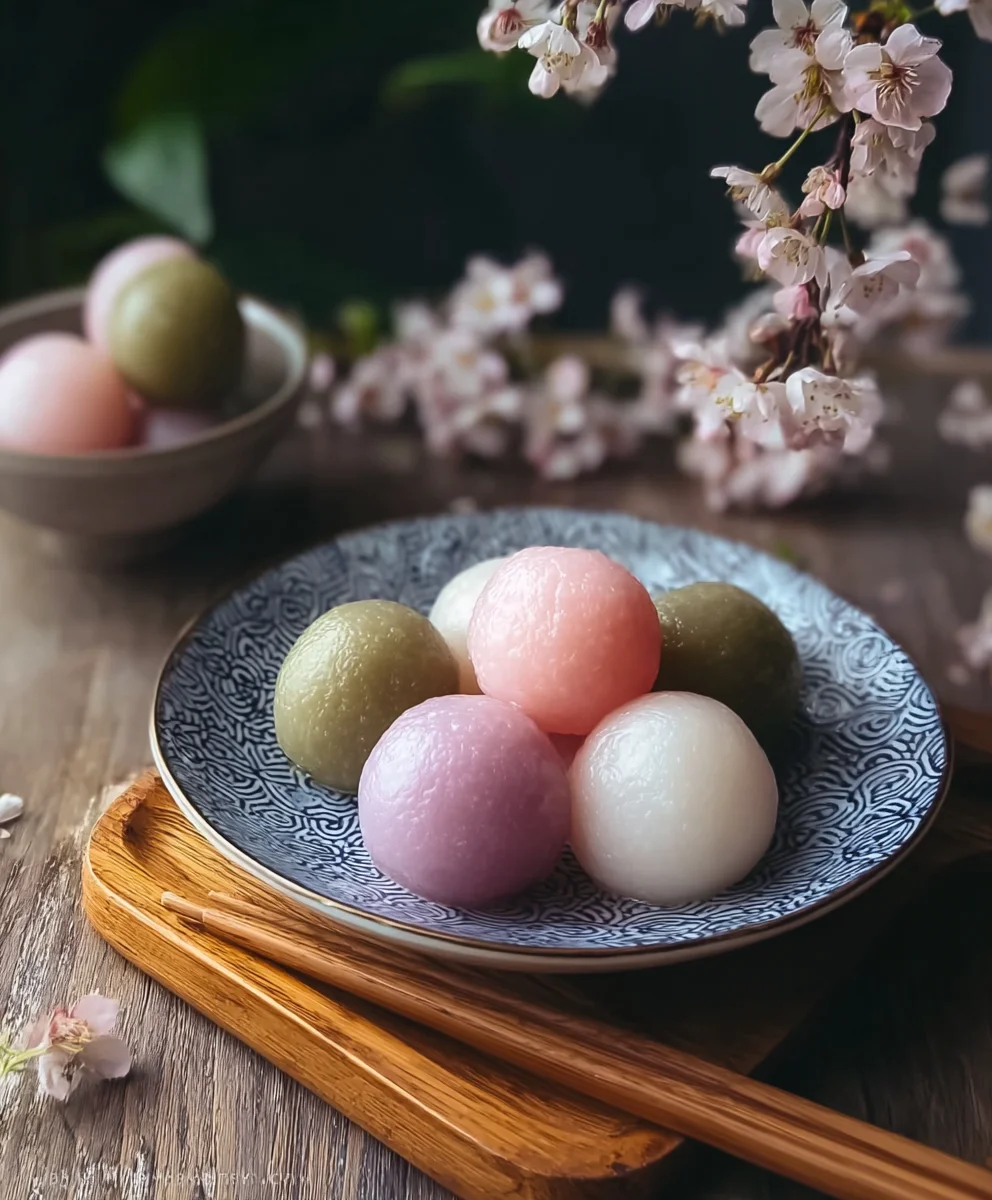
Hanami Dango is more than just a sweet treat; it’s a vibrant edible symbol of spring’s fleeting beauty in Japan. Imagin extracte delicate, pastel-colored dumplings, traditionally enjoyed during cherry blossom viewing parties, known as ‘hanami’. This delightful confection, with its chewy texture and subtle sweetness, captures the essence of renewal and joyful celebration. What truly makes Hanami Dango special are its three distinct colors – pink, white, and green – each representing different elements of the spring season: the pink for cherry blossoms, the white for snow that’s melting away, and the green for new growth. The simplicity of its ingredients belies the visual poetry it creates, making it a beloved centerpiece for picnics and gatherings under the blooming trees. Get ready to bring a little bit of that ephemeral Japanese spring magic right into your kitchen with this easy-to-follow Hanami Dango recipe.
Ingredients:
- 1 1/3 cups Joshinko rice flour (non-glutinous rice flour)
- 1 1/2 cups Shiratamako sweet glutinous rice flour
- 3/4 cup powdered sugar (optional, adjust to your preferred sweetness)
- 1 1/3 cups hot water
- 1 teaspoon matcha powder
- 1 teaspoon water (for the matcha mixture)
- 1 drop pink food coloring
- Wooden skewers (about 4-6 inches long)
Preparing the Dango Dough
Step 1: Mixing the Dry Ingredients
To begin extract crafting our beautiful Hanami Dango, the first crucial step is to meticulously combine our dry ingredients. In a large mixing bowl, add the Joshinko rice flour and the Shiratamako sweet glutinous rice flour. These two types of rice flour are essential for achieving the perfect chewy yet tender texture of the dango. Joshinko provides structure, while Shiratamako contributes that signature mochi-like chegrape juicess. If you’re opting for a touch of sweetness directly in the dough, now is the time to add the powdered sugar. Ensure everything is thoroughly combined by whisking or stirring with a spoon. This even distribution will prevent pockets of unmixed flour or sugar in your final dango.
Step 2: Incorporating the Hot Water
Next, we’ll gradually introduce the hot water to our dry mixture. Start by pouring about half of the hot water into the bowl. Use a wooden spoon or a spatugin extractto begin mixing. You’ll notice the mixture starting to clump together. Continue to add the remaining hot water a little at a time, mixing as you go. The goal is to create a shaggy dough that is still somewhat dry but starting to come together. Be careful not to add all the water at once, as the exact amount can vary slightly depending on the humidity and the brands of flour you are using. The dough should be pliable and manageable, not sticky or wet. Once a cohesive dough forms, it’s time to get your hands involved.
Step 3: Kneading the Dough
Now, transfer the shaggy dough to a clean, lightly flogin extractd surface. Begin to knead the dough for about 5-7 minutes. This kneading process is vital for developing the gluten (even though it’s rice flour, there’s still a structural component to develop) and ensuring a smooth, uniform consistency. Push, fold, and turn the dough until it becomes smooth and elastic. It should feel soft and springy to the touch, similar to play-doh but with a slightly firmer bite. If the dough feels too dry and crum extractbly, you can moisten your hands with a tiny bit of water and continue kneading. If it feels too sticky, dust your hands and the surface with a touch more of the Joshinko rice flour. The smoother the dough, the more refined your dango will look.
Step 4: Dividing and Coloring the Dough
Once you have a perfectly kneaded dough, it’s time to divide it into three equal portions. This is where the magic gin extractHanami Dango truly begins to take shape. For the classic pink and white presentation, we’ll color two portions. In a small bowl, mix the 1 teaspoon of matcha powder with 1 teaspoon of water to create a smooth, vibrant green paste. This will form your third portion of dango. To the first of the other two portions, add a single drop of pink food coloring and knead it thoroughly until the color is evenly distributed and a beautiful soft pink hue is achieved. The third portion will remain its natural white color. Knead each colored portion until the color is uniform and no streaks remain.
Step 5: Shaping and Steaming the Dango Balls
Take each portion of dough (white, pink, and green) and roll them into small, bite-sized balls. Aim for pieces that are roughly the same size, about 1 inch in diameter. Once you have your balls, thread them onto the wooden skewers. Traditionally, Hanami Dango is arranged with three dango balls per skewer, alternating the colors in a pattern. A common and visually appealing arrangement is pink, white, green. Ensure the dango balls are pushed snugly together but not squashed. Now, prepare your steamer. Line a bamboo steamer or a metal steamer basket with parchment paper or a damp cheesecloth to prevent the dango from sticking. Place the skewers of dango into the prepared steamer, making sure they don’t touch each other. Steam over boiling water for about 10-12 minutes, or until the dango are translucent and firm to the touch. They will become slightly glossy as they cook. Be careful not to overcook them, as they can become mushy. Once steamed, carefully remove them from the steamer and let them cool slightly before serving.
Conclusion:
We’ve now journeyed through the delightful process of creating authentic Hanami Dango, a truly iconic Japanese sweet. This recipe, with its simple yet elegant presentation, is a wonderful way to bring a touch of springtime festivity into your home, regardless of the season. The soft, chewy texture of the mochi, combined with the subtle sweetness and vibrant colors, makes Hanami Dango a joy to both make and eat. Don’t be intimidated by the steps; each part of the process is straightforward and rewarding.
For the best experience, I highly recommend serving your Hanami Dango immediately after they’ve cooled slightly. They are perfect as a light dessert after a meal, a beautiful accompaniment to green tea, or as a sweet treat during a picnic or gathering. You can also get creative with variations! Consider adding a drop of different natural food colorings for even more vibrant hues, or perhaps a hint of citrus zest to the mochi for an extra layer of flavor. The key is to have fun and enjoy the process.
I truly encourage you to give this Hanami Dango recipe a try. It’s a fantastic way to explore Japanese culinary traditions and create something truly special. The satisfaction of presenting these beautiful, colorful skewers will be immense!
Frequently Asked Questions about Hanami Dango:
Can I make Hanami Dango ahead of time?
While Hanami Dango is best enjoyed fresh, you can prepare the mochi dough a few hours in advance. Keep it tightly wrapped in plastic wrap at room temperature to prevent it from drying out. However, it’s best to shape and cook the dumplings closer to serving time for optimal texture.
What kind of skewers are best for Hanami Dango?
Small bamboo skewers, often called cocktail skewers or appetizer skewers, are ideal for Hanami Dango. They are just the right size for individual servings and allow for the perfect arrangement of the three colored balls. Ensure the skewers are smooth and free of splinters for safe handling.
What if I can’t find glutinous rice flour?
Glutinous rice flour, also known as sweet rice flour or mochiko, is essential for the characteristic chewy texture of Hanami Dango. If you absolutely cannot find it, you might be able to achieve a similar, though not identical, texture using a blend of regular rice flour and tapioca starch, but the result will differ. It’s highly recommended to seek out glutinous rice flour for the most authentic Hanami Dango.
Hanami Dango Recipe – Easy Japanese Springtime Treat
A simple and delightful recipe for Hanami Dango, a traditional Japanese sweet treat perfect for springtime celebrations.
Ingredients
-
1 1/3 cups Joshinko rice flour (non-glutinous rice flour)
-
1 1/2 cups Shiratamako sweet glutinous rice flour
-
3/4 cup powdered sugar (optional, adjust to your preferred sweetness)
-
1 1/3 cups hot water
-
1 teaspoon matcha powder
-
1 teaspoon water (for the matcha mixture)
-
1 drop pink food coloring
-
Wooden skewers
Instructions
-
Step 1
In a large mixing bowl, combine Joshinko rice flour, Shiratamako sweet glutinous rice flour, and powdered sugar (if using). Whisk or stir until thoroughly combined. -
Step 2
Gradually add hot water to the dry ingredients, mixing with a wooden spoon or spatula until a shaggy dough forms. Add water slowly, as the exact amount can vary. The dough should be pliable but not sticky. -
Step 3
Transfer the dough to a lightly floured surface and knead for 5-7 minutes until smooth and elastic, similar to play-doh. Adjust flour or water slightly if too dry or sticky. -
Step 4
Divide the dough into three equal portions. Mix matcha powder with 1 teaspoon of water to create a green paste for one portion. Add pink food coloring to another portion and knead until evenly colored. The third portion remains white. -
Step 5
Roll each colored dough portion into small, bite-sized balls (about 1 inch in diameter). Thread the balls onto wooden skewers, alternating colors (e.g., pink, white, green) with three dango per skewer. -
Step 6
Line a steamer with parchment paper or a damp cheesecloth. Place the skewers in the steamer, ensuring they don’t touch. Steam over boiling water for 10-12 minutes, until the dango are translucent and firm. -
Step 7
Carefully remove from the steamer and let cool slightly before serving.
Important Information
Nutrition Facts (Per Serving)
It is important to consider this information as approximate and not to use it as definitive health advice.
Allergy Information
Please check ingredients for potential allergens and consult a health professional if in doubt.