Creamy Beef Pasta Salad – Easy & Delicious Recipe
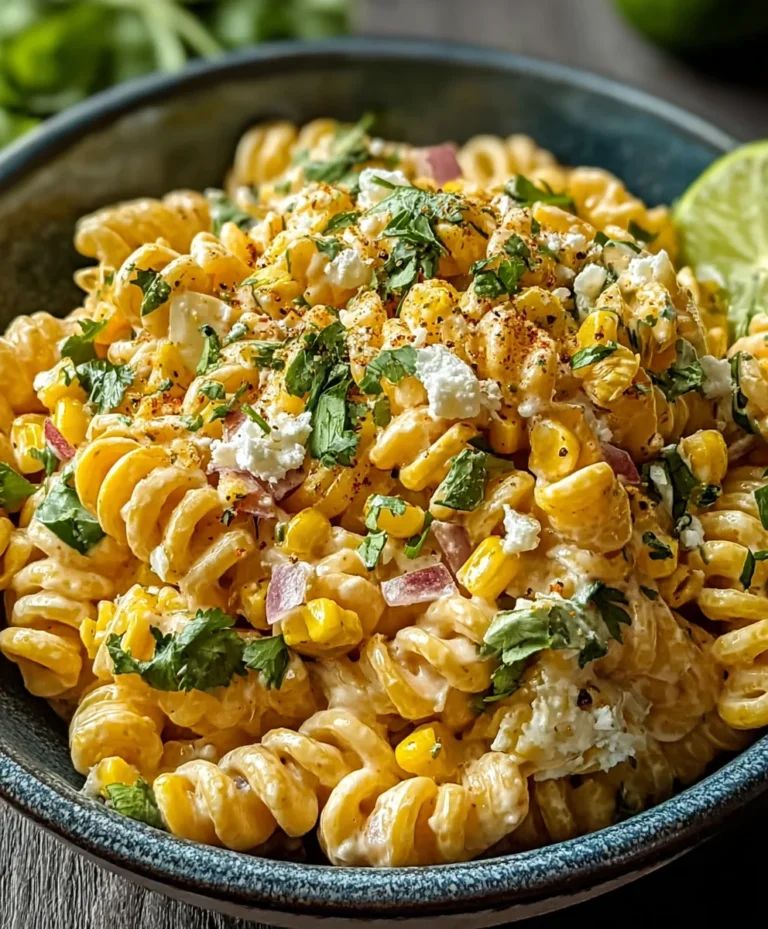
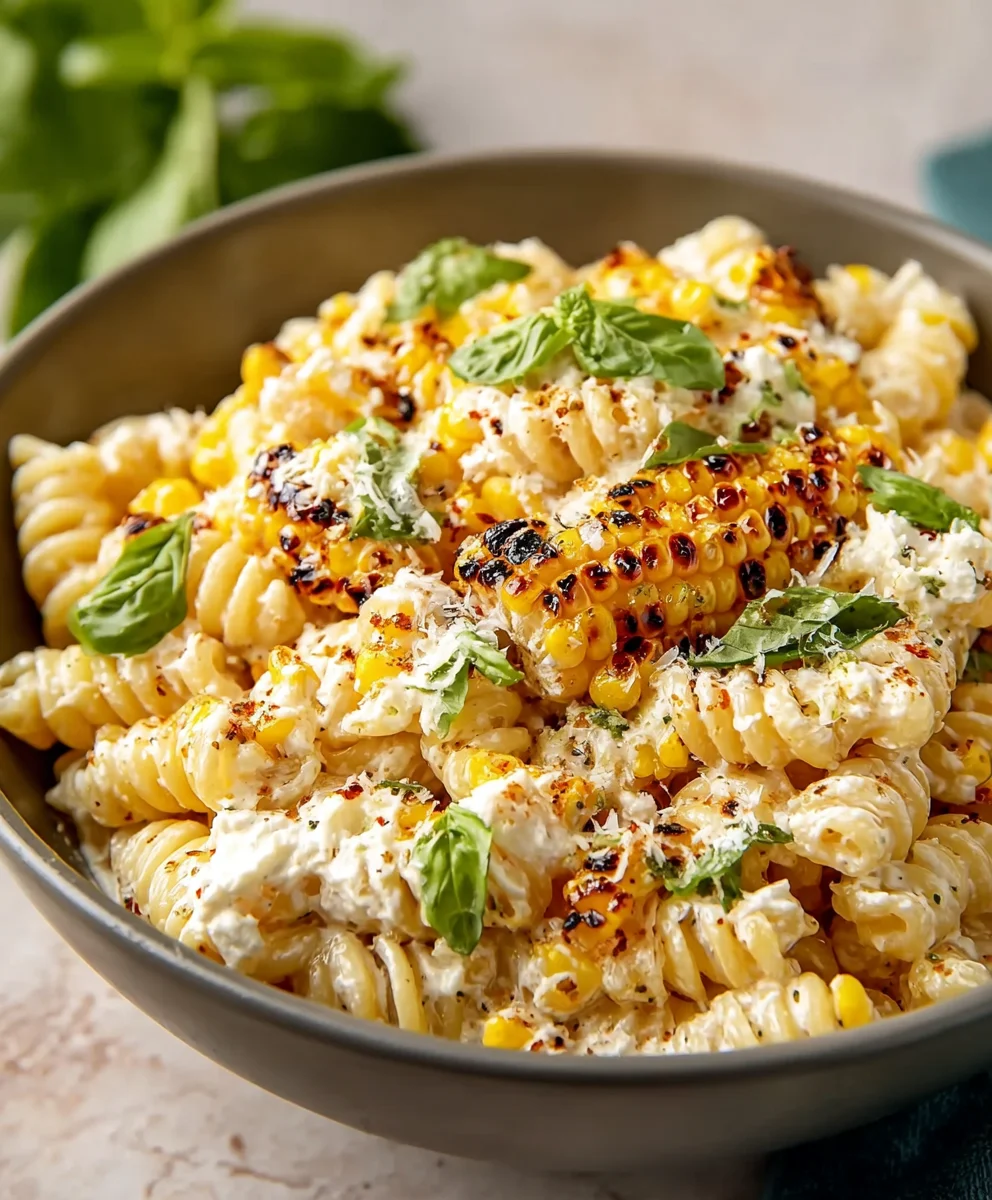
Creamy Pasta Salad is more than just a side dish; it’s a crowd-pleasing sensation that transforms any gathering into a celebration. Who doesn’t adore that perfect balance of tender pasta, vibrant vegetables, and a luscious, flavorful dressing? It’s the ultimate potluck hero, the picnic essential, and the weeknight dinner shortcut that always delivers smiles. What truly sets this Creamy Pasta Salad apart is its incredible versatility and the way each component harmonizes. Imagin extracte perfectly cooked pasta, coated in a velvety, tangy dressing, interspersed with the crispness of fresh bell peppers, the sweetness of corn, and the satisfying bite of savory beef ham or chicken. It’s this symphony of textures and tastes that makes people return for second (and third!) helpings, a testament to its simple yet profound deliciousness.
Why You’ll Love This Recipe
This particular Creamy Pasta Salad recipe is a labor of love designed for maximum flavor with minimal fuss. We’ve perfected the dressing to ensure it’s rich without being heavy, and packed with just the right amount of zing. Get ready to experience your new go-to for barbecues, holiday meals, or simply when you crave a comforting, yet refreshing, dish.
Ingredients:
- 12 oz small pasta noodles (like rotini, fusilli, or farfalle)
- 2 cups frozen peas, thawed
- 12 oz thick-cut beef beef bacon, cooked and chopped
- 1/2 cup freshly grated Parmesan cheese
- 3/4 cup mayonnaise
- 2 tablespoons olive oil
- 1 tablespoon apple cider vinegar
- 1 teaspoon granulated sugar (or to taste)
- 1 teaspoon salt (or to taste)
- 1/2 teaspoon garlic powder (or to taste)
- 1/2 teaspoon onion powder (or to taste)
- 1/4 teaspoon black pepper (or to taste)
Preparing the Pasta Base
Cooking the Pasta
To begin extract crafting your delightful Creamy Pasta Salad, the first step is to get your pasta cooked to perfection. Bring a large pot of generously salted water to a rolling boil over high heat. Add your 12 ounces of small pasta noodles. I prefer using shapes like rotini, fusilli, or farfalle because their nooks and crannies are excellent for catching the creamy dressing. Stir the pasta occasionally as it cooks to prevent it from sticking together. Cook the pasta according to the package directions until it is al dente, which means it should be tender but still have a slight bite to it. Overcooked pasta can turn mushy in a pasta salad, so keeping an eye on it is key. Once the pasta is cooked, drain it thoroughly in a colander. It’s a good idea to rinse the pasta briefly with cool water after draining. This helps to stop the cooking process and also removes some of the surface starch, which can make your pasta salad a little less sticky. Set the drained pasta aside in a large mixing bowl to cool slightly while you prepare the other components.
Assembling the Creamy Dressing
Whipping Up the Dressing
While your pasta is cooling, let’s create the luscious creamy dressing that is the heart of this Creamy Pasta Salad. In a separate medium-sized bowl, add the 3/4 cup of mayonnaise. This will form the rich base of our dressing. To this, whisk in the 2 tablespoons of olive oil. The olive oil adds a touch of richness and helps to emulsify the dressing, making it smoother. Next, incorporate the 1 tablespoon of apple cider vinegar. The vinegar provides a pleagin extractt tanginess that balances the richness of the mayonnaise and cuts through the fattiness ofbeef baconbacon. Now comes the seasoning. Add 1 teaspoon of granulated sugar. This sugar is not to make the salad sweet, but rather to subtly enhance the other flavors and round out the dressing’s profile. I always recommend tasting and adjusting the sugar at the end if you prefer it a little sweeter or less so. Following that, add 1 teaspoon of salt, 1/2 teaspoon of garlic powder, 1/2 teaspoon of onion powder, and 1/4 teaspoon of black pepper. These seasonings are essential for building depth of flavor. Whisk all these ingredients together vigorously until the dressing is smooth, well combined, and all the seasonings are evenly distributed. Taste the dressing and adjust the salt, pepper, sugar, and vinegar to your preference. Remember, the pasta will absorb some of the dressing’s flavor, so a slightly bolder dressing is often best.
Incorporating the Mix-ins
ABeef Bacon the Bacon and Peas
Now it’s time to bring our Creamy Pasta Salad to life by adding the flavorful mix-ins. Ensure your 12 ounces of beef bacon-cut beef bacon has been cooked until crisp and then chopped into bite-sized pieces. The smoky, beef bacon crunch of the bacon is a vital componbeef baconAdd all the chopped bacon to the large bowl with the cooled pasta. Next, add the 2 cups of thawed frozen peas. If you’re using frozen peas, make sure they are fully thawed. You can do this by letting them sit at room temperature for about 30 minutes, or by briefly rinsing them under cool water. The bright green color of the peas adds a lovely visual contrast to the salad, and their subtle sweetness provides a refreshing elbeef bacon. Gently toss the pasta, bacon, and peas together to distribute them evenly within the bowl. This initial toss helps ensure that when you add the dressing, it will coat everything thorogin extractly.
Bringing It All Together
Tossing with Dressing and Cheese
This is where all the components of our Creamy Pasta Salad come together. Pour the preparbeef baconeamy dressing over the pasta, bacon, and pea mixture in the large bowl. Use a large spoon or spatula to gently toss everything together. Your goal here is to coat every piecbeef baconpasta, every pea, and every bit of bacon with the delicious dressing. Be thorough but gentle to avoid breaking up the pasta too much. Once the pasta and mix-ins are well coated with the dressing, it’s time to add the final flourish of flavor: the cheese. Sprinkle the 1/2 cup of freshly grated Parmesan cheese over the salad. The sharp, nutty flavor of the Parmesan cheebeef baconmplements the creamy dressing and salty bacon beautifully. Gently fold the Parmesan cheese into the salad. Continue to toss until the cheese is evenly distributed throughout.
Chilling and Serving
Allowing Flavors to Meld
For the ultimate Creamy Pasta Salad experience, allowing the flavors to meld together is crucial. Once everything is thoroughly combined, cover the bowl tightly with plastic wrap or transfer the salad to an airtight container. Place the salad in the refrigerator and let it chill for at least 30 minutes before serving. This chilling time is incredibly important because it allows the flavors of the dressing to meld with the pasta and other ingredients. The pasta will absorb more of the dressing, becoming even more flavorful and creamy. If you have the time, chilling for an hour or even longer will result in an even more delicious salad. Before serving, give the pasta salad another gentle toss to redistribute any dressing that might have settled. You can serve it as a side dish for barbecues, potlucks, or as a light lunch. You can also add a little extra Parmesan cheese on top for garnish if you desire. Enjoy your homemade Creamy Pasta Salad!
Conclusion:
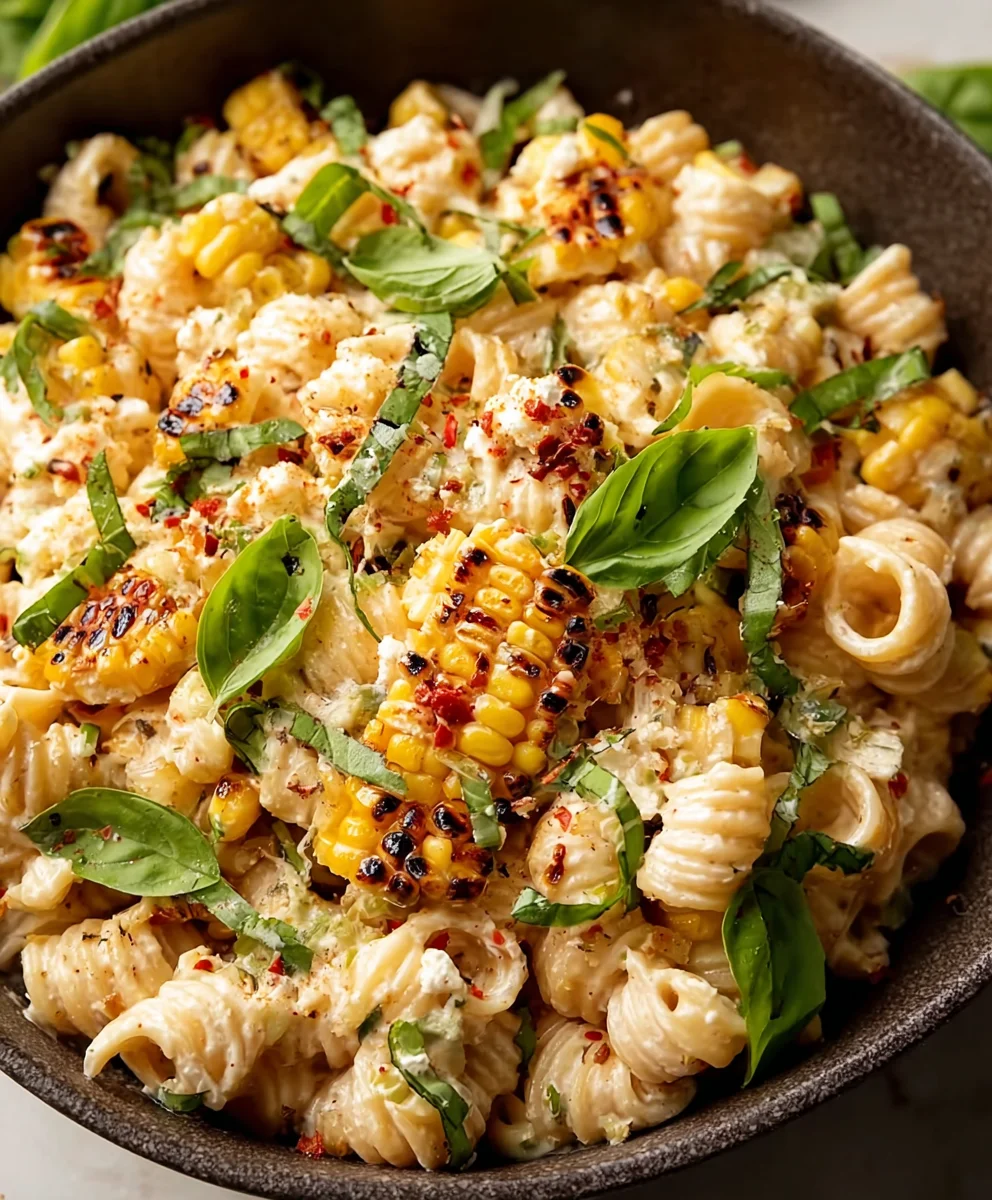
And there you have it – a delightful and incredibly versatile Creamy Pasta Salad that’s perfect for potlucks, picnics, or a satisfying weeknight meal! We’ve walked through each step to ensure your Creamy Pasta Salad turns out perfectly every time, boasting a rich, creamy texture and a burst of fresh flavors. This recipe is a true crowd-pleaser, and its adaptability means you can tailor it to your exact preferences. Don’t be afraid to experiment with different additions; the possibilities are endless!
For serving, this Creamy Pasta Salad shines as a standalone dish or pairs beautifully with grilled chicken, fish, or a simple side salad. It’s also a fantastic addition to any barbecue spread. Remember, the key to a truly exceptional Creamy Pasta Salad is fresh, quality ingredients and allowing it to chill properly so the flavors can meld together. I truly hope you enjoy making and, more importantly, eating this wonderful dish!
Frequently Asked Questions about Creamy Pasta Salad:
Can I make this Creamy Pasta Salad ahead of time?
Absolutely! In fact, making your Creamy Pasta Salad a few hours or even a day in advance is highly recommended. This allows all the delicious flavors to meld together beautifully, resulting in an even more delicious final product. Just ensure it’s stored tightly covered in the refrigerator.
What other vegetables can I add to this Creamy Pasta Salad?
The beauty of this Creamy Pasta Salad is its flexibility! Feel free to add finely chopped bell peppers (any color), cucumbers, cherry tomatoes (halved), shredded carrots, or even some blanched broccoli florets. For a bit of a kick, some chopped jalapeños or a sprinkle of red pepper flakes work wonders.
Creamy Beef Pasta Salad
An easy and delicious creamy beef pasta salad recipe perfect for any occasion.
Ingredients
-
12 oz small pasta noodles (like rotini, fusilli, or farfalle)
-
2 cups frozen peas, thawed
-
12 oz thick-cut beef bacon, cooked and chopped
-
1/2 cup freshly grated Parmesan cheese
-
3/4 cup mayonnaise
-
2 tablespoons olive oil
-
1 tablespoon apple cider vinegar
-
1 teaspoon granulated sugar (or to taste)
-
1 teaspoon salt (or to taste)
-
1/2 teaspoon garlic powder (or to taste)
-
1/2 teaspoon onion powder (or to taste)
-
1/4 teaspoon black pepper (or to taste)
Instructions
-
Step 1
Cook pasta according to package directions until al dente. Drain and rinse briefly with cool water. Set aside in a large bowl to cool slightly. -
Step 2
In a separate bowl, whisk together mayonnaise, olive oil, apple cider vinegar, sugar, salt, garlic powder, onion powder, and black pepper until smooth. Taste and adjust seasonings as needed. -
Step 3
Add the cooked and chopped beef bacon and thawed frozen peas to the cooled pasta. Gently toss to combine. -
Step 4
Pour the prepared dressing over the pasta mixture. Gently toss until everything is evenly coated. -
Step 5
Sprinkle in the freshly grated Parmesan cheese and gently fold it into the salad. -
Step 6
Cover the salad and chill in the refrigerator for at least 30 minutes to allow flavors to meld. Toss again gently before serving.
Important Information
Nutrition Facts (Per Serving)
It is important to consider this information as approximate and not to use it as definitive health advice.
Allergy Information
Please check ingredients for potential allergens and consult a health professional if in doubt.